Foreword
This guide is based on the Microsoft Document but goes into a little more detail and should be clearer, you should review the Microsoft guide as well as this one.https://docs.microsoft.com/en-us/advanced-threat-analytics/modifying-ata-center-configuration
THIS MUST BE DONE BEFORE CERTIFICATE EXPIRES!!
I am purposely not using auto enrolment. This may generate a new thumbprint if the certificate auto renews, causing all the gateways to stop talking to the ATA Center server. This process must be done manually before the certificate expires each time!
This guide assumes you have a PKI infrastructure in your domain. The certificate you generate must be trusted by the gateway for this to work otherwise the gateways will disconnect from the ATA Center.
In this guide, I will:
- Add a second server certificate
- Update all the gateways so they recognise the new certificate
- Switch to the new certificate
- Update all the gateways again so they only use the new certificate.
Replacing the certificate
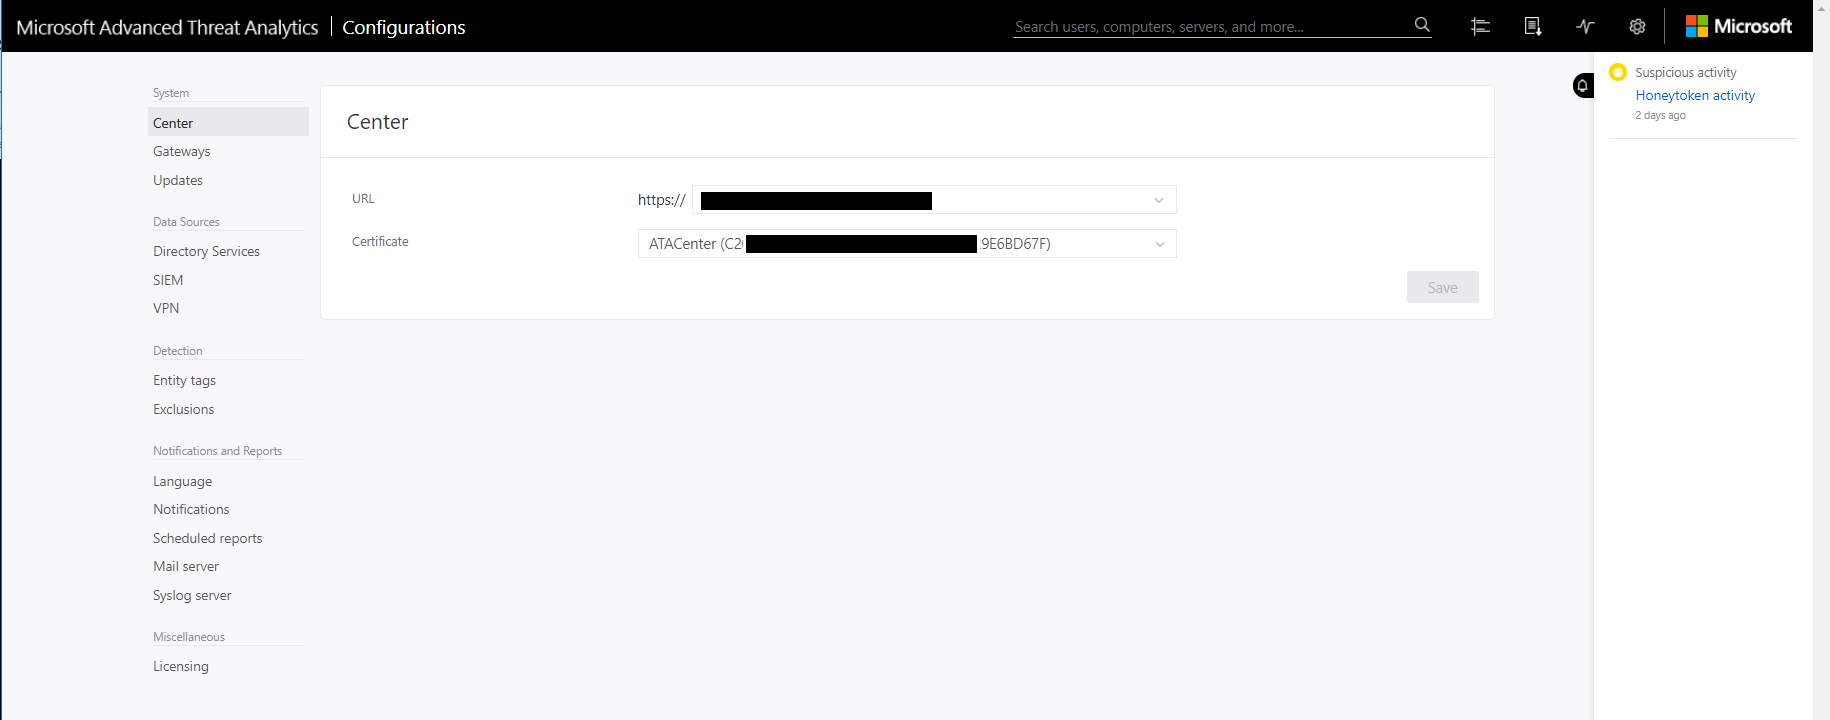
- Check the existing certificate in the management panel. Currently all the gateways only have this certificate pinned in their configuration and will only talk to the Center if it’s using this certificate.

Generating the New Certificate
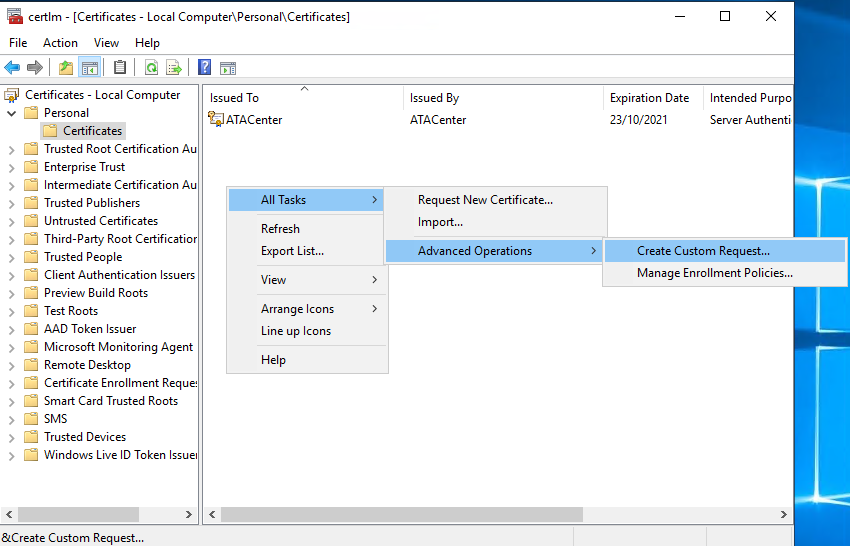
- Log into the ATA Center Server and open “Manage Computer Certificates”
- Open Personal > Certificates
- Right click in the right pane
- Select All Tasks > Advanced Options > Create Custom Request.
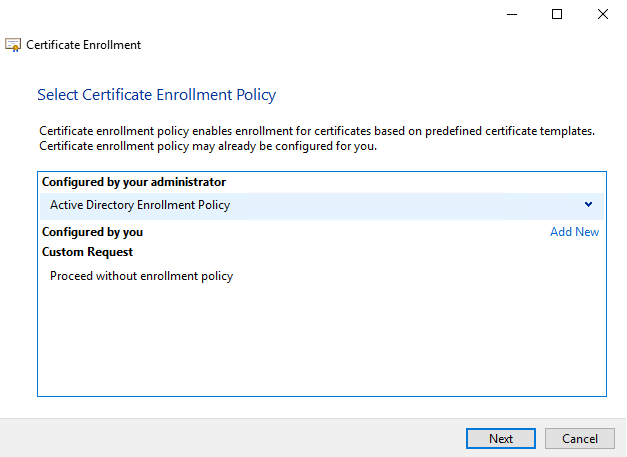
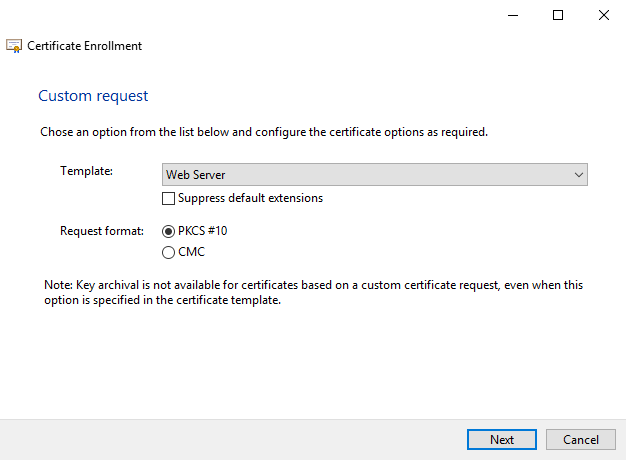
- Follow the enrolment wizard and select web server certificate template
- On the Certificate Information screen, expand details and click properties
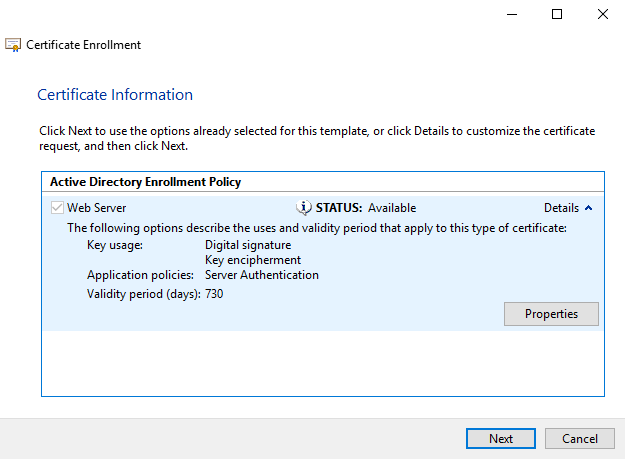
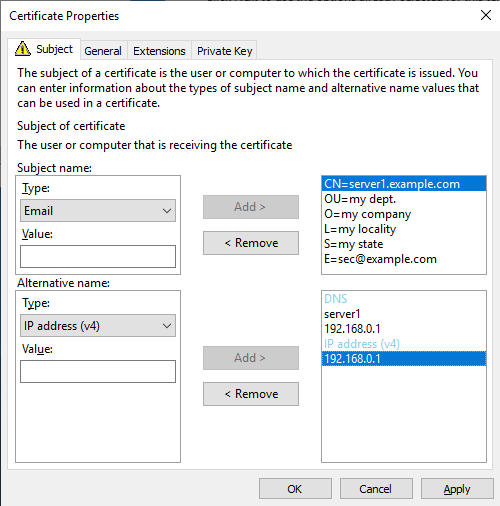
- Fill out the form, include all the relevant details including alternative names
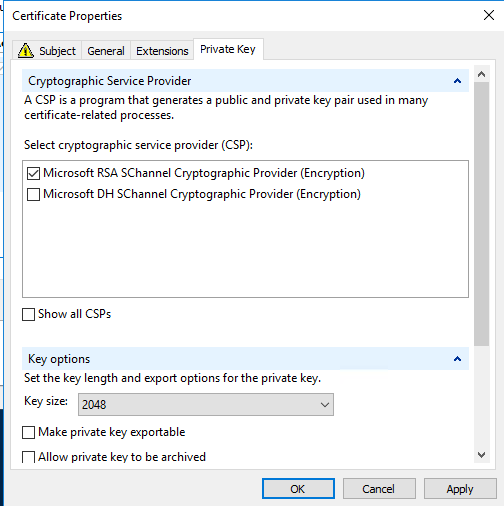
- Deselect Microsoft DH Provider in the Private Key tab and change the Key size to 2048 bits
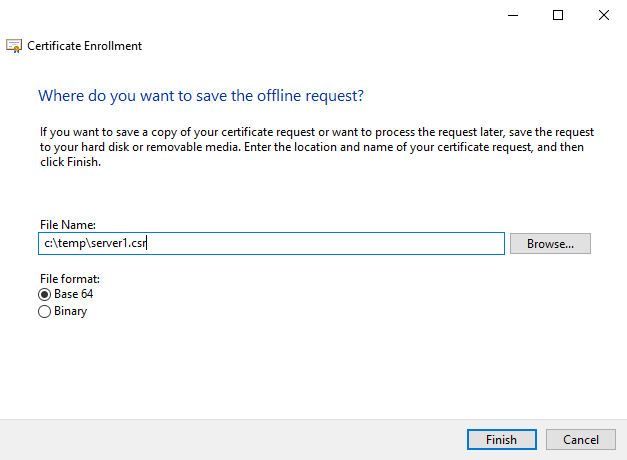
- Save the CSR somewhere handy
-
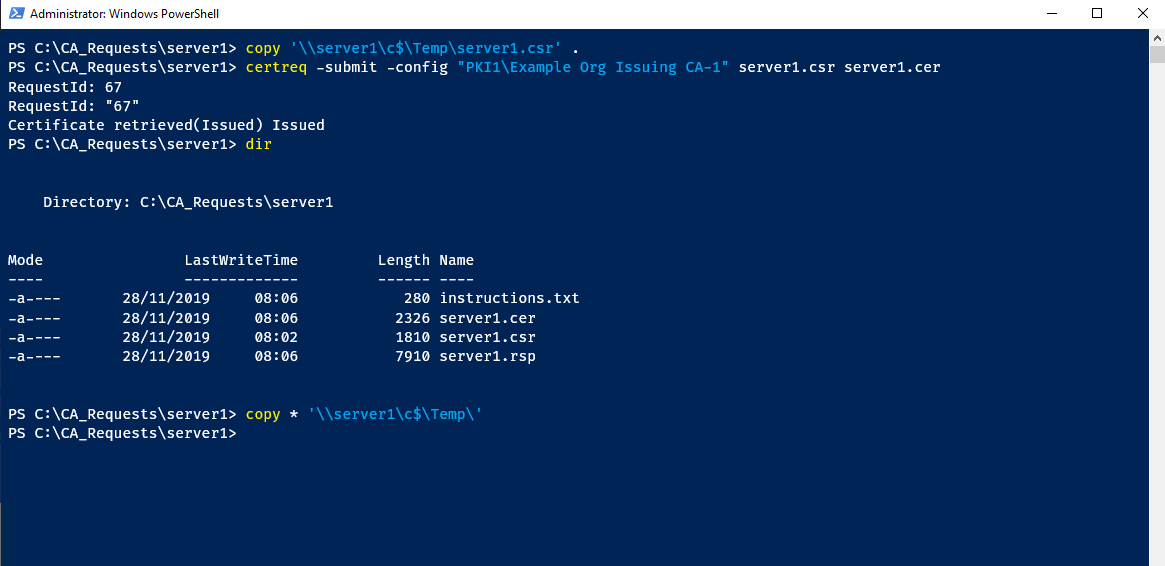
Copy the CSR to your issuing CA
-
Run the following
certreqcommand to generate the certificate
certreq -submit -config “SERVER1\ADCS Issuing CA-1” server1.csr server1.cer
-
Copy the resulting files back to the ATA Center server
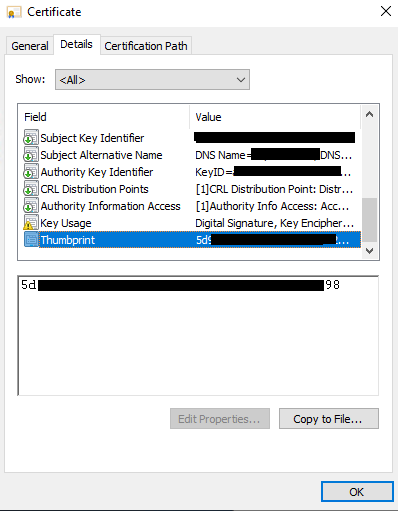
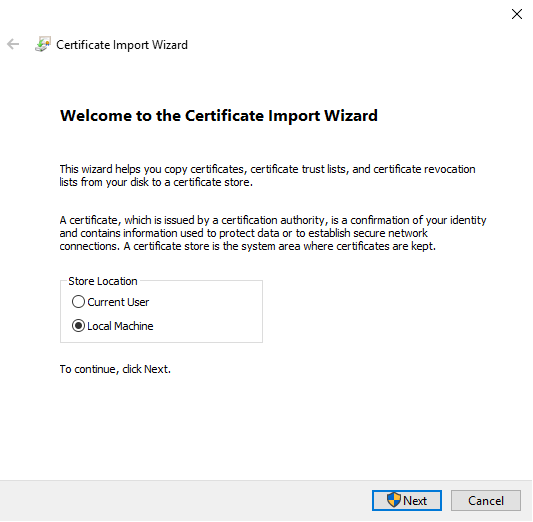
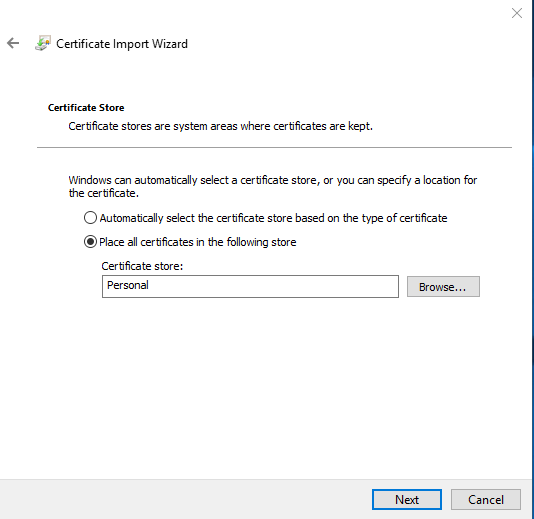
Importing the Certificate
- Open the certificate, note the thumbprint, then install the certificate into the local computer, Personal store

Replacing the Certificate in ATA Center
- Log into ATA Center web console
- Configuration > Center
- Select the new certificate, check the thumbprint matches the newly installed cert
IMPORTANT STEP, DON’T CLICK ACTIVATE YET
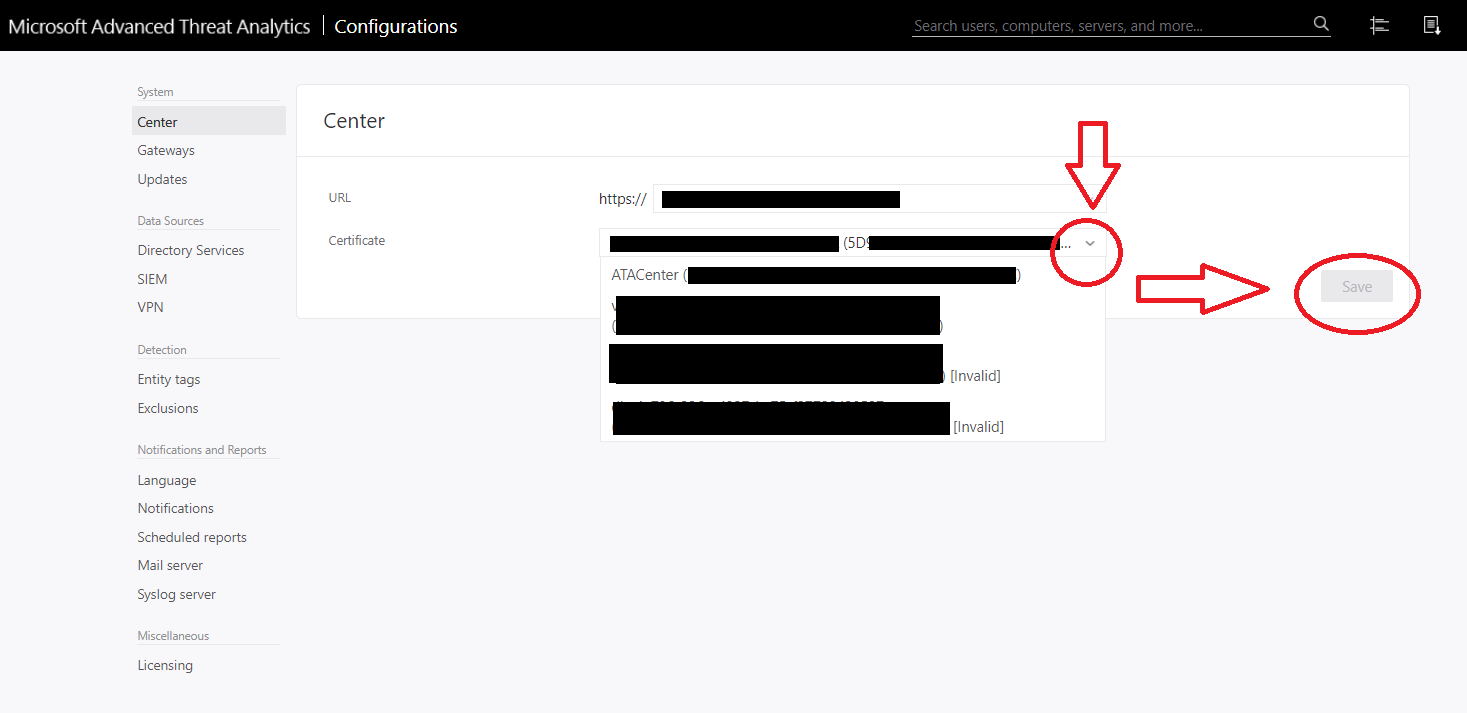
- Click Save and wait for all gateways to sync the config – do not click activate


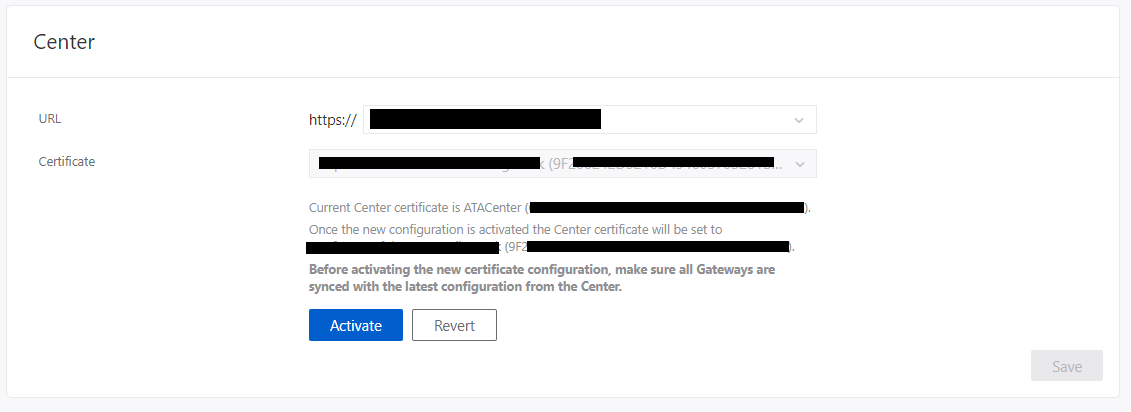
- Once you see the Green message that all gateways have synced the config click Activate and wait for all gateways to sync the config again.


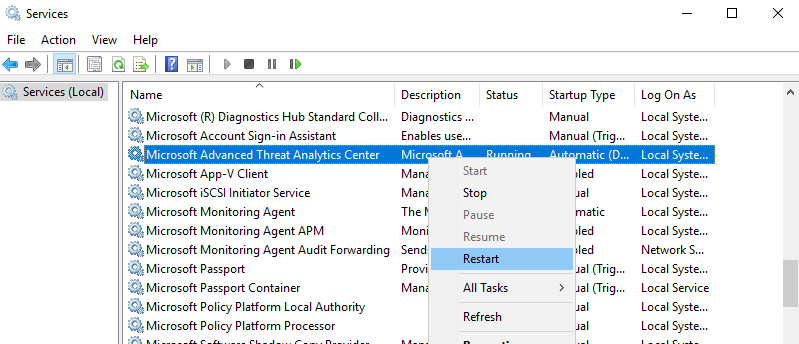
- You can now restart the ATA Center service in Windows
When you reload the page in a fresh browser, the certificate should now be the new trusted cert.

Hi, Great guide, thanks. I've got all the way through and all looks ok, but its saying (not supported) in brackets next to the cert in the ATA console. Do you know what would cause this? thankyou!
ReplyDeleteCheck the key length of your certificate, it must be 2048 bits
ReplyDeleteSpot on, thanks. Our old Webserver template was still 1024 bits.
ReplyDeleteI have updated the guide to include changing the certificate private key to 2048 bits during the request. Thank you.
DeleteGreat article. Extremely helpful. Thank you for taking the time.
ReplyDeleteI'm not getting the messages about how many gateways are synced so far, after clicking save nothing happened I had to leave the page and go back again to get the Activate button. Is there another way I can see if the gateways synced or is it just a very slow process?
ReplyDeleteIt only took a few minutes on my system for all gateways to sync (I have about 15.) I don't know how to manually check that they have synced the new certificate.
DeleteThanks for the quick reply Dave, for anyone else who ends up here if you go to the gateway and check the gatewayconfiguration.json in Program Files\Microsoft Advanced Threat Analytics\Gateway you will see the thumbprint/s of the certificates, two of them are on mine, the old cert and the new so I know it has synced.
DeleteHi, You can see following event Log for both first and second step.
DeleteUnder Application and Service Logs on Event Viewer
LogName: Microsoft ATA
Event ID: 3001
First Step: Save
Second Step: Activate
AFTER THE CERTIFICATE EXPIRES YOU CAN CLONE THE CERTIFICATE TO SOLVE THE PROBLEMA. ITS POSSIBLE
ReplyDeleteHi there, how can I create a new self-signed certificate for ata server? If I do not have CA server
ReplyDelete