If you just want the template, check the github repo.
This post assumes you already have a Windows image for your desired Server OS. The Autounattend.xml included here should work fine on Server 2016 through 2022 and will need some tweaks for a client OS.
I build my AHV images using Packer and have one for each OS type. The Terraform template assumes your image is using UEFI boot, but could easily be modified for BIOS boot. You will need to modify main.tf to add your image name to the map, or copy your template and name it the same as mine - efi-rf2-2022-packer - for instance.
Your image must be sysprepped.
# Select the correct image and product key
variable "images" {
  type = map(any)
  default = {
    "2016"      = "efi-rf2-2016-packer"
    "2016-core" = "efi-rf2-2016-core-packer"
    "2019"      = "efi-rf2-2019-packer"
    "2019-core" = "efi-rf2-2019-core-packer"
    "2022"      = "efi-rf2-2022-packer"
    "2022-core" = "efi-rf2-2022-core-packer"
  }
}
The image name in Nutanix for my 2022 server template is efi-rf2-2022-packer so if you just want to quickly test, replace the image you already have in the map, e.g… "2022" = "myServerTemplate"
The os variable in terraform.tfvars maps into the table above (and also the product key map.)
Breaking down the template
Taking a look at the main.tf file, the first section tells terraform that we need the Nutanix module
terraform {
  required_providers {
    nutanix = {
      source = "nutanix/nutanix"
    }
  }
}
The next part sets up the connection to the Nutanix endpoint - Prism Central or Elements - pulling variables from our terraform.tfvars. Once connected, the data section gets the UUID of the first cluster. Since I’m connecting directly to Prism Elements, that’s all that is needed for me. If you’re connecting to Prism Central you may need to include additional variables for the cluster.
# Connection Variables
provider "nutanix" {
  endpoint     = var.nutanix_endpoint
  port         = var.nutanix_port
  insecure     = var.nutanix_insecure
  wait_timeout = var.nutanix_wait_timeout
}

# Get Cluster uuid
data "nutanix_clusters" "clusters" {
}
locals {
  cluster1 = data.nutanix_clusters.clusters.entities[0].metadata.uuid
}
The next section is a couple of maps which serve as a lookup table to convert the os variable into other useful variables for later use. if os is 2022, then image_name = var.images[var.os] sets the image_name to efi-rf2-2022-packer.
# Select the correct image and product key
variable "images" {
  type = map(any)
  default = {
    "2016"      = "efi-rf2-2016-packer"
    "2016-core" = "efi-rf2-2016-core-packer"
    "2019"      = "efi-rf2-2019-packer"
    "2019-core" = "efi-rf2-2019-core-packer"
    "2022"      = "efi-rf2-2022-packer"
    "2022-core" = "efi-rf2-2022-core-packer"
  }
}

# These are KMS keys available from Microsoft at:
# https://learn.microsoft.com/en-us/windows-server/get-started/kms-client-activation-keys
variable "product_keys" {
  type = map(any)
  default = {
    "2016"      = "CB7KF-BWN84-R7R2Y-793K2-8XDDG"
    "2016-core" = "CB7KF-BWN84-R7R2Y-793K2-8XDDG"
    "2019"      = "WMDGN-G9PQG-XVVXX-R3X43-63DFG"
    "2019-core" = "WMDGN-G9PQG-XVVXX-R3X43-63DFG"
    "2022"      = "WX4NM-KYWYW-QJJR4-XV3QB-6VM33"
    "2022-core" = "WX4NM-KYWYW-QJJR4-XV3QB-6VM33"
  }
}

data "nutanix_image" "disk_image" {
  image_name = var.images[var.os]
}
This just gets the nutanix subnet using the name supplied in the variable
#pull desired subnet data
data "nutanix_subnet" "subnet" {
  subnet_name = var.subnet_name
}
This is the interesting bit, the template_file section is what injects variables into the Autounnatend.xml for autologon, domain join and executes a ps1 script from your webserver for onward configuration of the system.
Right now, it’s obfuscates the local admin password, but the domain join password is added in plain text. There is an option to obfuscate this using the AccountData xml section instead, but it’s still easily reversible.
On security, this xml file is added to a CD-ROM image attached to the new VM, and will be left mounted. You should have your first run script eject the CD-ROM so that the passwords contained in it are removed.
If you’ve not used Terraform before, then the state files that it creates are also considered to be sensitive since they will contain usernames, passwords etc. If you’re planning to do this in production then investigate using remote state.
# Unattend.xml template
data "template_file" "autounattend" {
  template = file("${path.module}/Autounattend.xml")
  vars = {
    ADMIN_PASSWORD       = textencodebase64(join("", [var.admin_password, "AdministratorPassword"]), "UTF-16LE")
    AUTOLOGON_PASSWORD   = textencodebase64(join("", [var.admin_password, "Password"]), "UTF-16LE")
    ORG_NAME             = "Terraform Org"
    OWNER_NAME           = "Terraform Owner"
    TIMEZONE             = var.timezone
    PRODUCT_KEY          = var.product_keys[var.os]
    VM_NAME              = var.vm_name
    AD_DOMAIN_SHORT      = var.domain_shortname
    AD_DOMAIN            = var.domain
    AD_DOMAIN_USER       = var.domain_user
    AD_DOMAIN_PASSWORD   = var.domain_pw
    AD_DOMAIN_OU_PATH    = var.ou_path
    FIRST_RUN_SCRIPT_URI = var.first_run_script_uri
  }
}
Next is the main virtual machine resource section, VM settings are hard coded here but can be parameterised easily.
# Virtual machine resource
resource "nutanix_virtual_machine" "virtual_machine_1" {
  # General Information
  name                 = var.vm_name
  description          = "Terraform Test VM"
  num_vcpus_per_socket = 4
  num_sockets          = 1
  memory_size_mib      = 8192
  boot_type            = "UEFI"

  guest_customization_sysprep = {
    install_type = "PREPARED"
    unattend_xml = base64encode(data.template_file.autounattend.rendered)
  }

  # VM Cluster
  cluster_uuid = local.cluster1

  # What networks will this be attached to?
  nic_list {
    subnet_uuid = data.nutanix_subnet.subnet.id
  }

  # What disk/cdrom configuration will this have?
  disk_list {
    data_source_reference = {
      kind = "image"
      uuid = data.nutanix_image.disk_image.id
    }
  }

  disk_list {
    # defining an additional entry in the disk_list array will create another.
    disk_size_mib   = 10240
  }
}
The last bit just outputs the IP of the new machine
# Show IP address
output "ip_address" {
  value = nutanix_virtual_machine.virtual_machine_1.nic_list_status[0].ip_endpoint_list[0].ip
}
And for completeness, here’s the Autounattend.xml template
Building a VM
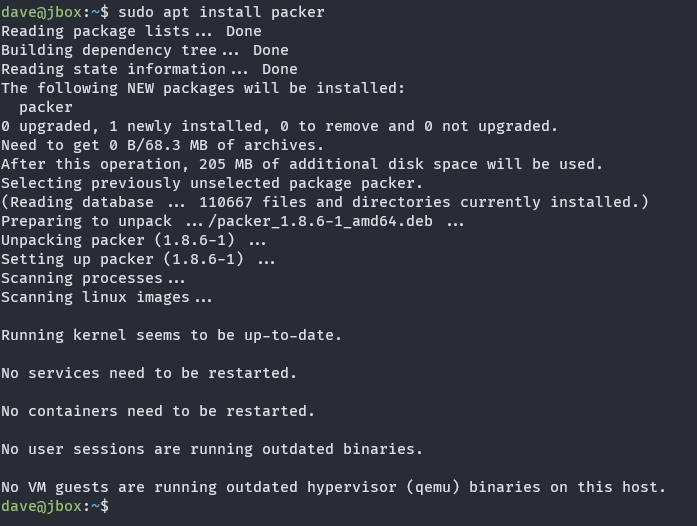
To get started, install terraform and make sure it’s available in your path. I’m using Windows / PowerShell for this but it shouldn’t matter if you’re on another OS for your build host.
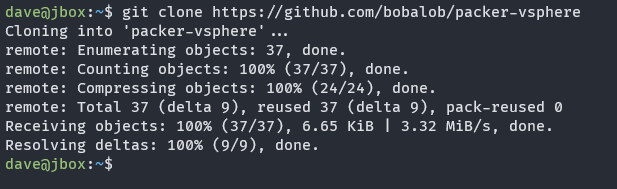
Clone the repo
git clone https://github.com/bobalob/tf-nutanix
Modify the example terraform.tfvars file with your settings.
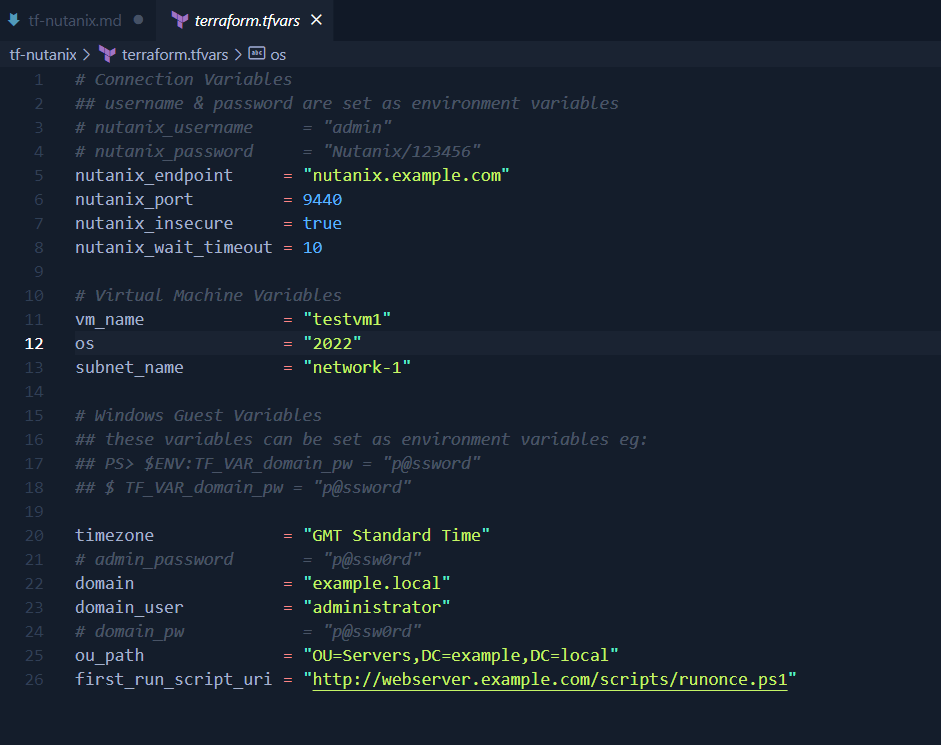
Set environment variables for usernames/passwords so they aren’t stored in plain text! Make sure to escape any PowerShell specific characters like $ and `. If automating this step, consider using a password vault solution like Azure Key Vault.

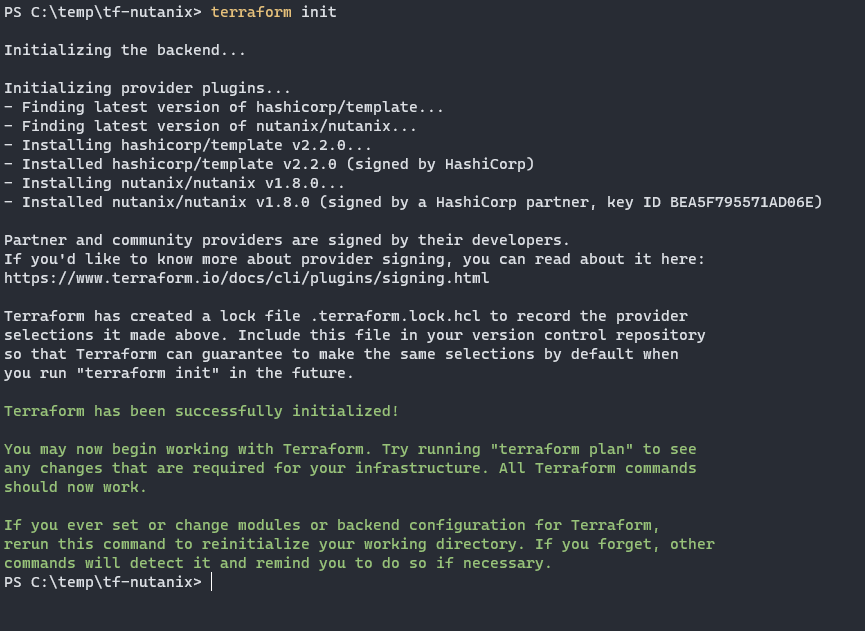
Make sure you’re in the right folder and run terraform init. This will download the required plugins and get you ready to run.
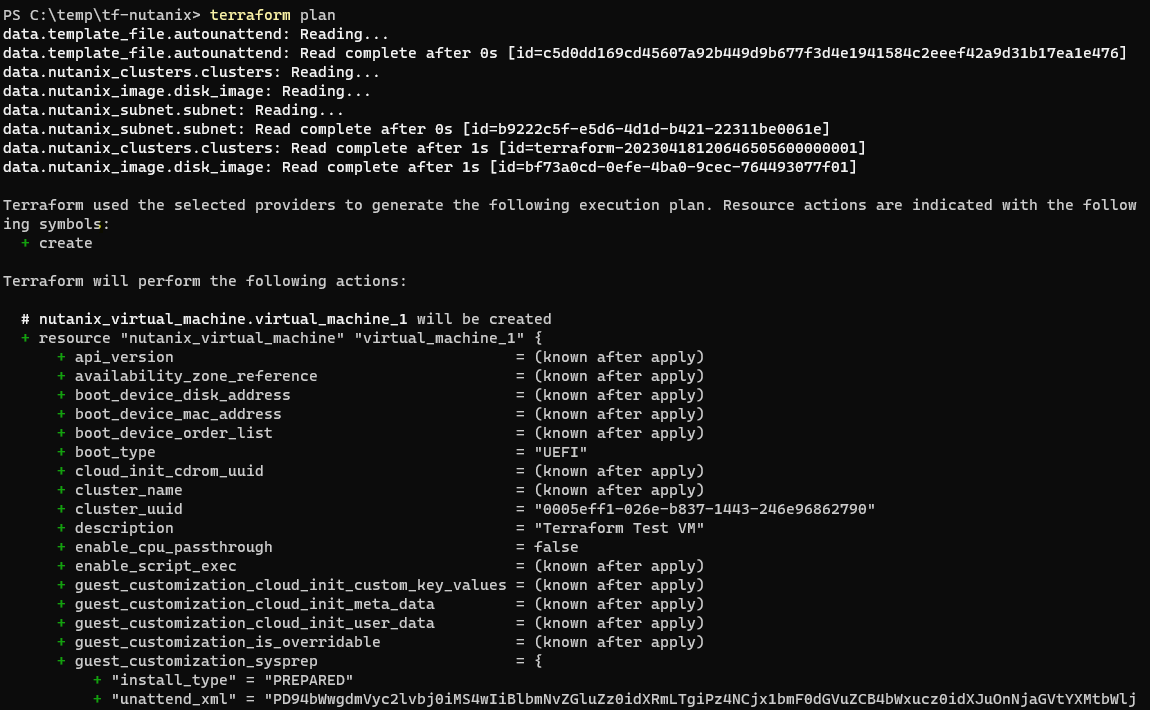
If this looks okay, run terraform plan
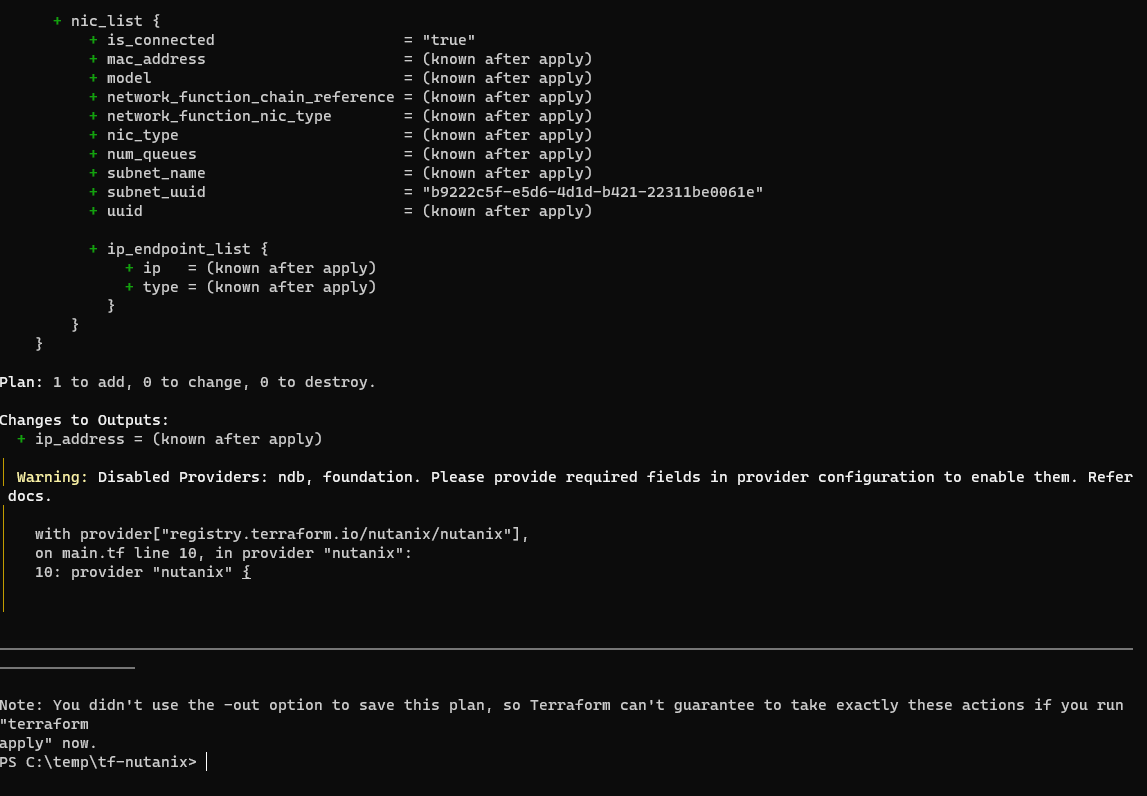
Again, if this looks OK you can apply with terraform apply
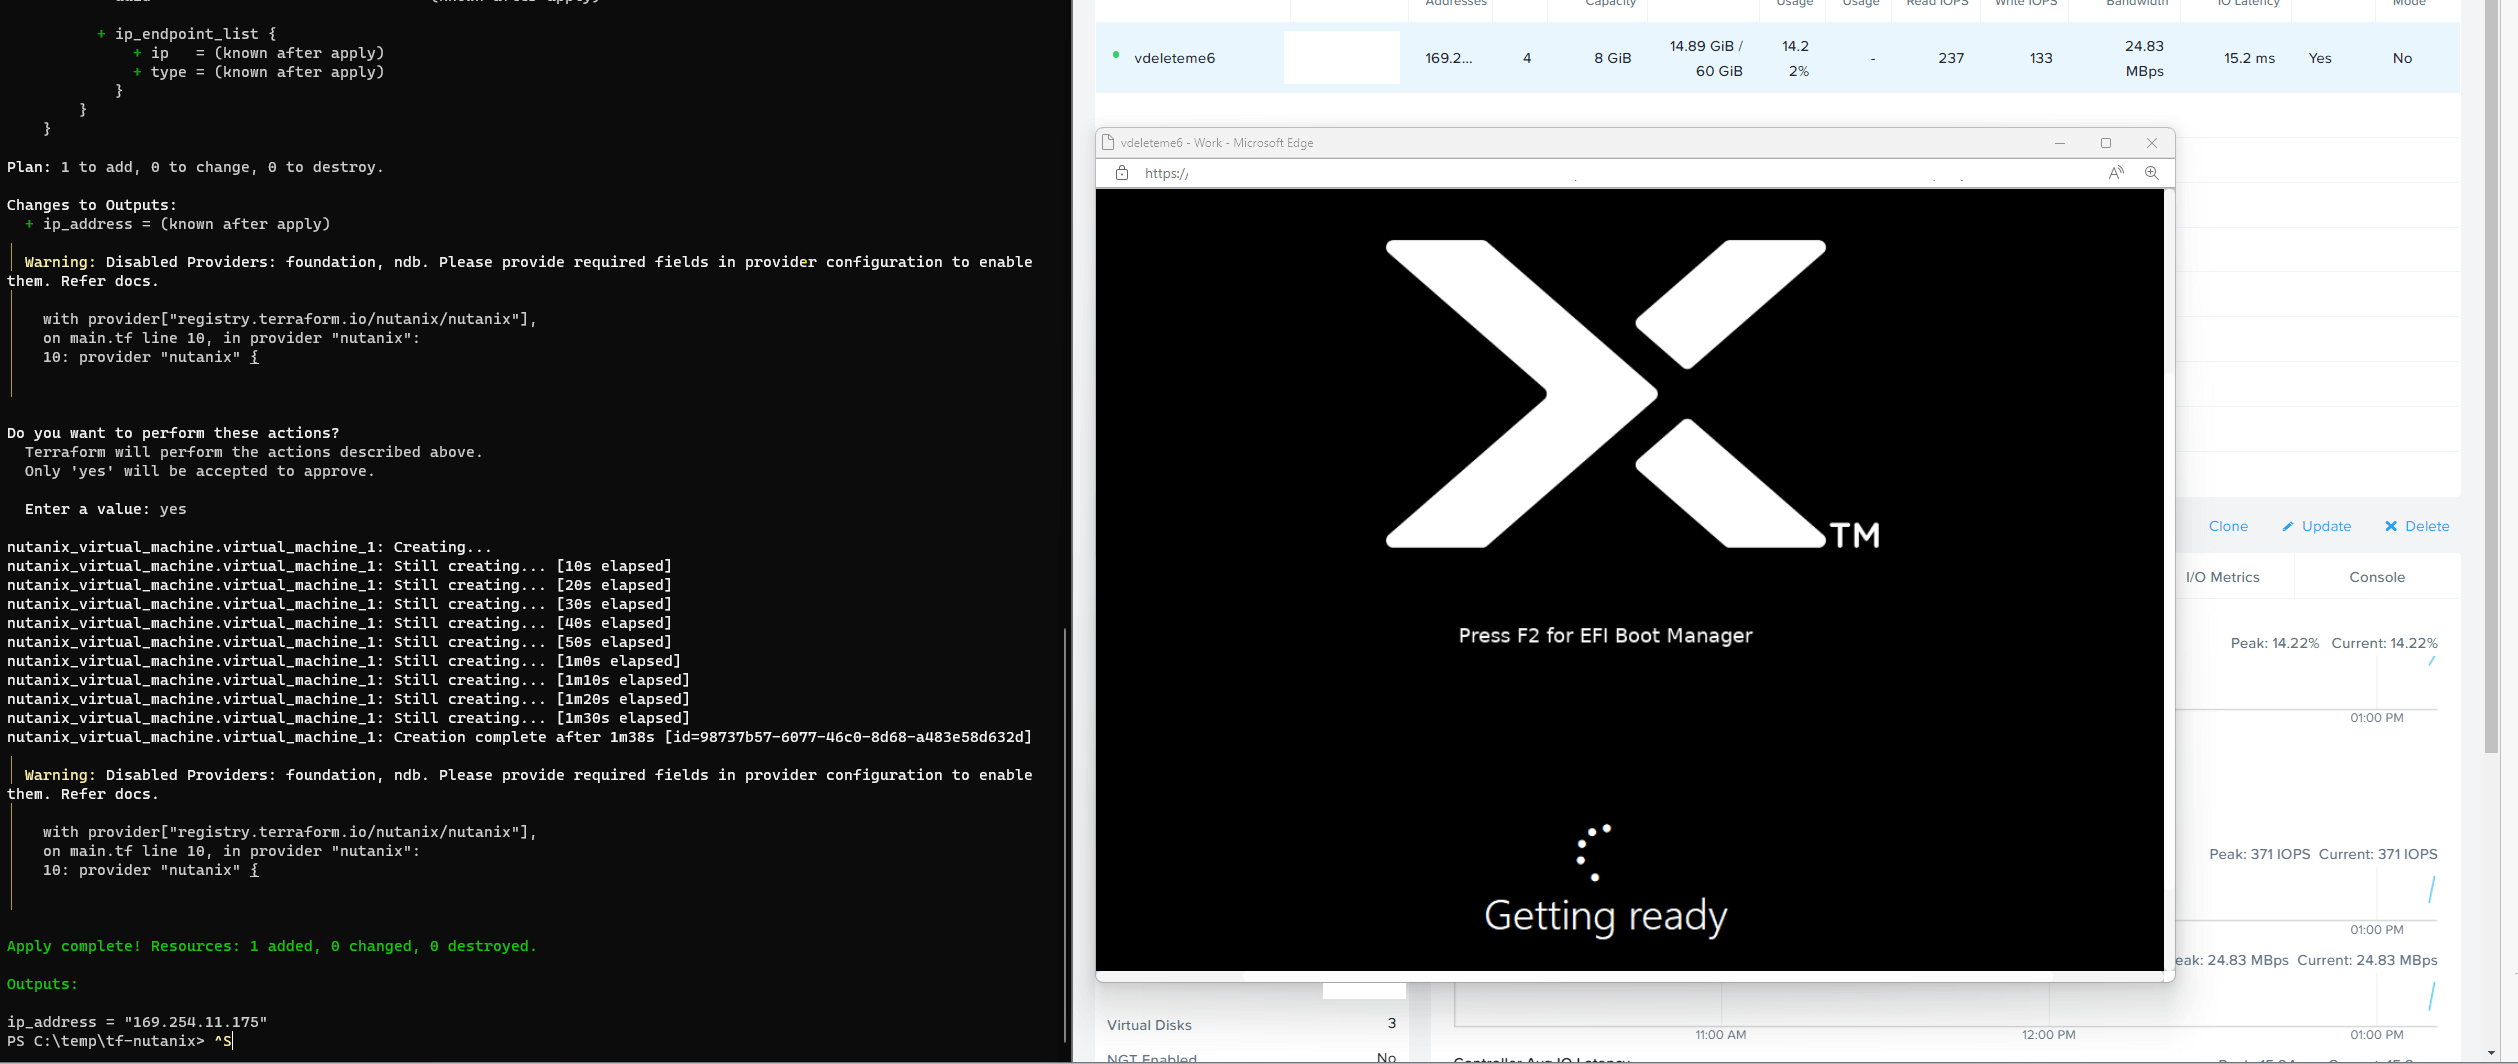
And here’s the script from the webserver executing
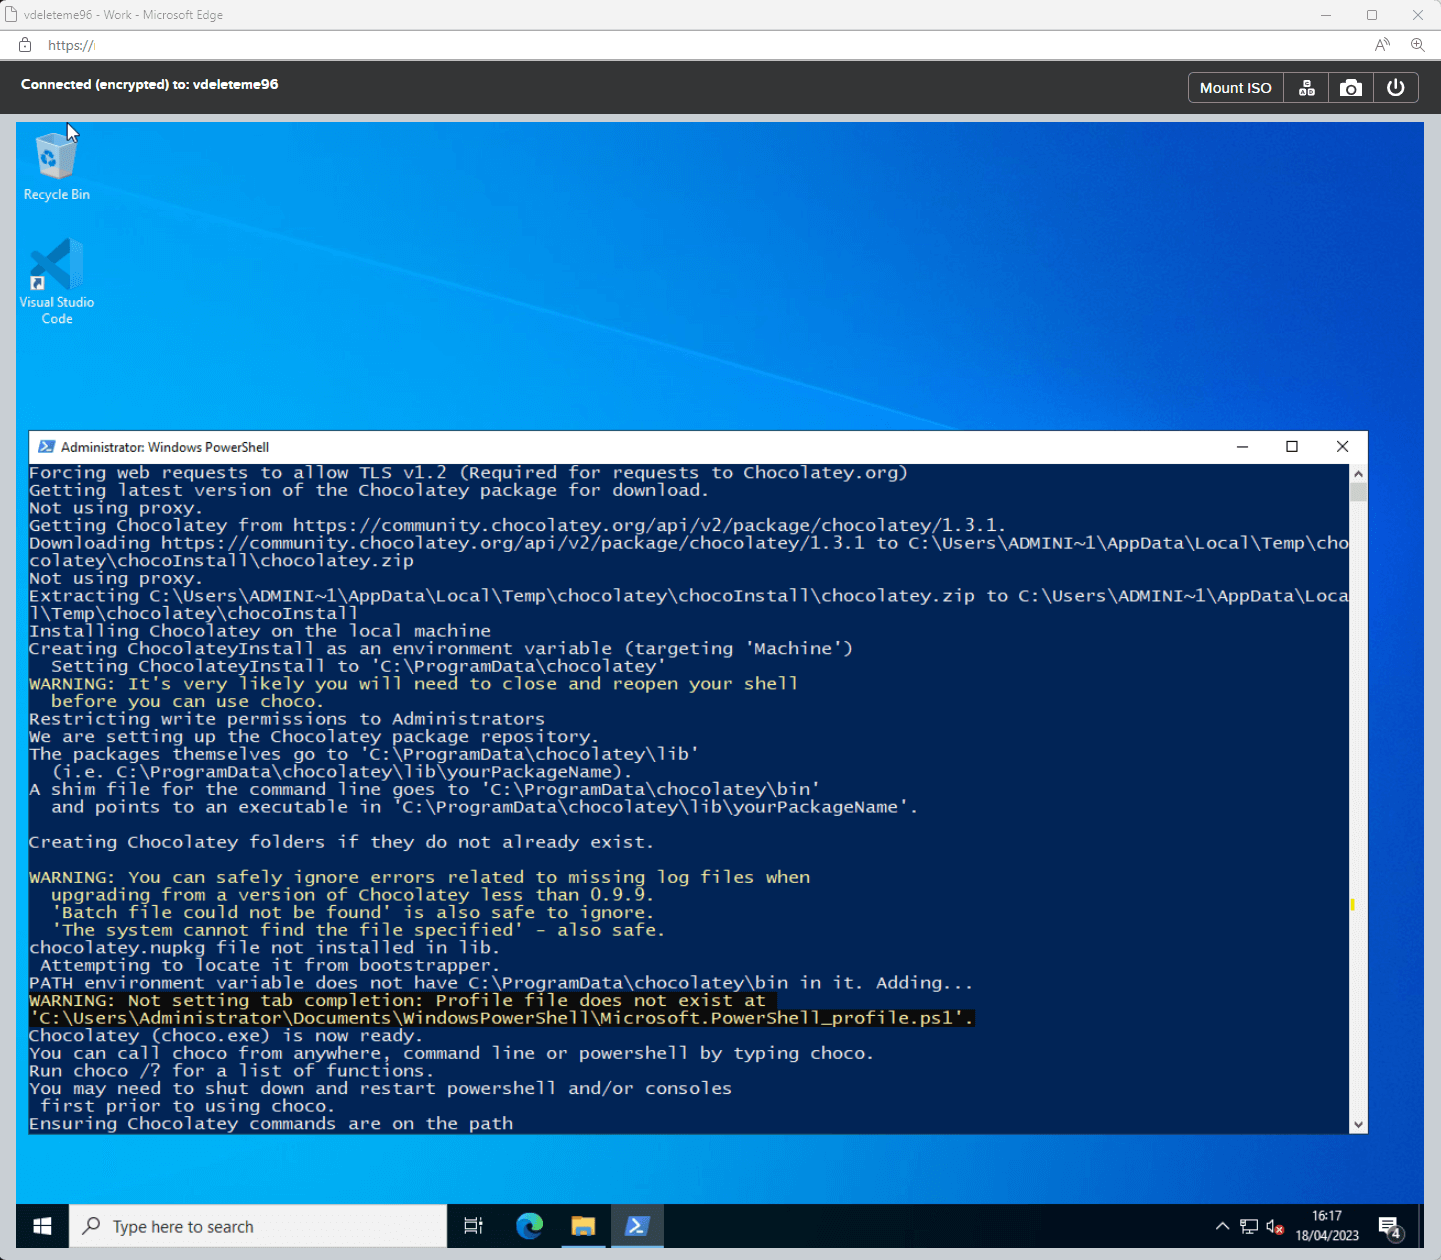
Have fun!
Written with StackEdit.