Convert UEFI VM to BIOS MBR (Windows, Nutanix AHV)
What happens if you have a disk image configured for a UEFI machine, but you need to boot from BIOS? UEFI boot uses GPT disks, BIOS uses MBR. Microsoft’s guide to convert GPT to MBR requires the disk is empty, that doesn’t help if you need to boot the UEFI image on a BIOS machine…
In my case, my Nutanix home lab isn’t able to boot UEFI reliably and therefore I was unable to use all of my older VMware machines in this system. Nutanix does support UEFI booting, but in my case I believe my hardware is unable to support this.
There may be other reasons, such as migrating a newer machine to an older virtualisation platform, or even converting a physical disk from a newer machine to boot on an older machine.
There are several changes required to allow an image configured for UEFI boot to be able to boot from BIOS. BIOS requires MBR partitioned disks, while UEFI utilises GPT partitioning. UEFI accesses boot files in a dedicated boot partition, while BIOS uses a partition marked as “active” with the required boot files on this partition. BIOS also requires a “Master Boot Record” on the disk which is configured as the boot device.
The steps to switch from UEFI to BIOS are essentially:
- Install a blank, new disk in the system
- Initialise the new disk as MBR
- Create a new, active partition
- Clone the contents of the original GPT system partition to the new MBR disk partition
- Write an MBR to the new disk
- Add the required boot files
- Update the windows BCD (Boot Configuration Data)
For more information on the Windows boot process, check this Wikipedia article.
The steps in this guide are all performed on a Nutanix AHV CE system, but most of the steps should work on other virtualisation platforms or on a physical machine with appropriate disks and a DVD-ROM or USB to boot the required tools.
IMPORTANT before attempting any of these steps make sure you have a known good backup of your original image in case of problems. The steps here could be destructive.
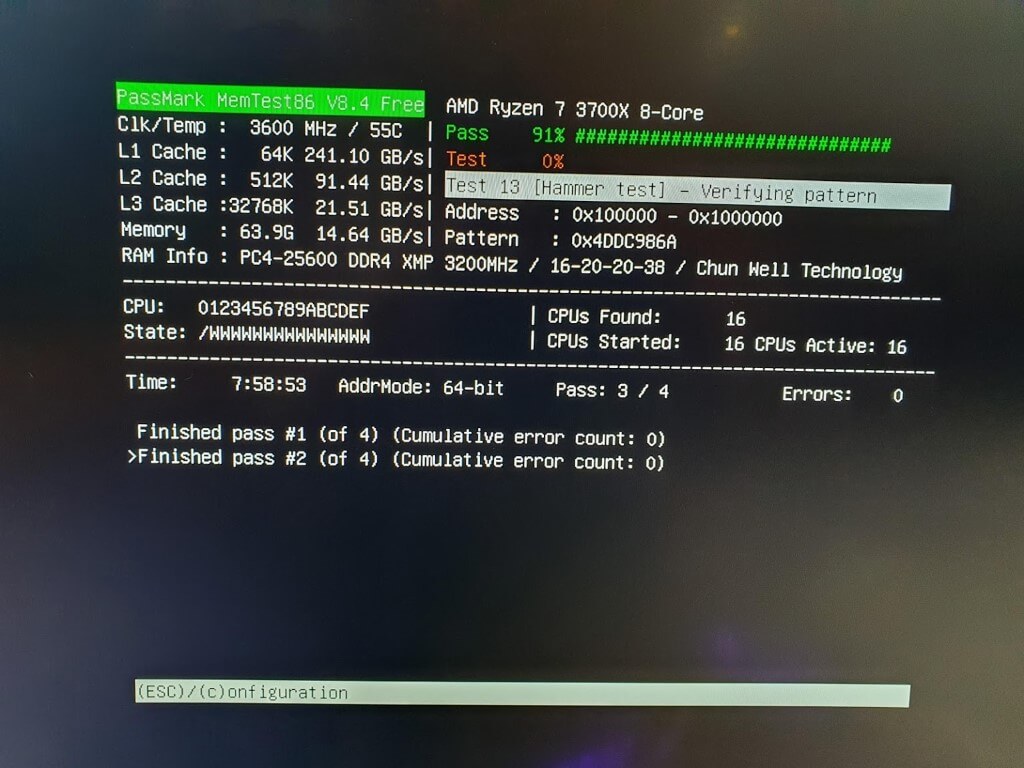
I’m starting here with a single GPT disk image that contains the boot partition for the machine. I have created a virtual machine in Nutanix, with a basic 2 CPU and 4 GB RAM configuration, but 1 CPU and 1 GB should be enough for the boot tools that are needed. Once the image is able to boot, then other data disks can be added as required.
If this is another hypervisor or a physical machine and the machine doesn’t boot or doesn’t detect the disk in Hiren’s Boot CD, investigate connecting the disks using an IDE adapter or changing the “IDE / AHCI” mode to IDE in the physical machine BIOS.
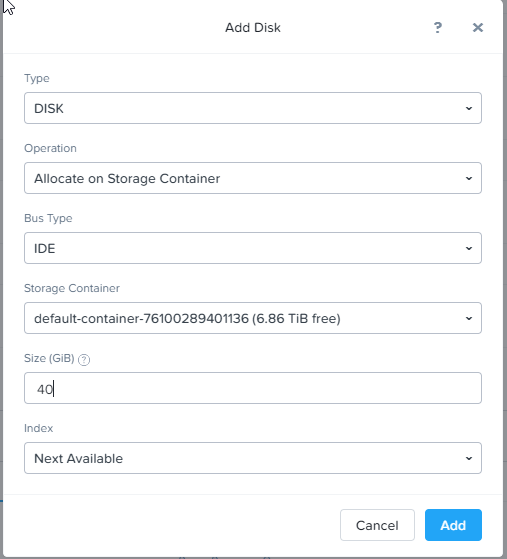
Start by adding the original disk to the machine on an IDE bus. I’m using IDE so that Hiren’s boot CD is able to see the disk without injecting drivers. Also because the original disk image does not have the virtual SCSI drivers installed. I will convert to SCSI later.
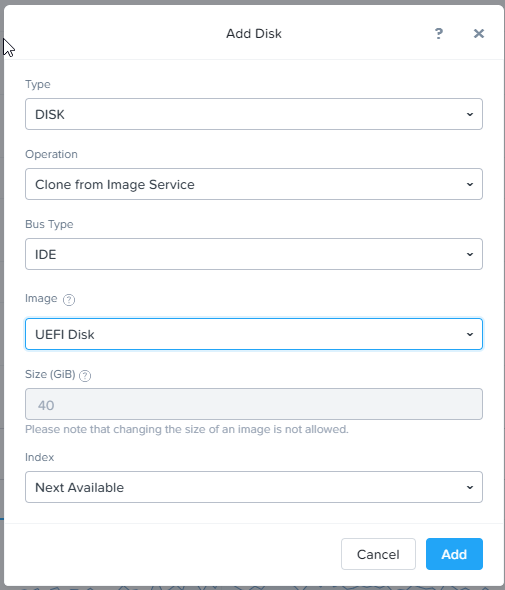
Add another fresh disk of the same size or greater than your primary boot partition as IDE
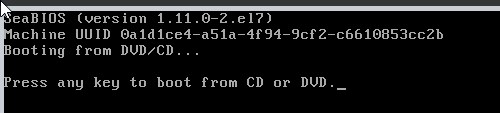
Add Hiren’s boot CD and boot the machine. If you are using a physical machine you could use Rufus to create a bootable USB.
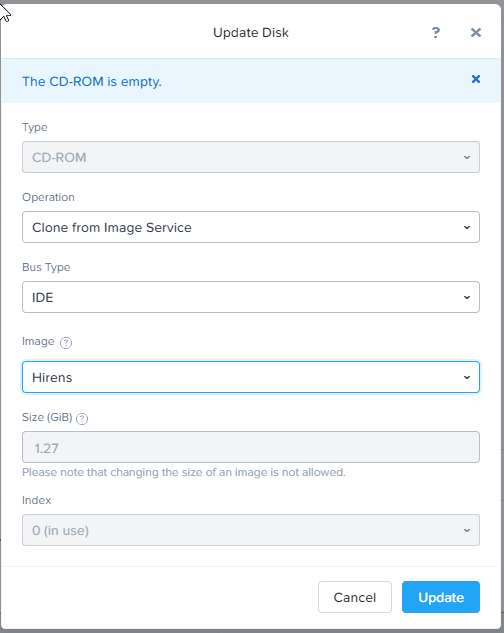
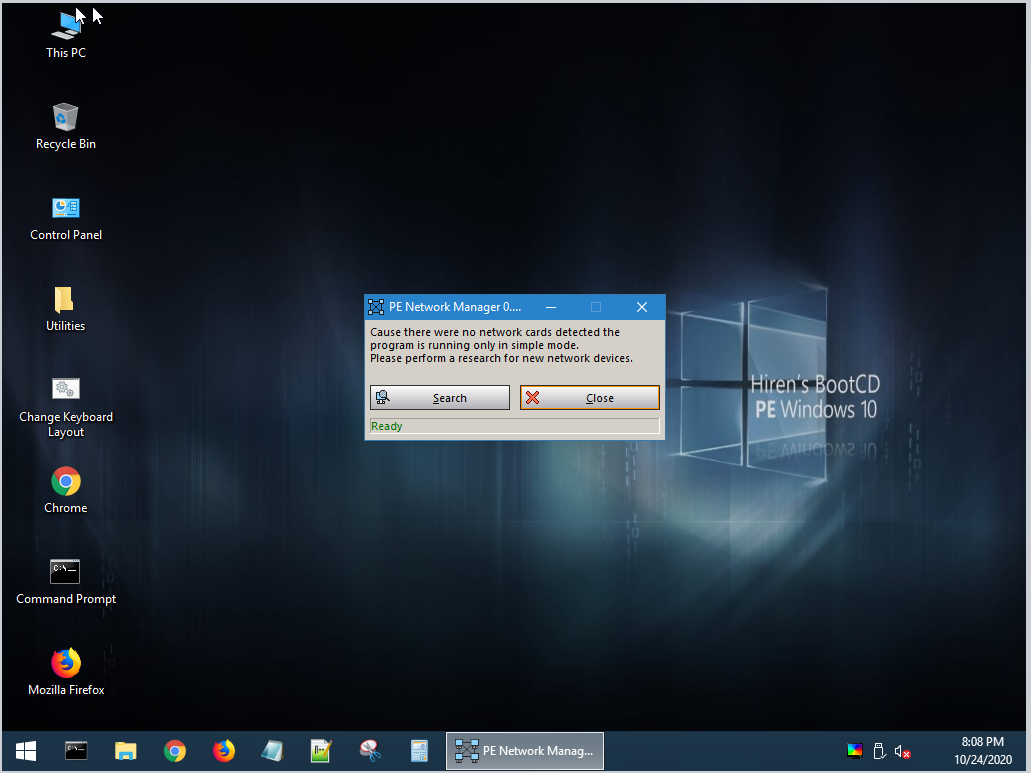
Hiren’s Boot CD desktop should appear
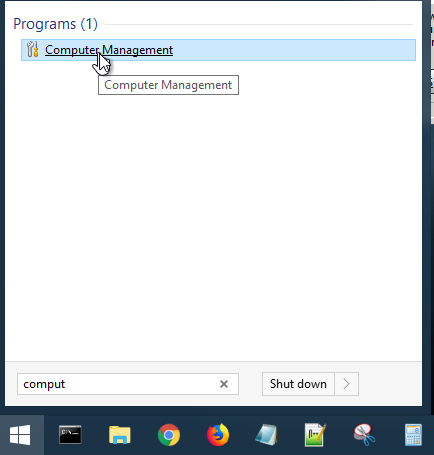
Launch Computer Management and click Disk Management
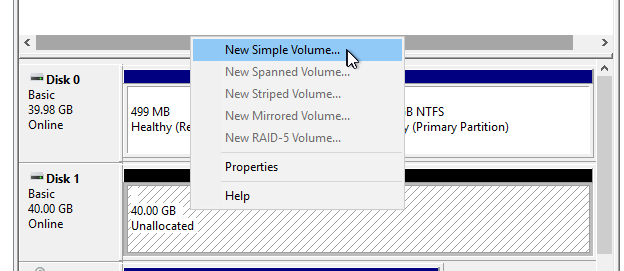
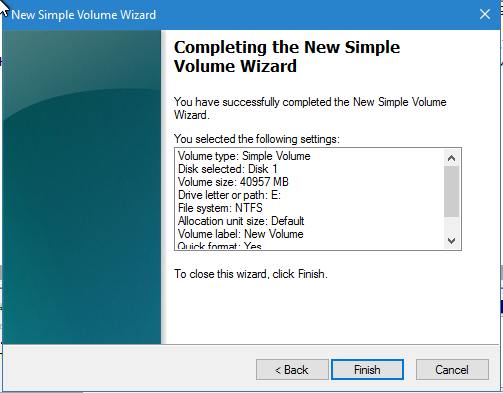
Initialise the new disk as MBR when asked

Create a new partition on the disk
Accept all the defaults in the wizard and click Finish. Minimise the Computer Management console.
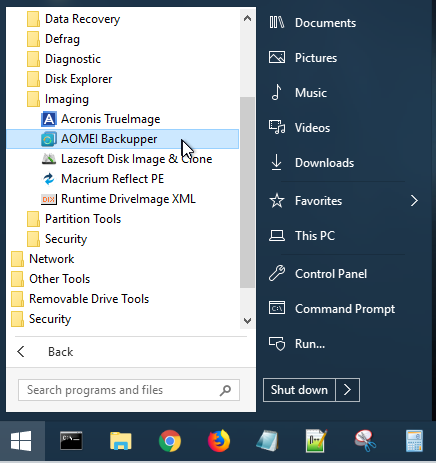
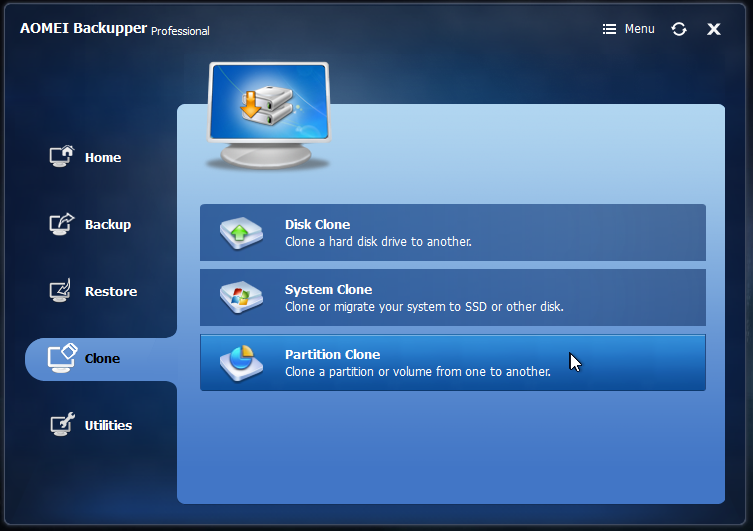
Launch AOMEI Backupper
Select Clone, Partition Clone
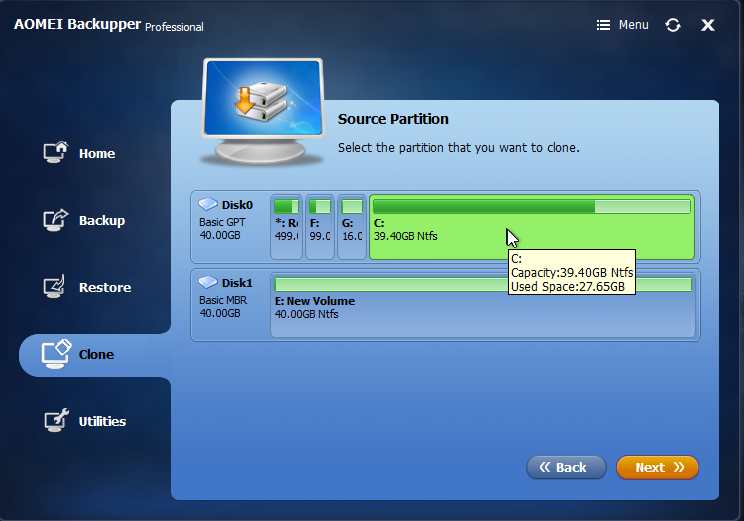
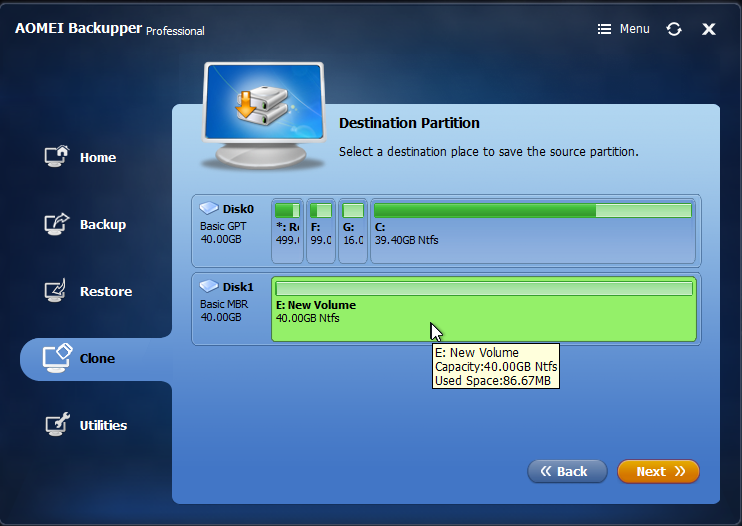
Select the your source partition from the GPT disk
Select the new destination partition created earlier. It should be called “New Volume” if you accepted the defaults when creating. Click Next.
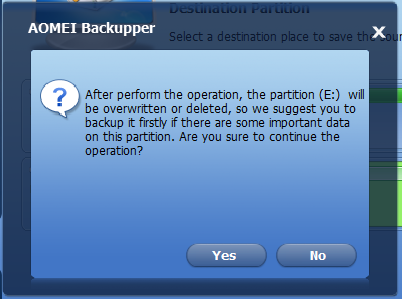
Accept the warning only if you’re sure you selected the correct source and destination partitions and only if you have a known good backup of the original image.
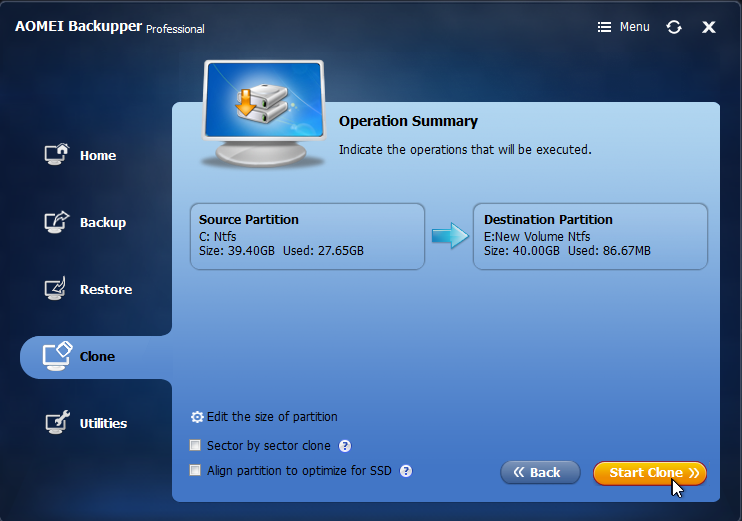
Click Start Clone.
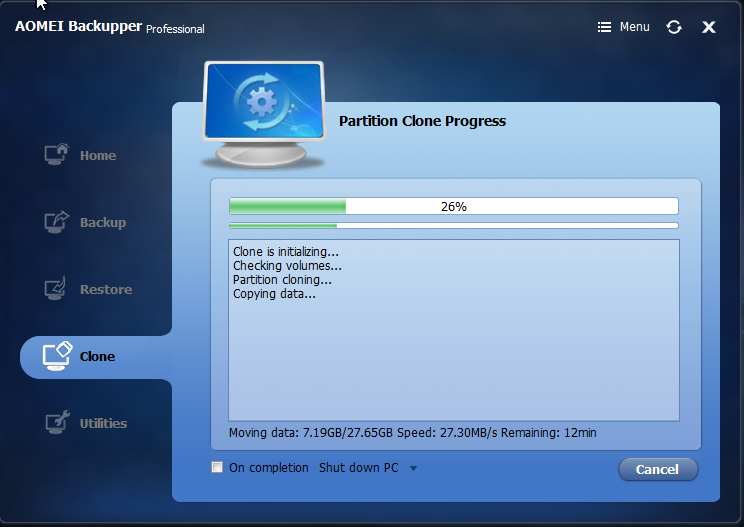
Allow the clone to complete
Once the clone is complete, Click Finish and close the Backupper application.

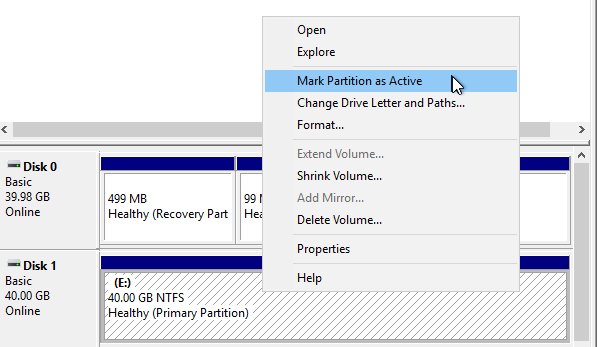
Re-open the Computer Management console and go to disk management. You may need to right click and click refresh to update the view. Right click on the new partition and click “Mark Partition as Active.”
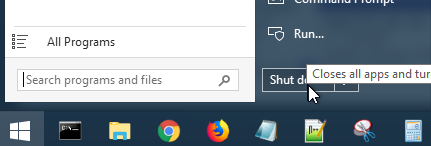
Power down the machine
Remove the original disk, leaving only the MBR disk

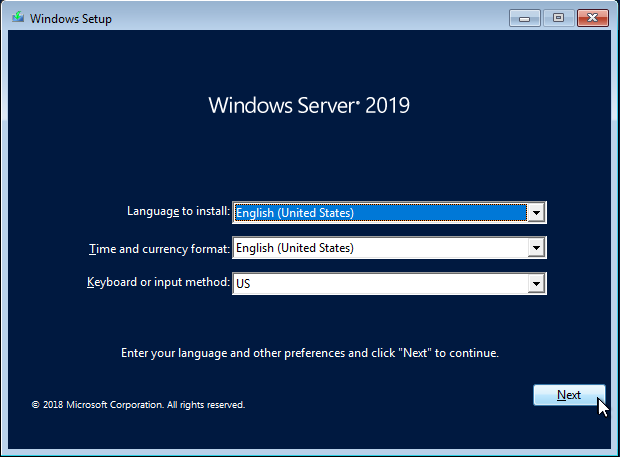
Add a Windows 10 / Server 2016 / Server 2019 boot ISO to the virtual CD drive
Boot the VM to windows setup
Click Next
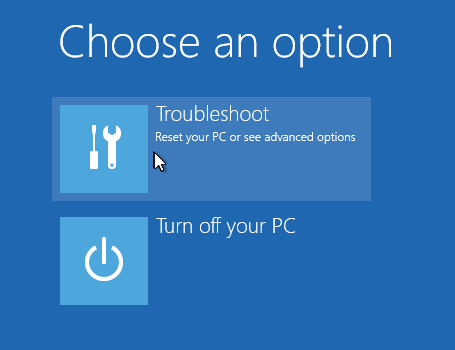
Click Repair your computer

Select Troubleshoot
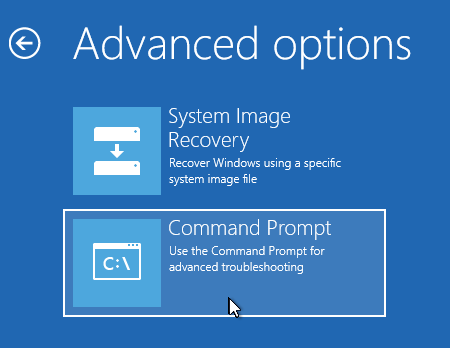
Select Command Prompt
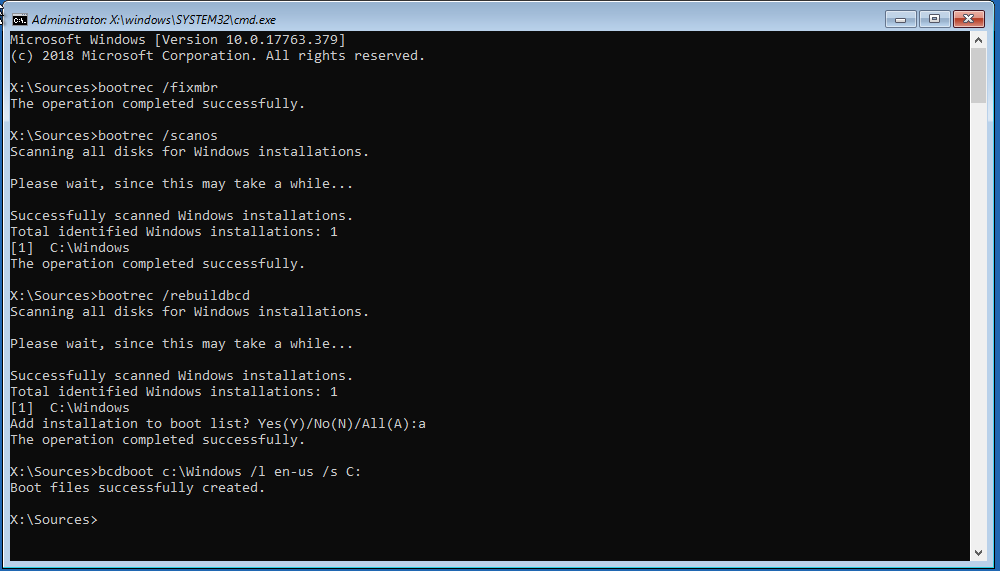
Run the following commands, The first one writes a new MBR to the disk. Second and third are to update the windows BCD (Boot Configuration Data) and the third copies in the files needed to boot the machine. It’s possible that the “C:” drive may need to be changed to a different drive letter depending on your configuration. More information can be found here
bootrec /fixmbr
bootrec /scanos
bootrec /rebuildbcd
bcdboot c:\Windows /l en-us /s C:
Reboot the VM, hopefully it boots into Windows. If you don’t need to install drivers, you’re done.
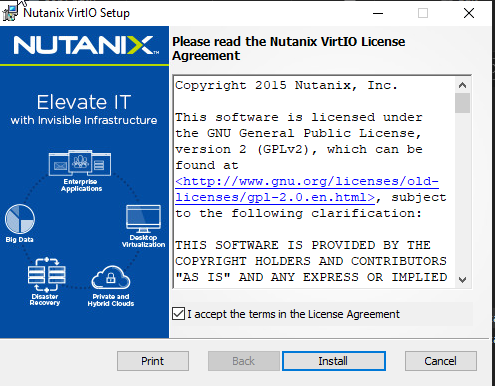
Install Virtual machine tools / drivers
Since I’m working on Nutanix AHV, I will install the VirtIO drivers. If you’re running VMware you may need to install VMware tools. Hyper-V Generation 1 machines (BIOS Type) can only boot from IDE so the following is not required. If you are working on a physical machine and it booted, then the following is not required.
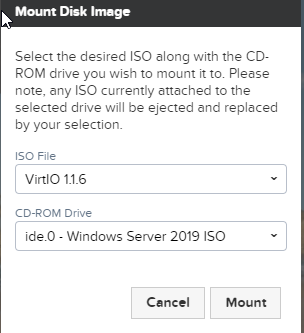
Mount the VirtIO ISO
Install the Drivers and shut down the VM
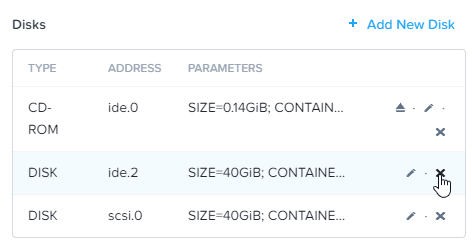
Copy the boot disk to SCSI, log into a CVM with SSH to run the following command. Check the current virtual machine for the ide.X disk ID. In VMware this procedure will be very different.
acli vm.disk_create <VM NAME> bus=scsi clone_from_vmdisk=vm:<VM NAME>:ide.2

Remove the IDE disk
Disk Removed
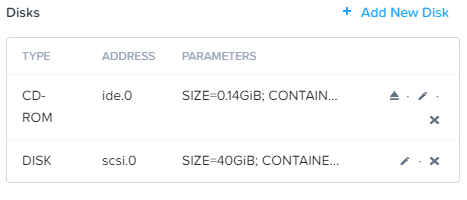
Hopefully the VM will now boot from SCSI using BIOS

Written with StackEdit.