Showing posts with label Nutanix. Show all posts

Tuesday, 18 April 2023

Terraform, Nutanix AHV and Windows

Deploy a Windows Template using Terraform to Nutanix AHV

If you just want the template, check the github repo.

This post assumes you already have a Windows image for your desired Server OS. The Autounattend.xml included here should work fine on Server 2016 through 2022 and will need some tweaks for a client OS.

I build my AHV images using Packer and have one for each OS type. The Terraform template assumes your image is using UEFI boot, but could easily be modified for BIOS boot. You will need to modify main.tf to add your image name to the map, or copy your template and name it the same as mine - efi-rf2-2022-packer - for instance.

Your image must be sysprepped. 

# Select the correct image and product key
variable "images" {
  type = map(any)
  default = {
    "2016"      = "efi-rf2-2016-packer"
    "2016-core" = "efi-rf2-2016-core-packer"
    "2019"      = "efi-rf2-2019-packer"
    "2019-core" = "efi-rf2-2019-core-packer"
    "2022"      = "efi-rf2-2022-packer"
    "2022-core" = "efi-rf2-2022-core-packer"
  }
}

The image name in Nutanix for my 2022 server template is efi-rf2-2022-packer so if you just want to quickly test, replace the image you already have in the map, e.g… "2022" = "myServerTemplate"

The os variable in terraform.tfvars maps into the table above (and also the product key map.)

Breaking down the template

Taking a look at the main.tf file, the first section tells terraform that we need the Nutanix module

terraform {
  required_providers {
    nutanix = {
      source = "nutanix/nutanix"
    }
  }
}

The next part sets up the connection to the Nutanix endpoint - Prism Central or Elements - pulling variables from our terraform.tfvars. Once connected, the data section gets the UUID of the first cluster. Since I’m connecting directly to Prism Elements, that’s all that is needed for me. If you’re connecting to Prism Central you may need to include additional variables for the cluster.

# Connection Variables
provider "nutanix" {
  endpoint     = var.nutanix_endpoint
  port         = var.nutanix_port
  insecure     = var.nutanix_insecure
  wait_timeout = var.nutanix_wait_timeout
}

# Get Cluster uuid
data "nutanix_clusters" "clusters" {
}
locals {
  cluster1 = data.nutanix_clusters.clusters.entities[0].metadata.uuid
}

The next section is a couple of maps which serve as a lookup table to convert the os variable into other useful variables for later use. if os is 2022, then image_name = var.images[var.os] sets the image_name to efi-rf2-2022-packer.

# Select the correct image and product key
variable "images" {
  type = map(any)
  default = {
    "2016"      = "efi-rf2-2016-packer"
    "2016-core" = "efi-rf2-2016-core-packer"
    "2019"      = "efi-rf2-2019-packer"
    "2019-core" = "efi-rf2-2019-core-packer"
    "2022"      = "efi-rf2-2022-packer"
    "2022-core" = "efi-rf2-2022-core-packer"
  }
}

# These are KMS keys available from Microsoft at:
# https://learn.microsoft.com/en-us/windows-server/get-started/kms-client-activation-keys
variable "product_keys" {
  type = map(any)
  default = {
    "2016"      = "CB7KF-BWN84-R7R2Y-793K2-8XDDG"
    "2016-core" = "CB7KF-BWN84-R7R2Y-793K2-8XDDG"
    "2019"      = "WMDGN-G9PQG-XVVXX-R3X43-63DFG"
    "2019-core" = "WMDGN-G9PQG-XVVXX-R3X43-63DFG"
    "2022"      = "WX4NM-KYWYW-QJJR4-XV3QB-6VM33"
    "2022-core" = "WX4NM-KYWYW-QJJR4-XV3QB-6VM33"
  }
}

data "nutanix_image" "disk_image" {
  image_name = var.images[var.os]
}

This just gets the nutanix subnet using the name supplied in the variable

#pull desired subnet data
data "nutanix_subnet" "subnet" {
  subnet_name = var.subnet_name
}

This is the interesting bit, the template_file section is what injects variables into the Autounnatend.xml for autologon, domain join and executes a ps1 script from your webserver for onward configuration of the system.

Right now, it’s obfuscates the local admin password, but the domain join password is added in plain text. There is an option to obfuscate this using the AccountData xml section instead, but it’s still easily reversible.

On security, this xml file is added to a CD-ROM image attached to the new VM, and will be left mounted. You should have your first run script eject the CD-ROM so that the passwords contained in it are removed.

If you’ve not used Terraform before, then the state files that it creates are also considered to be sensitive since they will contain usernames, passwords etc. If you’re planning to do this in production then investigate using remote state.

# Unattend.xml template
data "template_file" "autounattend" {
  template = file("${path.module}/Autounattend.xml")
  vars = {
    ADMIN_PASSWORD       = textencodebase64(join("", [var.admin_password, "AdministratorPassword"]), "UTF-16LE")
    AUTOLOGON_PASSWORD   = textencodebase64(join("", [var.admin_password, "Password"]), "UTF-16LE")
    ORG_NAME             = "Terraform Org"
    OWNER_NAME           = "Terraform Owner"
    TIMEZONE             = var.timezone
    PRODUCT_KEY          = var.product_keys[var.os]
    VM_NAME              = var.vm_name
    AD_DOMAIN_SHORT      = var.domain_shortname
    AD_DOMAIN            = var.domain
    AD_DOMAIN_USER       = var.domain_user
    AD_DOMAIN_PASSWORD   = var.domain_pw
    AD_DOMAIN_OU_PATH    = var.ou_path
    FIRST_RUN_SCRIPT_URI = var.first_run_script_uri
  }
}

Next is the main virtual machine resource section, VM settings are hard coded here but can be parameterised easily.

# Virtual machine resource
resource "nutanix_virtual_machine" "virtual_machine_1" {
  # General Information
  name                 = var.vm_name
  description          = "Terraform Test VM"
  num_vcpus_per_socket = 4
  num_sockets          = 1
  memory_size_mib      = 8192
  boot_type            = "UEFI"

  guest_customization_sysprep = {
    install_type = "PREPARED"
    unattend_xml = base64encode(data.template_file.autounattend.rendered)
  }

  # VM Cluster
  cluster_uuid = local.cluster1

  # What networks will this be attached to?
  nic_list {
    subnet_uuid = data.nutanix_subnet.subnet.id
  }

  # What disk/cdrom configuration will this have?
  disk_list {
    data_source_reference = {
      kind = "image"
      uuid = data.nutanix_image.disk_image.id
    }
  }

  disk_list {
    # defining an additional entry in the disk_list array will create another.
    disk_size_mib   = 10240
  }
}

The last bit just outputs the IP of the new machine

# Show IP address
output "ip_address" {
  value = nutanix_virtual_machine.virtual_machine_1.nic_list_status[0].ip_endpoint_list[0].ip
}

And for completeness, here’s the Autounattend.xml template

Building a VM

To get started, install terraform and make sure it’s available in your path. I’m using Windows / PowerShell for this but it shouldn’t matter if you’re on another OS for your build host.

Clone the repo

git clone https://github.com/bobalob/tf-nutanix

Modify the example terraform.tfvars file with your settings.
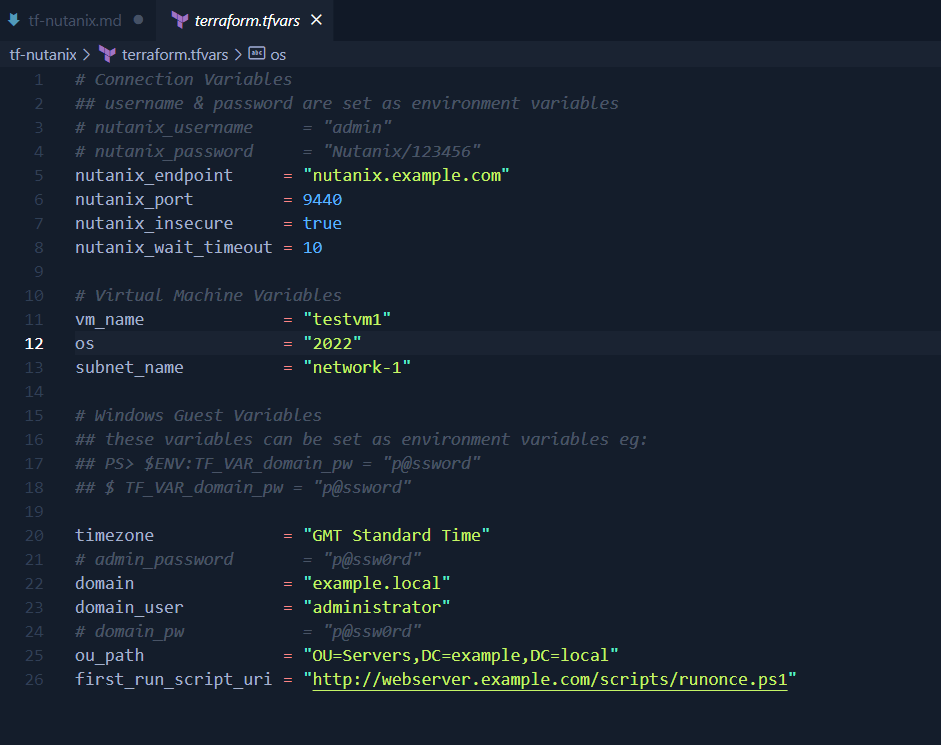
Set environment variables for usernames/passwords so they aren’t stored in plain text! Make sure to escape any PowerShell specific characters like $ and `. If automating this step, consider using a password vault solution like Azure Key Vault.

Make sure you’re in the right folder and run terraform init. This will download the required plugins and get you ready to run.
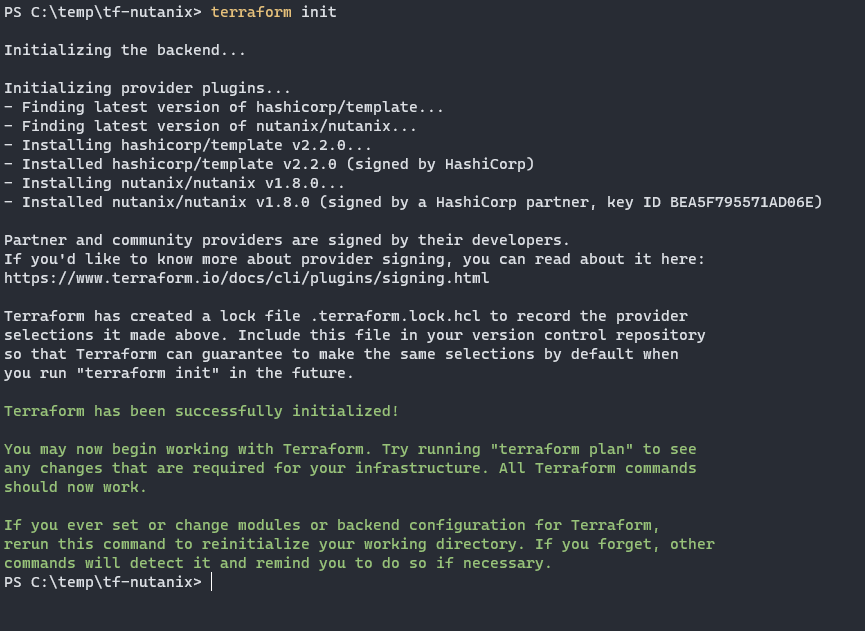
If this looks okay, run terraform plan
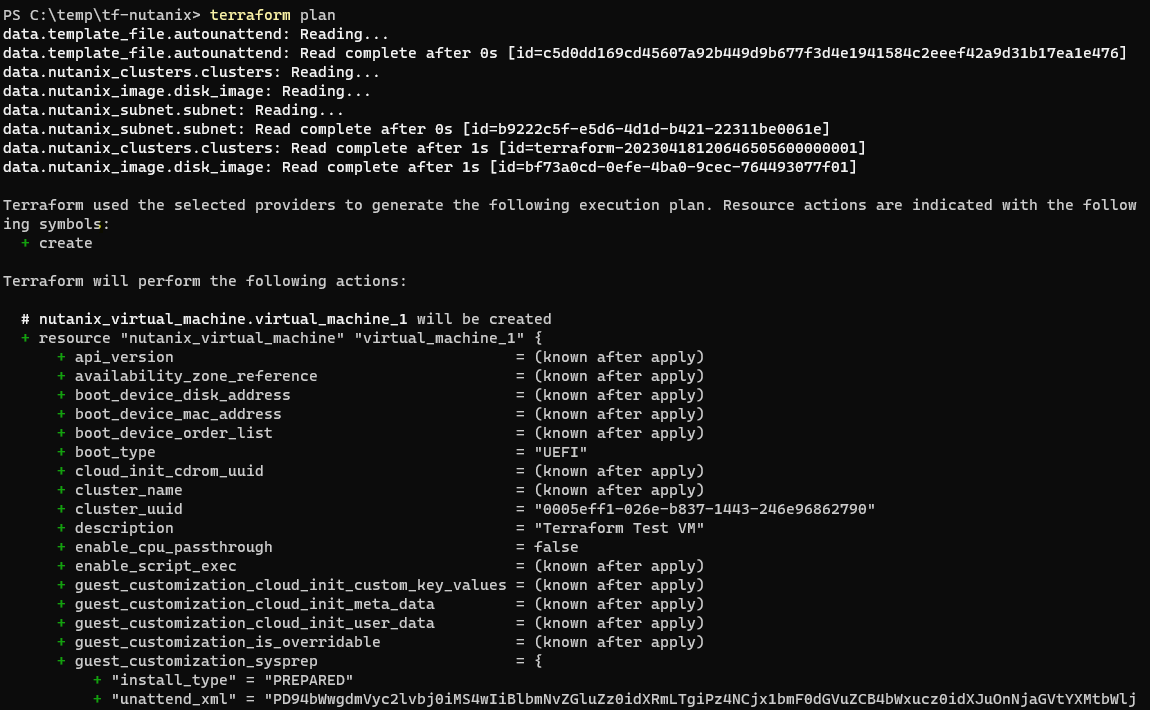
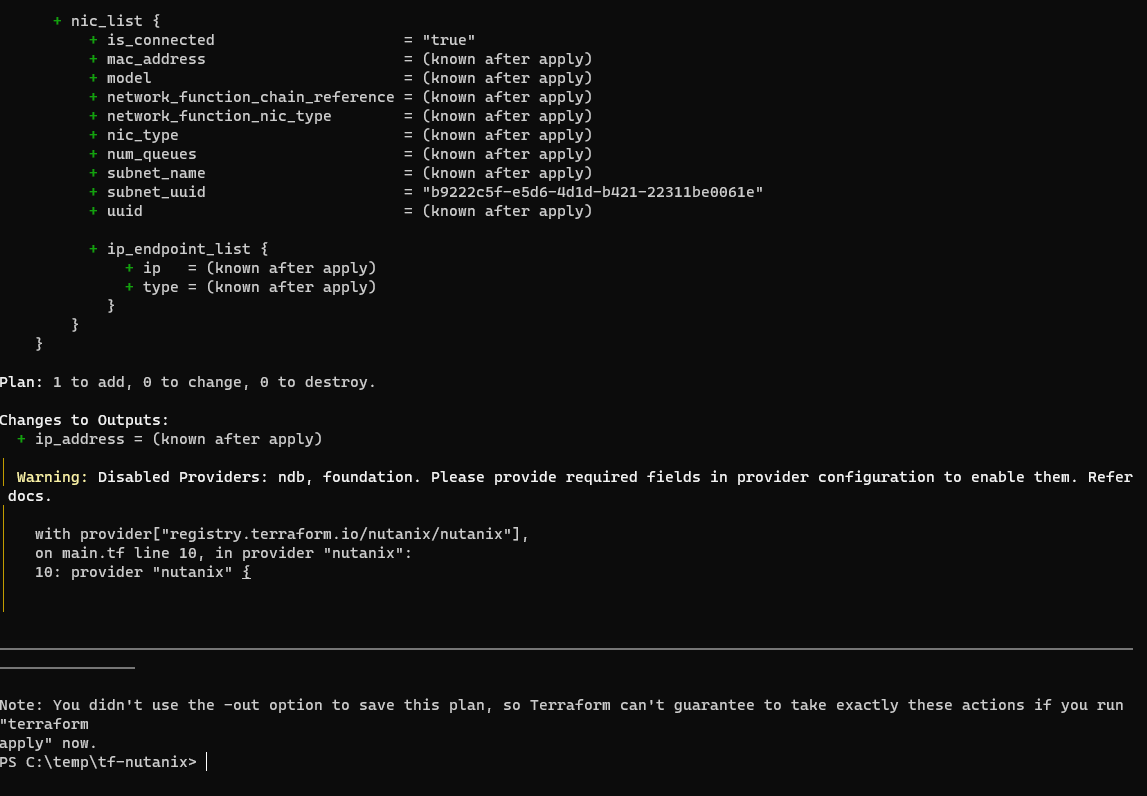
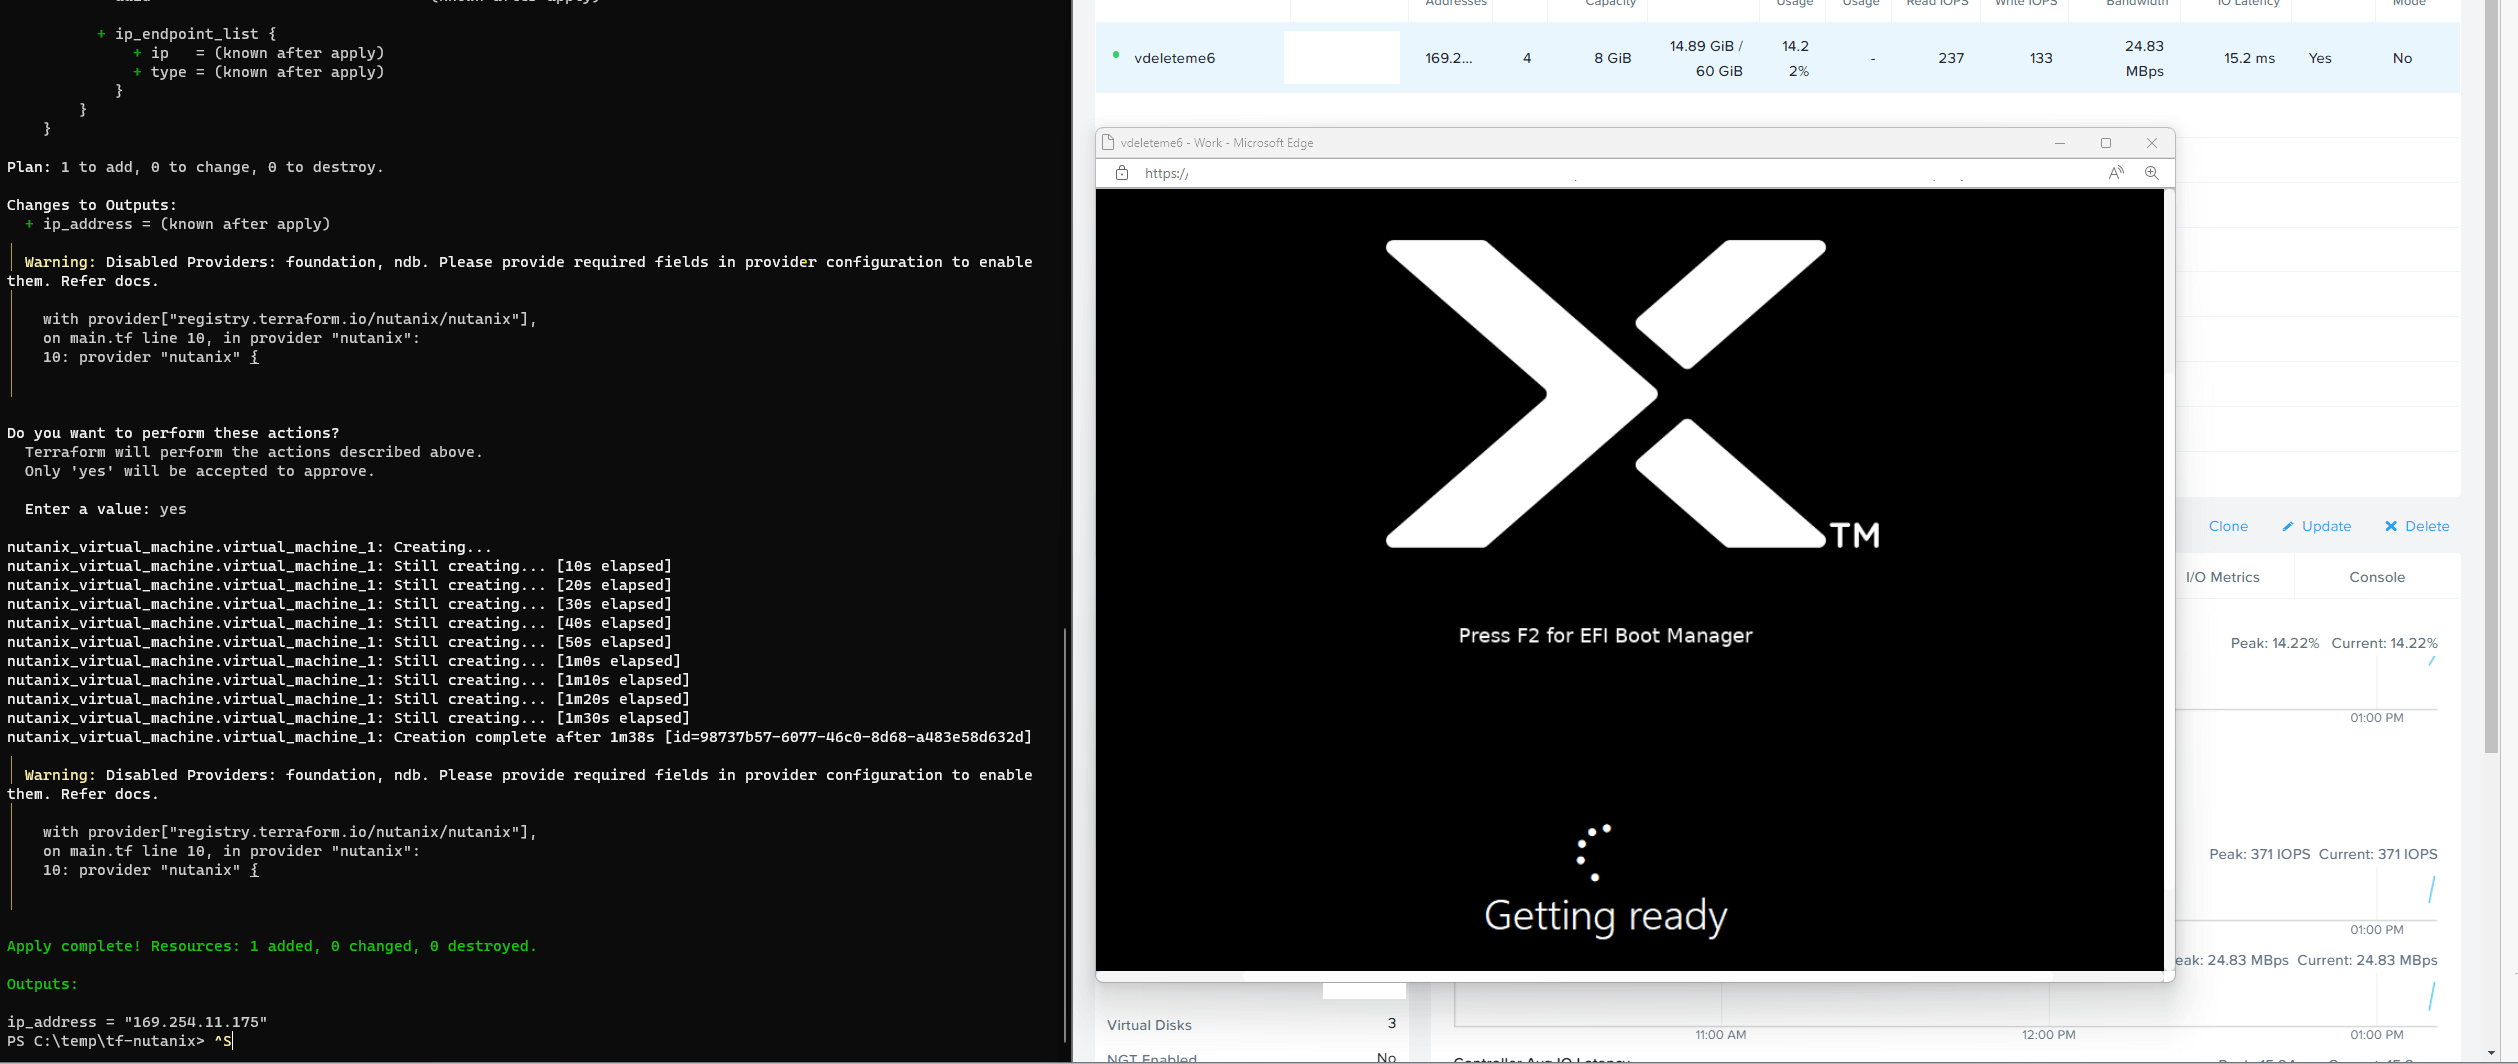
Again, if this looks OK you can apply with terraform apply
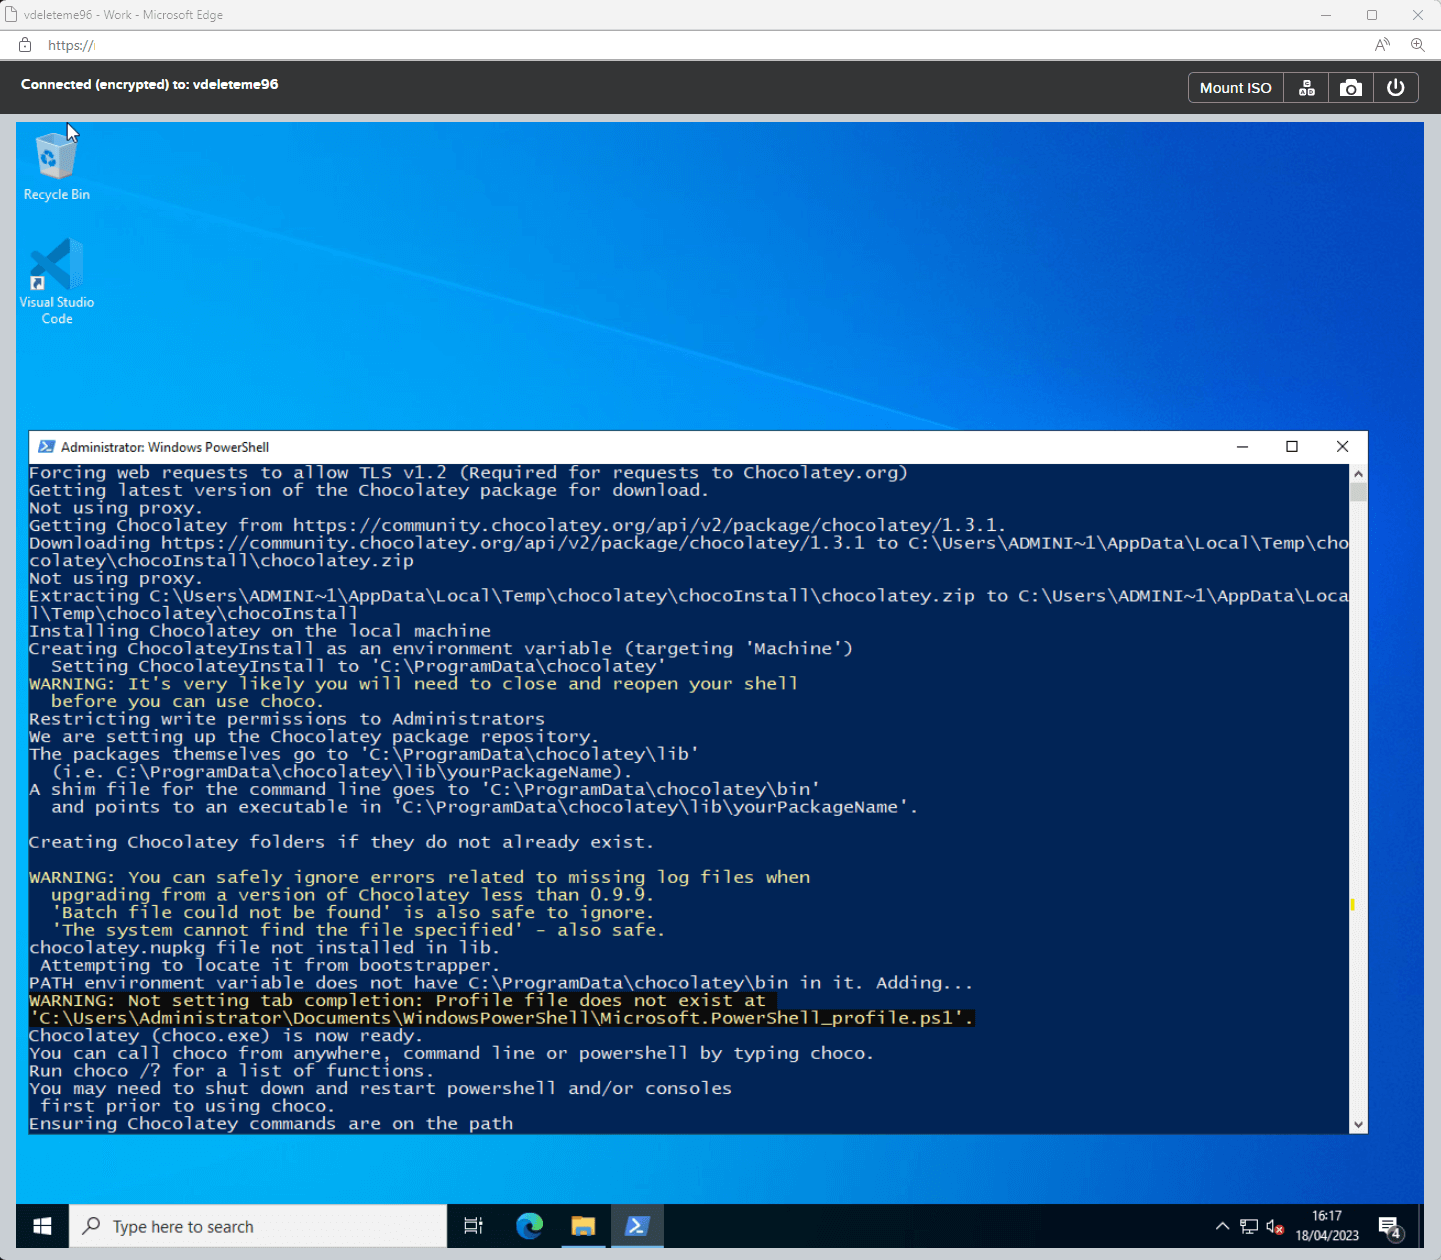
And here’s the script from the webserver executing
Have fun!

Written with StackEdit.

Friday, 29 October 2021

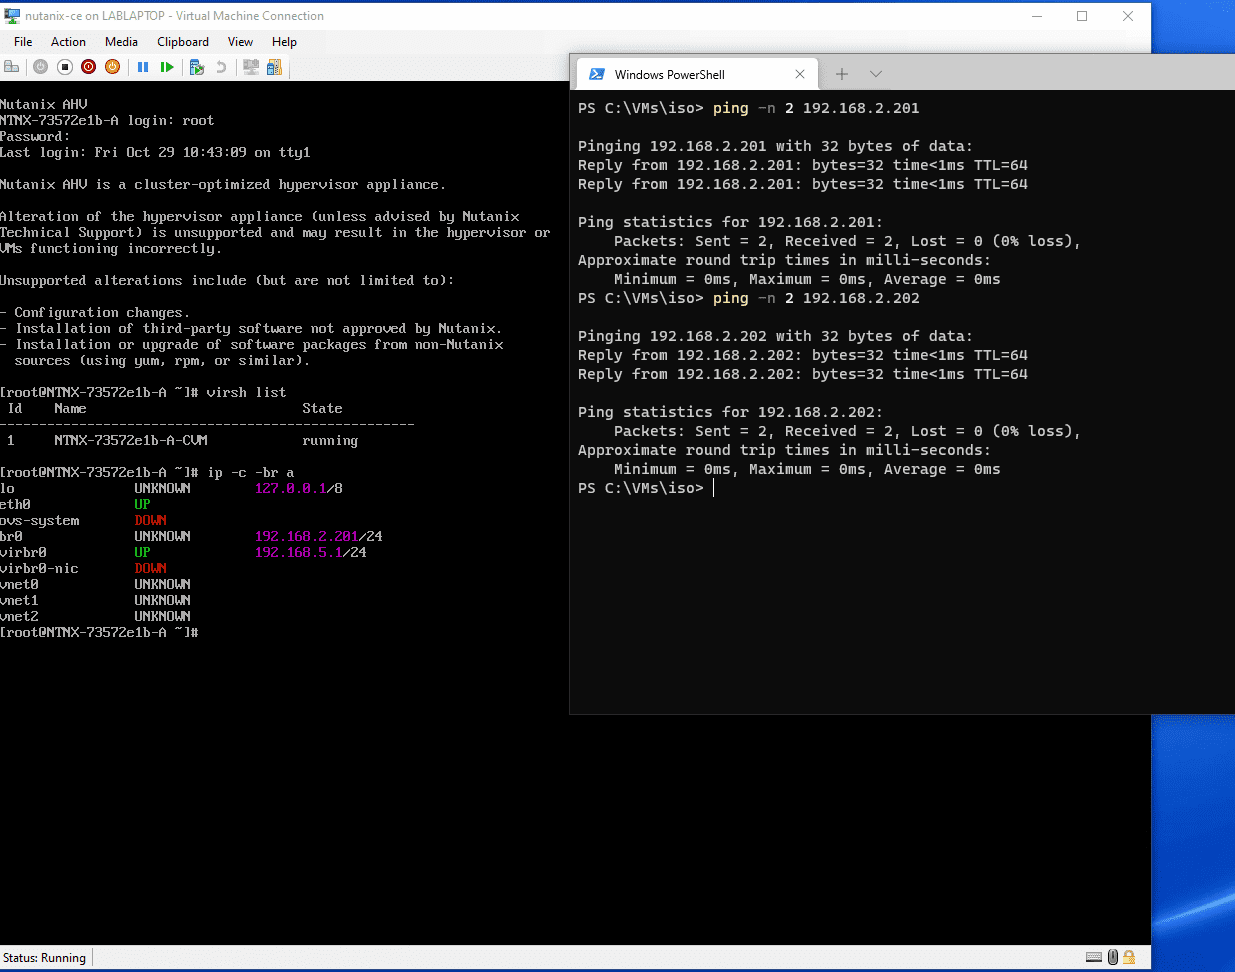
AHV nested inside Hyper-V

AHV in Hyper-V

AHV Running as a Hyper-V Guest VM

Want to test out Nutanix Community Edition but don’t have the hardware handy? If you have a decent Hyper-V host then it’s possible to install CE inside a guest VM in Hyper-V.

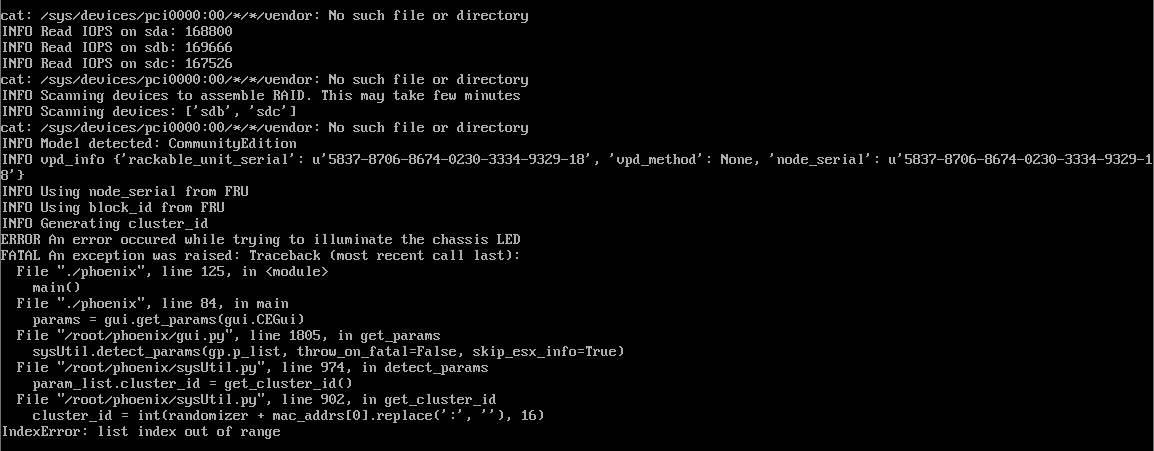
Unfortunately the ISO you can download direct from Nutanix fails when checking for network interfaces during the install. Attempting to install straight from the ISO with regular or legacy NICs results in the following error:

FATAL An exception was raised: Traceback (most recent call last):
  File "./phoenix", line 125, in <module>
   main()
  File "./phoenix", line 84, in main
    params = gui.get_params(gui.CEGui)
  File "/root/phoenix/gui.py", line 1805, in get_params
    sysUtil.detect_params(gp.p_list, throw_on_fatal=False, skip_esx_info=True)
  File "/root/phoenix/sysUtil.py", line 974, in detect_params
    param_list.cluster_id = get_cluster_id()
  File "/root/phoenix/sysUtil.py", line 974, in get_cluster_id
    cluster_id = int(randomizer + mac_addrs[0].replace(':',''), 16)
IndexError: list index out of range

CE NIC Error

It is however possible to modify the installer so it can detect Hyper-V guest network interfaces and successfully install and start a new single node cluster.

The requirements for the guest VM are not insignificant, so you’ll need the following.

VM Specification

  • Generation 1 VM (BIOS Boot)
  • 4+ vCPU Cores (I have tested with 8)
  • 22 GB+ RAM, Statically Assigned
  • 3 Dynamically Expanding VHDs attached to IDE interface
    • 32 GB AHV Boot Disk
    • 256 GB CVM & Data (Must be SSD backed)
    • 512 GB Data Disk
  • Nested Virtualisation enabled on the VM
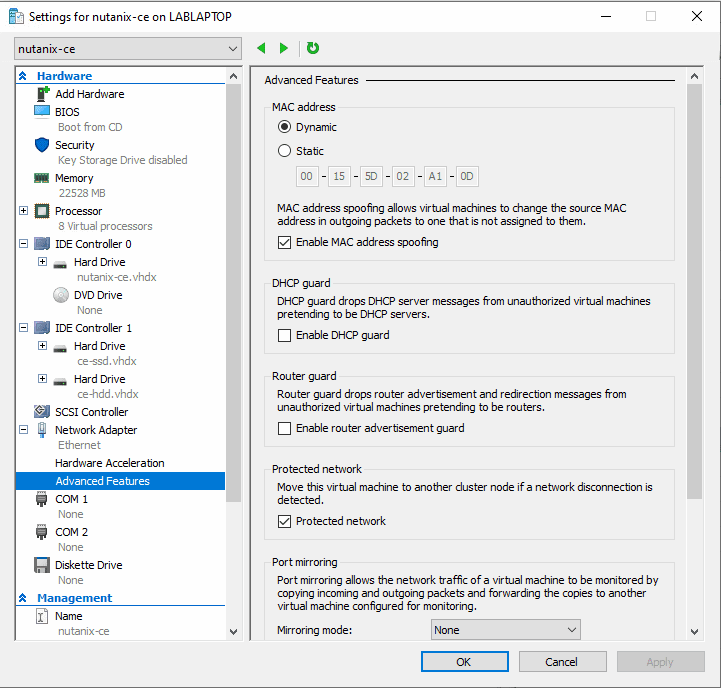
  • At least one NIC, enable MAC address spoofing so that the CVM and guest VMs can get out to the network.

VM Settings Dialog


Start by downloading the ce-2020.09.16.iso from the Nutanix Community Edition forum (Requires Registration.)

Patch the iso using the script. I used a fresh, temporary Ubuntu 20.04 server VM to patch the iso. It’s possible this script would work in WSL but I haven’t tested that. The script just modifies a few lines in some of the setup python scripts. You may be able to do this manually but it requires unpacking and repacking the initrd file on the ISO in a very specific way.

This is an alpha grade script, so use at your own risk. I created an Ubuntu Server 20.04 temporary VM and copied the iso into the VM.

The script has some pre-requesites to install.

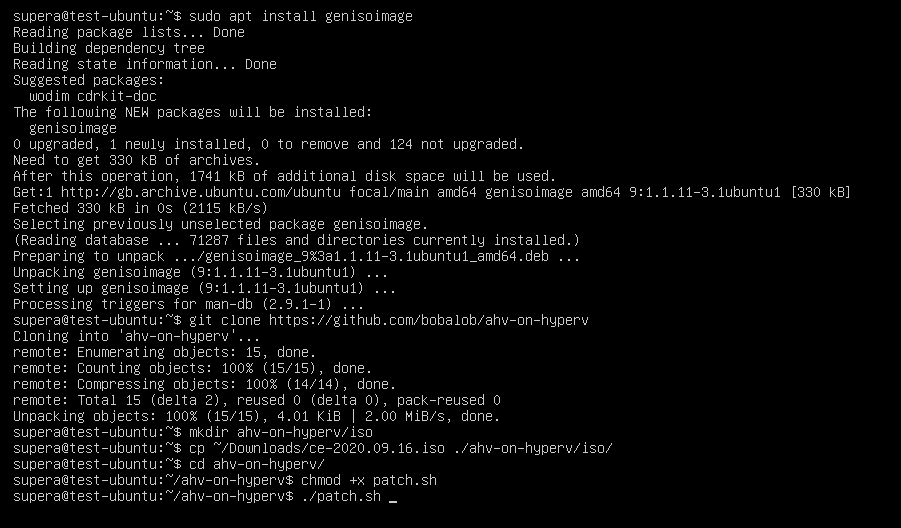
sudo apt install genisoimage

Then copy your downloaded ce-2020.09.16.iso file to the iso directory and run the script.

git clone https://github.com/bobalob/ahv-on-hyperv
mkdir ./ahv-on-hyperv/iso
cp ~/Downloads/ce-2020.09.16.iso ./ahv-on-hyperv/iso/
cd ahv-on-hyperv/
chhmod +x patch.sh
./patch.sh

Pre Patching

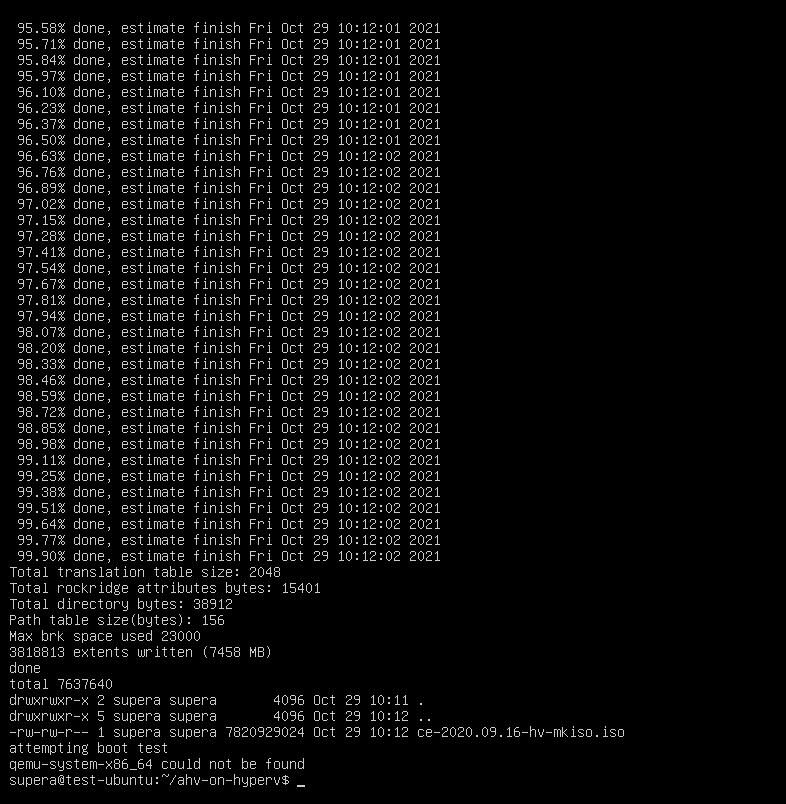
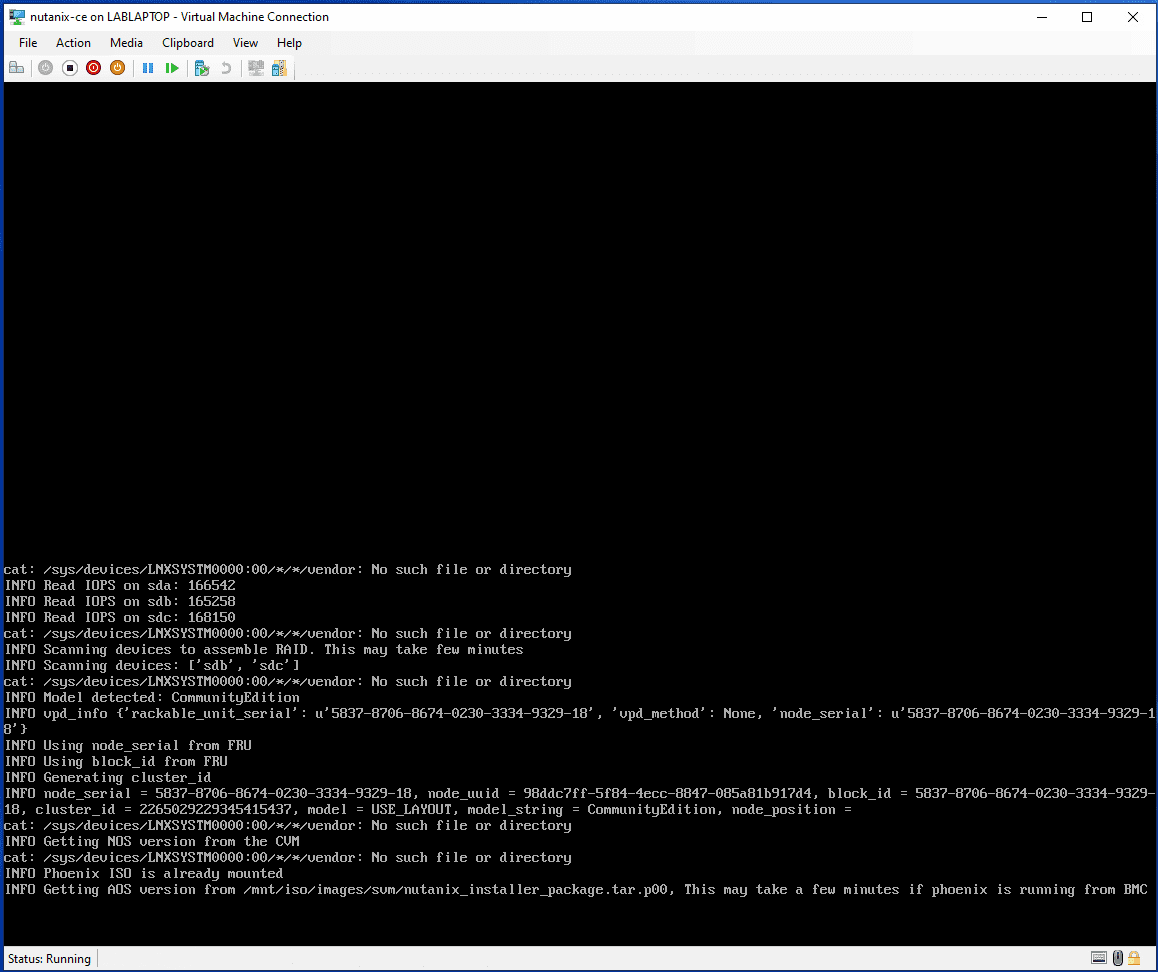
Once finished it should look a bit like this.

Patched

If your Ubuntu machine has KVM/QEMU installed it will boot the ISO, this is expected to fail as there are no disks attached. You can safely stop the VM. Once patched copy the new ce-2020.09.16-hv-mkiso.iso from your Ubuntu machine to your Hyper-V host.

Create a new virtual machine with the above specification, then enable nested virtualisation with the following command

Set-VMProcessor -VMName <VMName> -ExposeVirtualizationExtensions $true

Attach the patched ISO ce-2020.09.16-hv-mkiso.iso and boot the VM.

Booting the VM

Installation

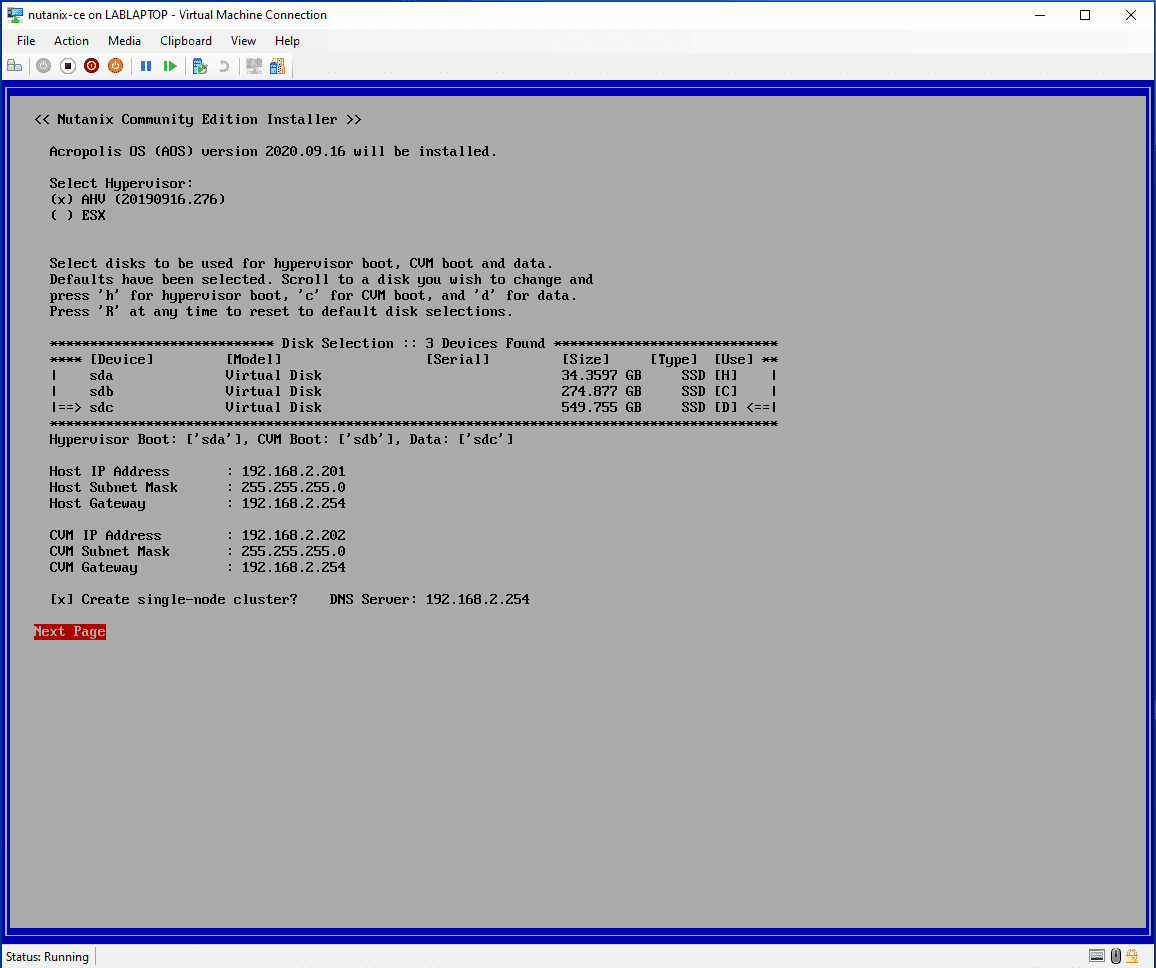
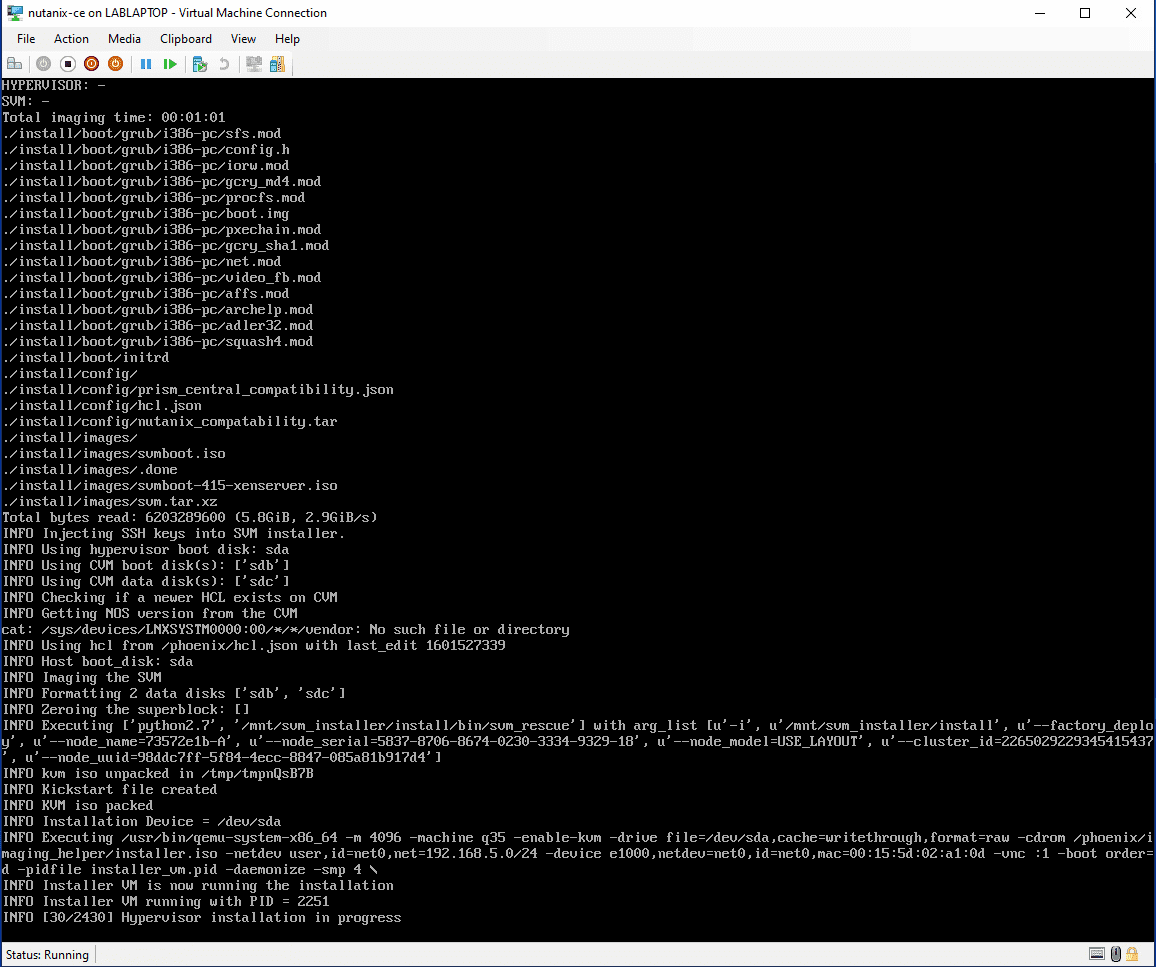
Follow the normal path to install

Installation 1

Installation 2

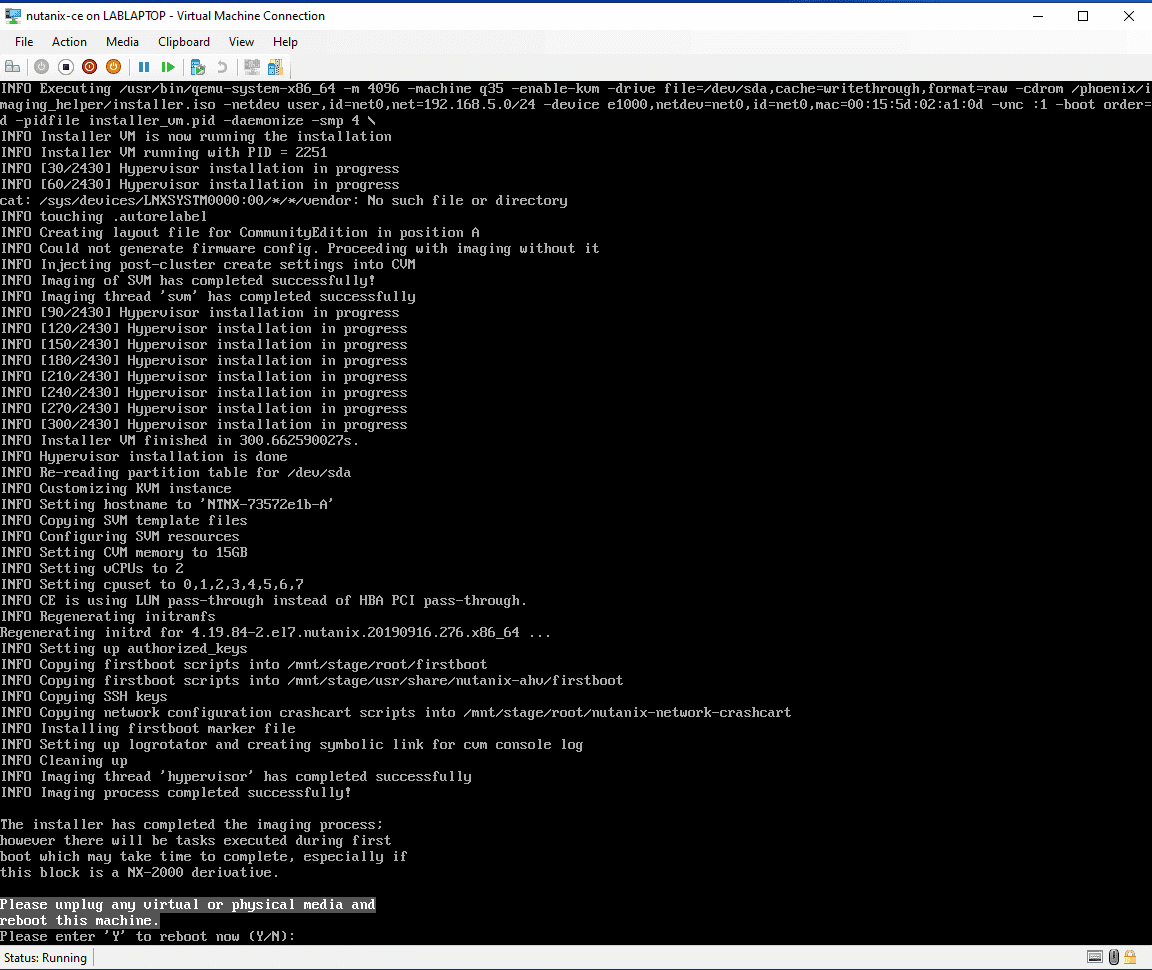
Install Complete

Installation Complete

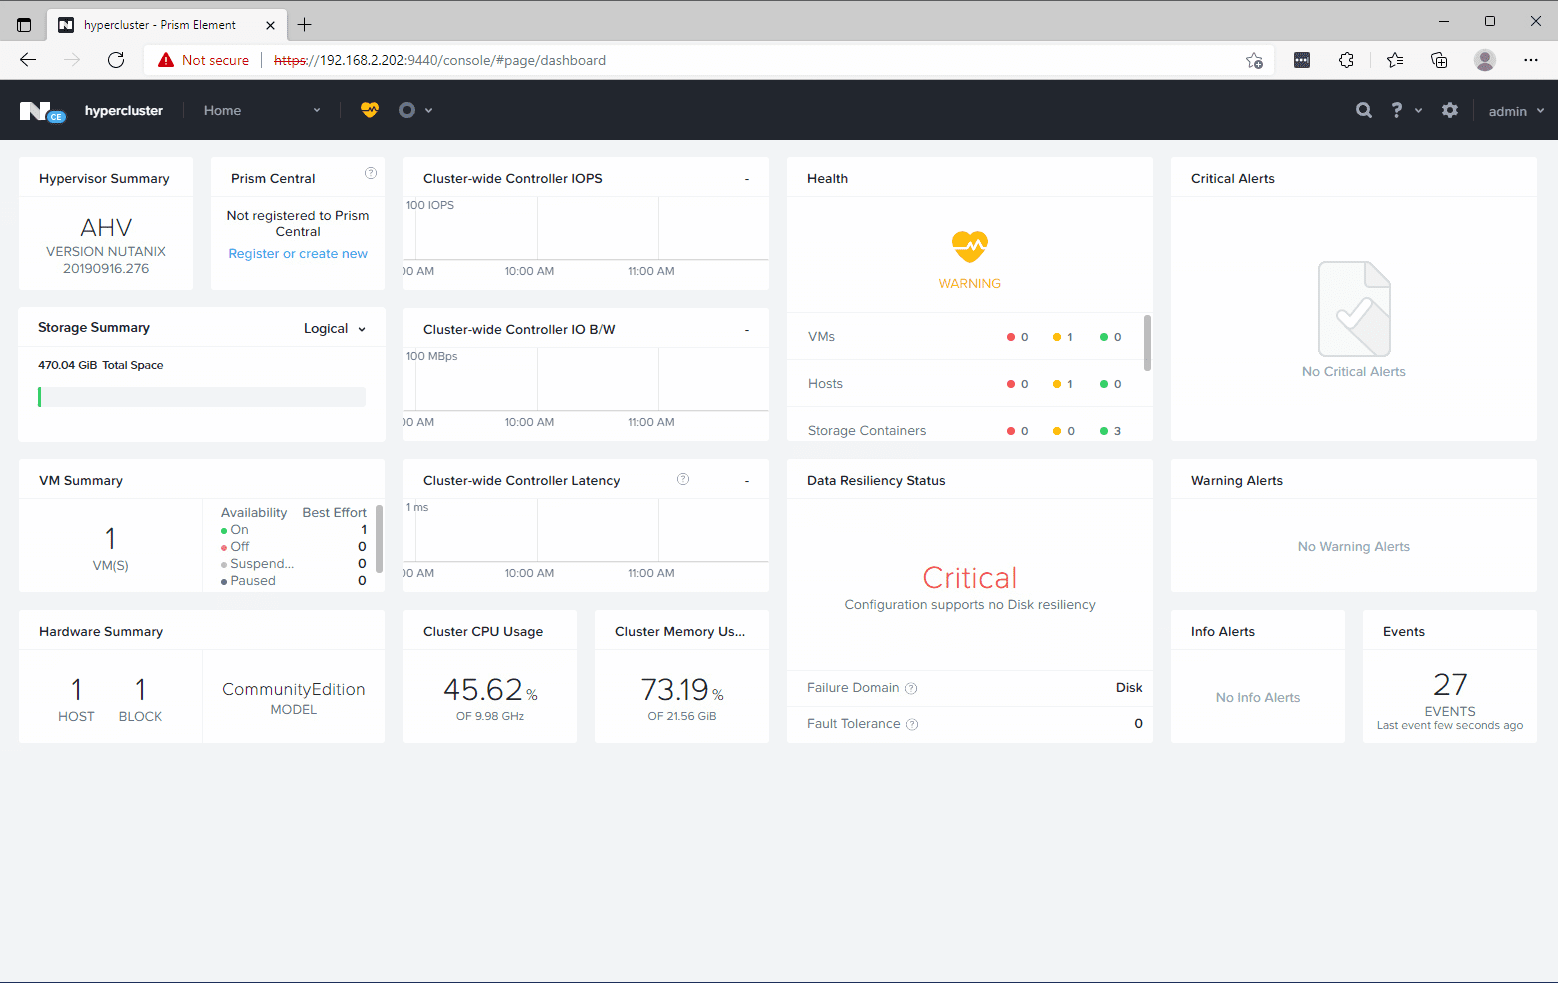
Prism Running!

Remove the ISO from the VM and reboot when told; give it 15-20 minutes to start up. Enjoy your new dev AHV/AOS installation.

CVM is UP!

Prism is UP!

Written with StackEdit.
Friday, 27 November 2020

MS ATA Gateway Service not starting after Nutanix Move

ATA Nutanix Move.md

Microsoft Advanced Threat Analytics Gateway not starting after Nutanix Move

The Issue

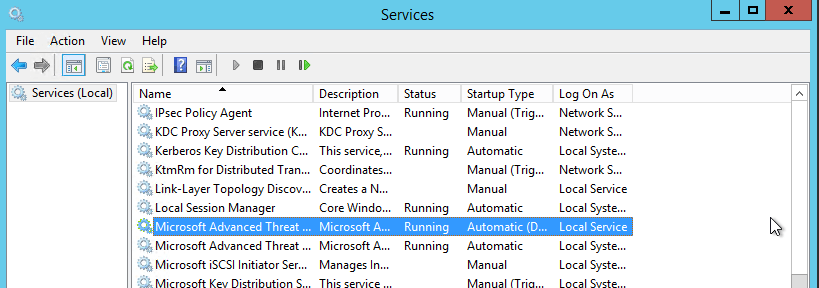
After moving one of our Domain Controllers from Hyper-V to Nutanix AHV using Nutanix Move, I was unable to start the Microsoft ATA Lightweight gateway service.

ATA not starting

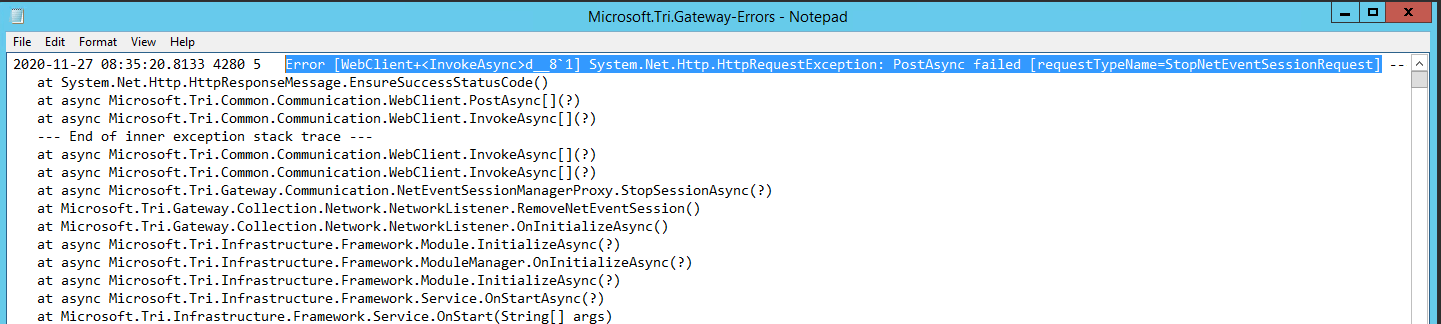
Checking the log in C:\Program Files\Microsoft Advanced Threat Analytics\Gateway\Logs\Microsoft.Tri.Gateway-Errors.log showed the following error:

Error [WebClient+<InvokeAsync>d__8`1] System.Net.Http.HttpRequestException: PostAsync failed [requestTypeName=StopNetEventSessionRequest]

Log error

This lead me to This blog post which explained the issue with the MSFT_NetEventSession WMI class. Unfortunately rebuilding the WMI repository did not help.

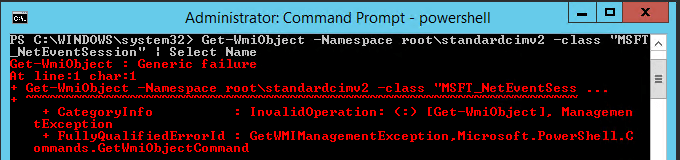
It did however lead me to this WMI query which on my system showed a generic error instead of nothing.

Get-WmiObject -Namespace root\standardcimv2 -class "MSFT_NetEventSession" | Select Name

WMI Generic Error

Resolution

Since one of the only differences in the VM would be the network adapter configuration and since I’m aware the original adapter would still be present in Device Manager, I decided to try removing the old device.

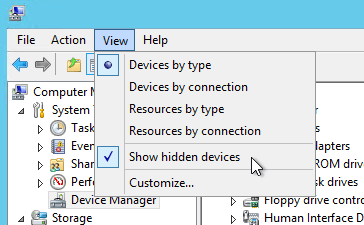
Run Device Manager and make sure to show hidden devices to show the old adapters

Show Hidden Devices

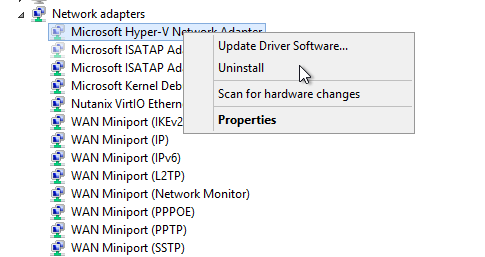
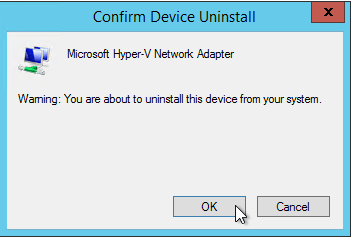
Remove the hidden Hyper-V Network Adapter

Remove Hyper-V Adapter
Remove Hyper-V Adapter 2

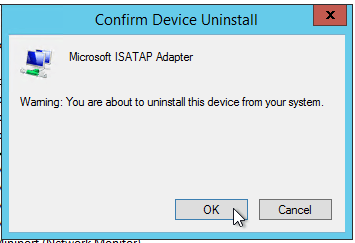
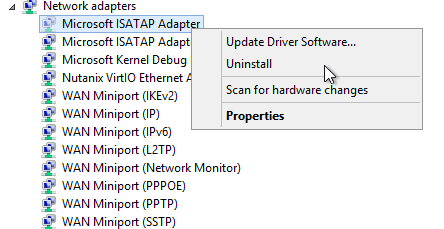
I also noticed an old, hidden ISATAP adapter, which I also removed. I suspect this was the cause of the issue.

Remove ISATAP Adapter
Remove ISATAP Adapter 2

Once removed, the WMI query was now working.

working wmi

And the service also starts. If this doesn’t immediately resolve your issue, uninstalling and reinstalling the gateway once the adapters are removed should resolve it.

service running

Written with StackEdit.
Friday, 13 November 2020

Packer for Nutanix AHV Windows Templates

Packer for Nutanix AHV

Packer for Nutanix AHV

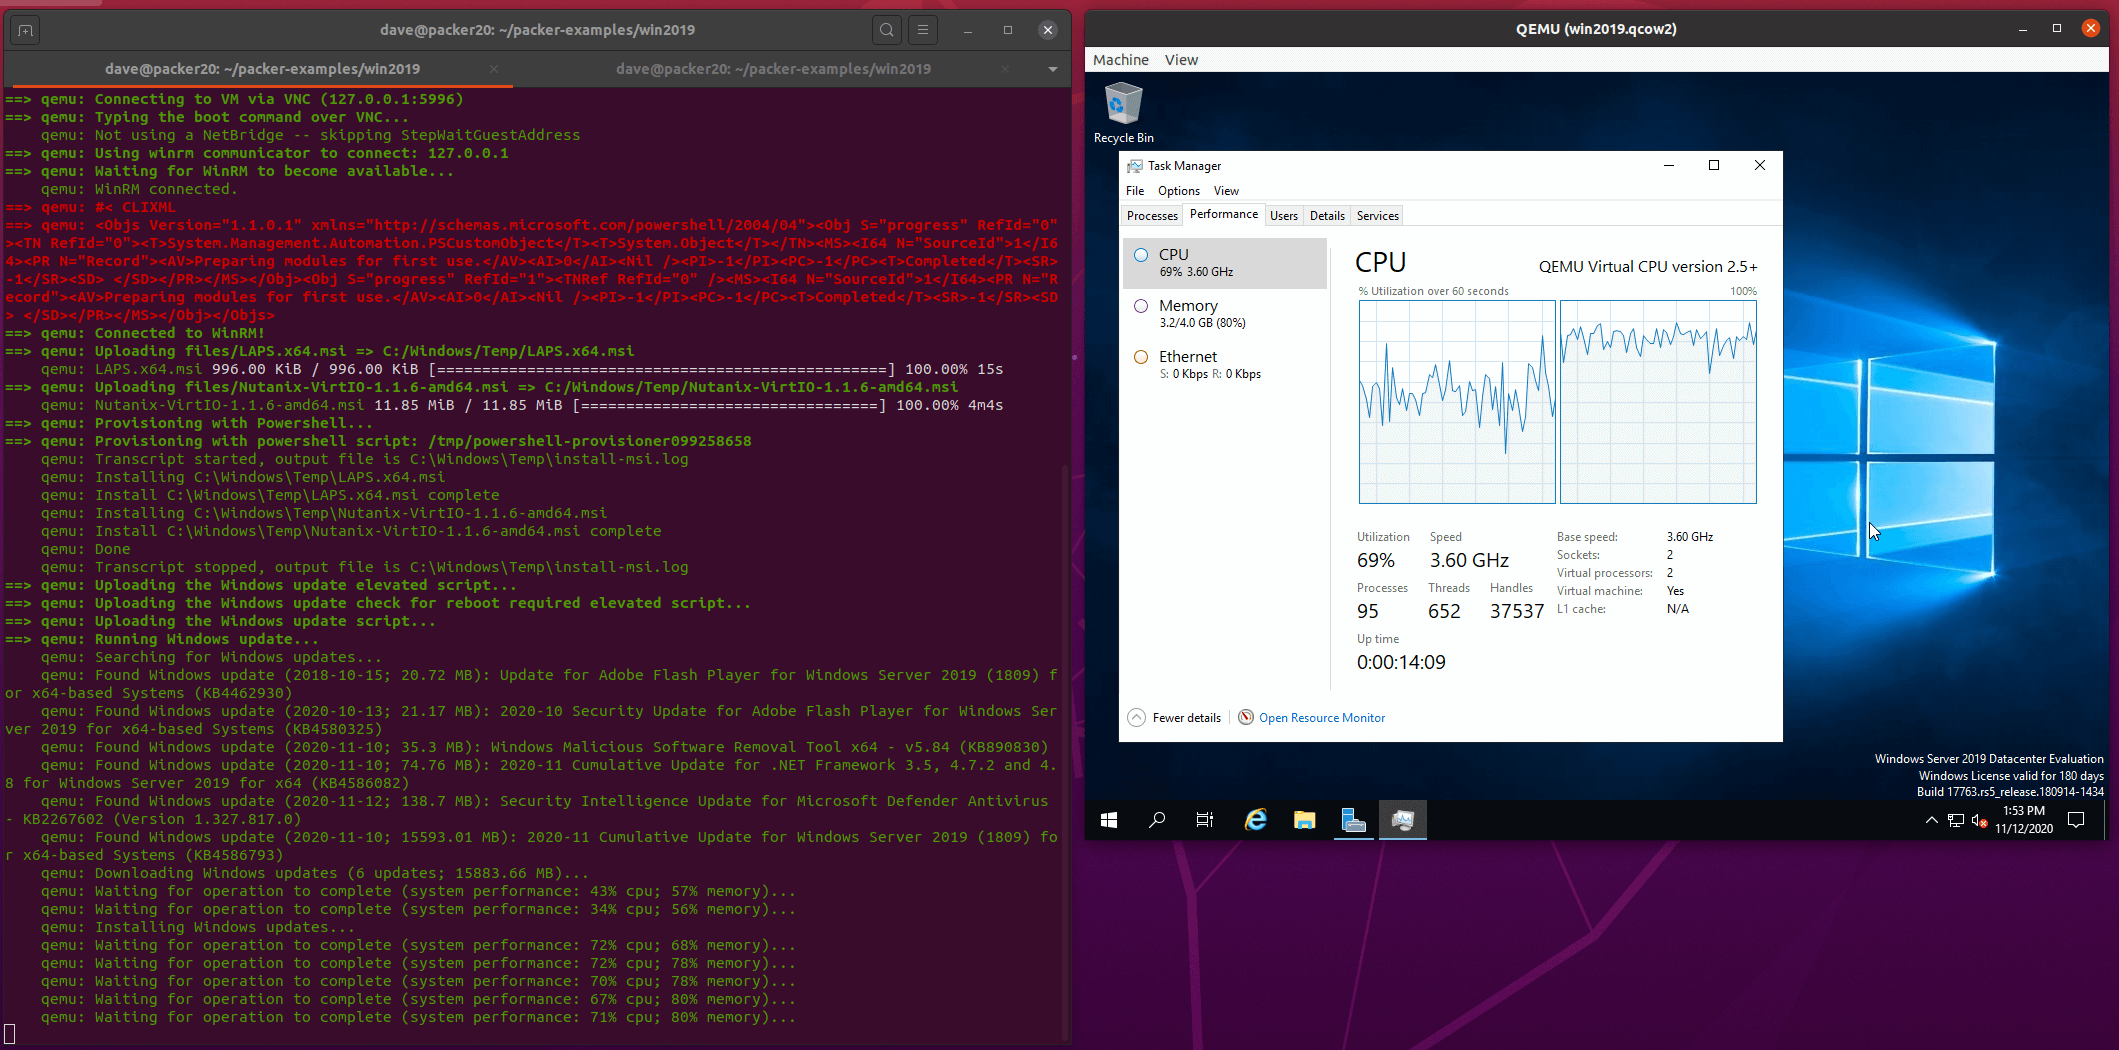
Packer automates the creation of virtual machine images. It’s quite a bit simpler than SCCM to set up if you just want basic, up to date images that you can deploy virtual machines from. Packer uses ‘builders’ to create virtual machine images for various hypervisors and cloud services. Unfortunately, there isn’t yet a builder for Nutanix AHV. AHV is based on KVM for virtualisation though, so it’s possible to generate images using a basic KVM hypervisor and then upload them to the image service ready to deploy.

Since it’s not possible to create the templates natively in the platform, a helper virtual machine is needed to run KVM and build the images. In this post, I’ll go through the set up for an Ubuntu virtual machine and give a Windows Server 2019 example ready to deploy.

I used Nutanix CE 5.18 in most of my testing, but it’s also possible to run the KVM builder on a physical machine or any VM that supports CPU passthrough such as VMware workstation, Hyper-V or ESXi. If you’re running an older version of Nutanix AOS/AHV then it may still be possible with caveats. Check the troubleshooting section for more information.

Create the builder virtual machine

Create the VM in AHV

  • Create VM, 2 vCPU, 4 GB, I’m using the name packer
  • Add disk, ~100 GB
  • Enable CPU passtrhough in the Nutanix CLI

SSH to a CVM as nutanix and run the following command

acli vm.update <VMNAME> cpu_passthrough=true

cpu passthrough

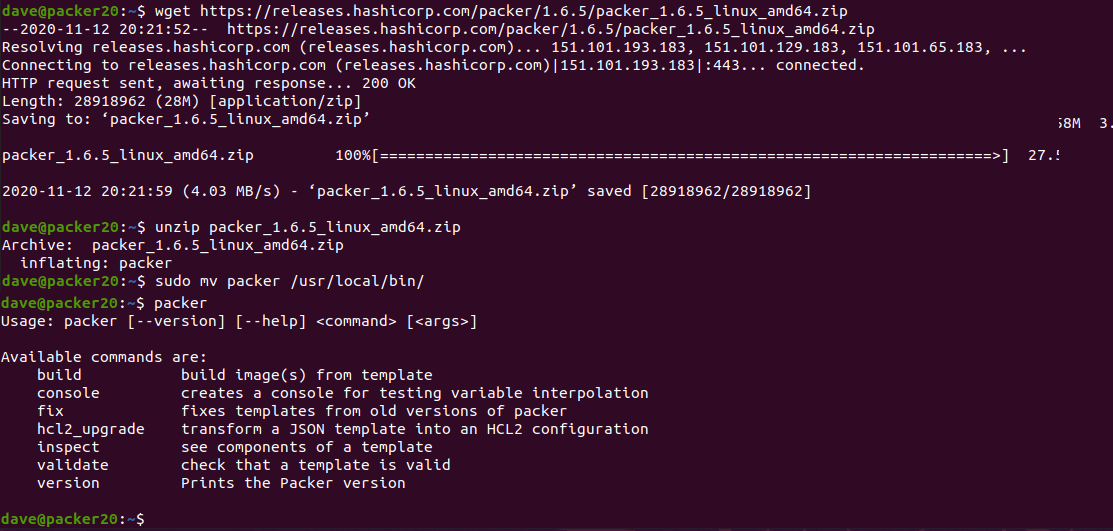
Install packer with the following commands. First party guide here. Make sure you update with the latest version, the URL here is just an example, but it is the version I used.

sudo apt update
sudo apt -y upgrade
wget https://releases.hashicorp.com/packer/1.6.5/packer_1.6.5_linux_amd64.zip
unzip packer_1.6.5_linux_amd64.zip
sudo mv packer /usr/local/bin/

Run the packer binary to make sure it’s in the path and executable

packer

packer run

Download the packer windows update provisioner and install per the instructions.

wget https://github.com/rgl/packer-provisioner-windows-update/releases/download/v0.10.1/packer-provisioner-windows-update_0.10.1_linux_amd64.tar.gz
tar -xvf packer-provisioner-windows-update_0.10.1_linux_amd64.tar.gz
chmod +x packer-provisioner-windows-update
sudo mv packer-provisioner-windows-update /usr/local/bin/

Install qemu, vnc viewer & git

sudo apt -y install qemu qemu-kvm tigervnc-viewer git

Check you have virtualisation enabled

kvm-ok

Add your local user to the kvm group and reboot

sudo usermod -aG kvm dave
sudo reboot

I have built an example windows build on github here

Clone the example files to your local system with the following command

git clone https://github.com/bobalob/packer-examples

you will need to download the Windows 2019 Server ISO from here, the Nutanix VirtIO Drivers from here and LAPS from here.

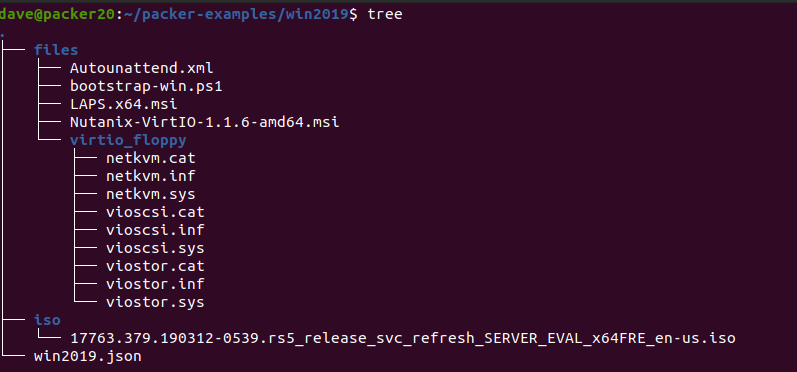
Place the Windows installation media in the iso folder and the 2 MSI files in the files folder. They must be named exactly as in the win2019.json file for this to work. Update the json file if you have differing MSI or ISO file names. Use this as a base to build from. You can upload additonal MSIs or add scripts. Experiment with the packer provisioners.

If you run with a different ISO you will either need to obtain the sha256 hash for the ISO or just run the packer build command and it will tell you what hash it wants. Be careful here, I trusted my ISO file so I just copied the hash that packer wanted into my json and ran the build again.

If you wish to change the password for the build, change the variable in the win2019.json file and the plain text password in the Autounattend.xml file.

My folder structure looks like this:

win2019 folders

Run packer build

cd packer-examples/win2019/
packer build win2019.json

packer building

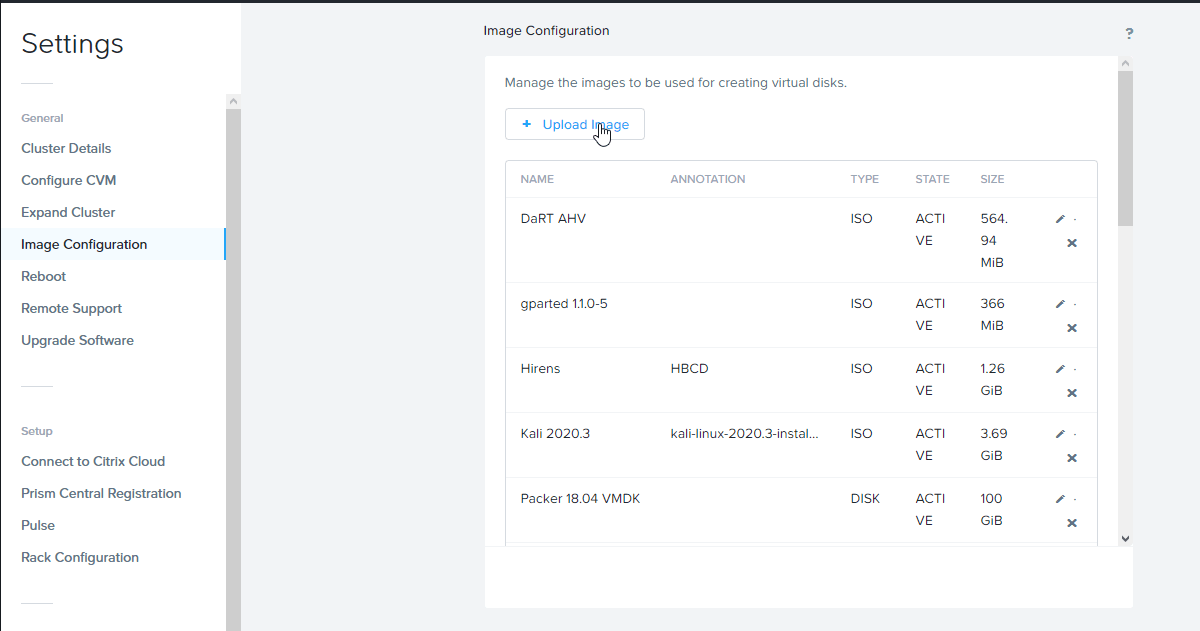
Once the machine is built, upload the artifact from vm/win2019-qemu/win2019 to the image service in Prism

upload the file

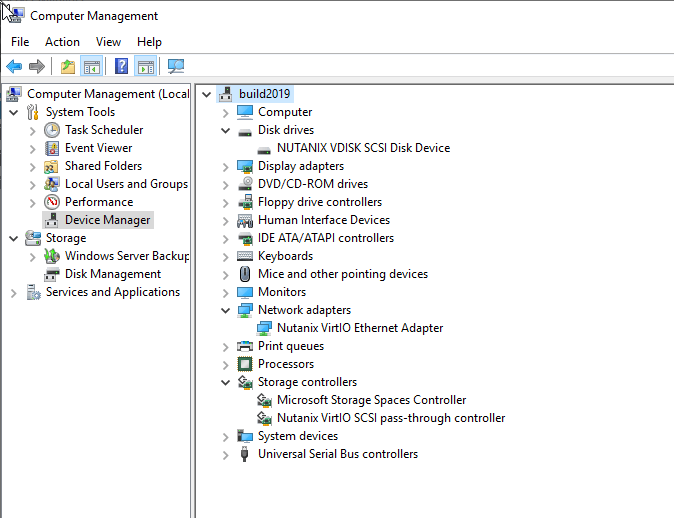
Once uploaded you can create a VM from the image. Hopefully it will have all the correct VirtIO drivers installed.

Finished VM

Troubleshooting

In all cases where a build fails it’s useful to set the PACKER_LOG environment variable as follows

PACKER_LOG=1 packer build win2019.json

==> qemu: Failed to send shutdown command: unknown error Post “http://127.0.0.1:3931/wsman”: dial tcp 127.0.0.1:3931: connect: connection refused

In my case this was because I had configured my sysprep command in a regular script. Since the sysprep runs and shuts the machine down, there is no longer a winrm endpoint for packer to connect to.

The issue with this is that packer attempts to cleanup once it has run the script and then run the shutdown_command. I removed my sysprep from the script and included it as my shutdown_command.

Build hangs when installing VirtIO MSI

I realised this is because the network driver installs and disconnects the network for a second causing packer to hang and not receive output from the script. Changing the build VM nic to e1000 in the json file means the NIC doesn’t get disconnected when installing VirtIO.

openjdk / java issue with ncli

System default is
but java 8 is required to run ncli

edit the ncli file in a text editor, replace

JAVA_VERSION=`java -version 2>&1 | grep -i "java version"

with

JAVA_VERSION=`java -version 2>&1 | grep -i "openjdk version"

MSR 0xe1 to 0x0 error on Ryzen system

Fix here

Essentially run the following and try again, if this fixes it, try the linked blog for the permenant fix.

echo 1 | sudo tee /sys/module/kvm/parameters/ignore_msrs

Windows build hangs the host VM or the guest

I think this is a problem in AHV 5.10, Tested working on AHV 5.18 CE. A workaround is changing the machine type to pc or pc-i440fx-4.2. Unfortunately this appears to be REALLY slow! Might be worth experimenting with different machine types. q35 is just as slow.

Update the Qemu args to include the machine type:

"qemuargs": [
    [
      "-m",
      "2048"
    ],
    [
      "-smp",
      "2"
    ],
    [
      "-machine",
      "pc"
    ]
  ]

Written with StackEdit.
Saturday, 7 November 2020

Add disk to Nutanix CE

Add disk to Nutanix CE.md

Adding a new disk to Single Node Nutanix CE

There wasn’t much detailed information for adding an additional disk to a Nutanix CE node, so I’ve compiled the steps and written a guide here. This guide is for a single node CE cluster and therefore I have to stop the cluster to perform most of these actions. If you have a multi node cluster, most of the steps can be done by shutting down a single CVM but these are the steps I took and verified.

At a high level, the drive should be added to the physical host then added to the CVM config. Once the CVM is booted back up, there are some scripts to run to partition, format, mount and set the tier for the drive.

I have read that there is a script named ce_add_disk but running this on my system didn’t work.

This was tested on AOS 5.18 / 2020.09.16.


On the CVM

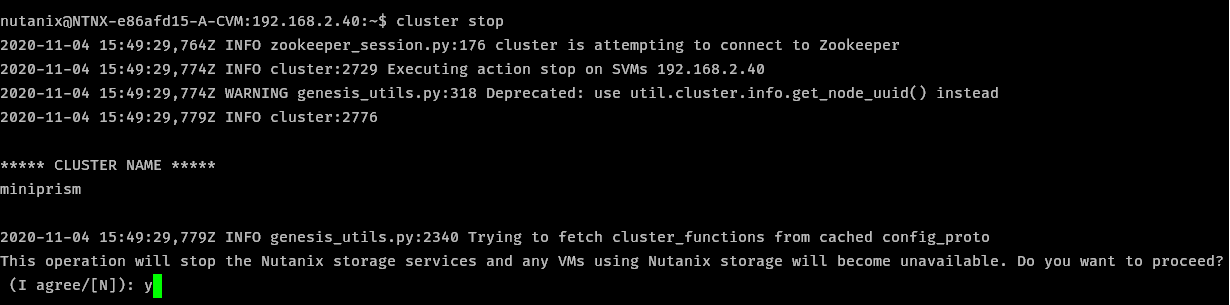
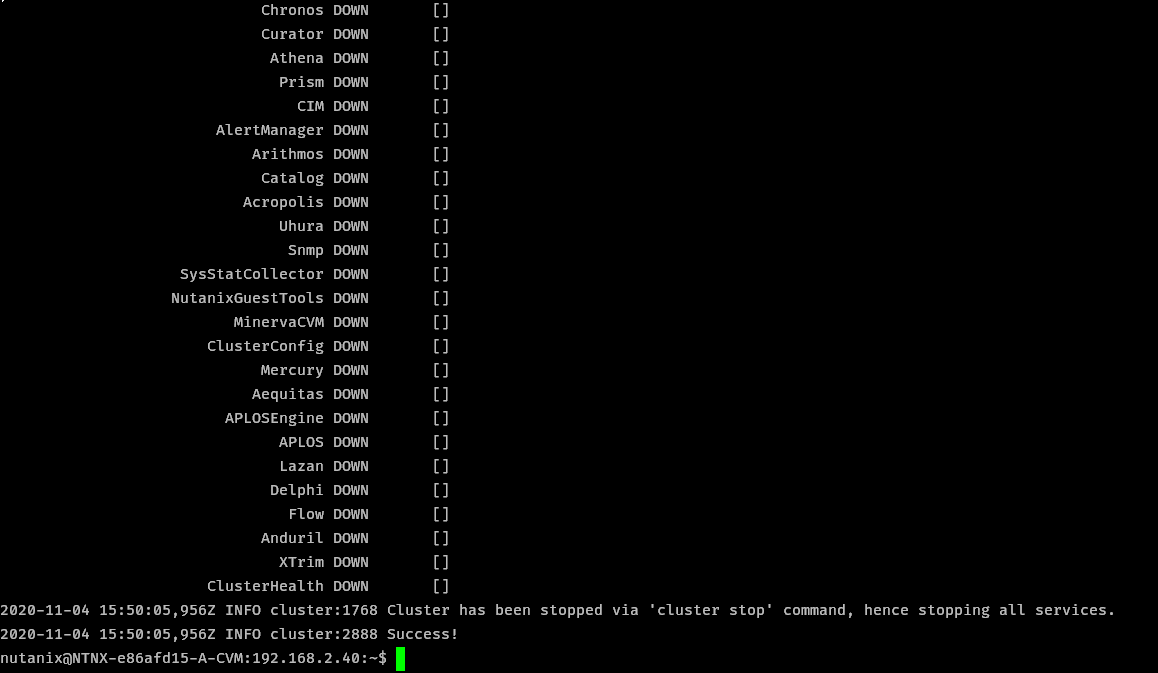
SSH to the CVM and Stop the cluster

cluster stop

Cluster Stopping

Cluster Stopped

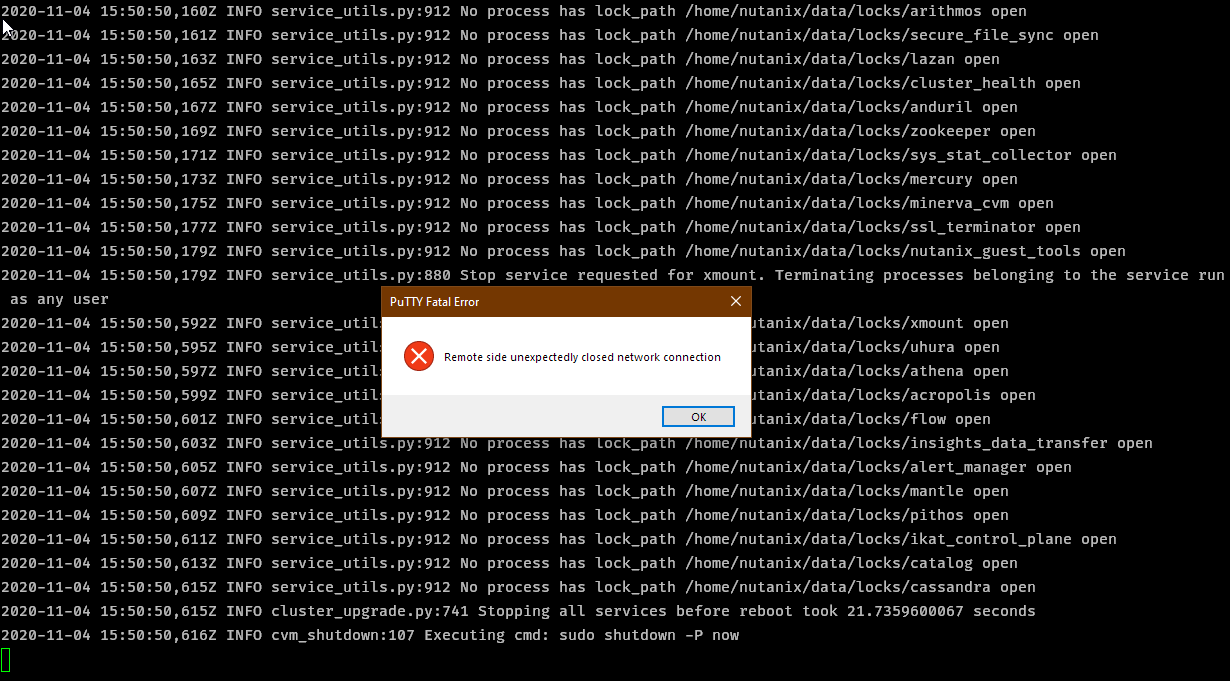
Shut down the CVM

cvm_shutdown -P now

CVM Shutdown


On the AHV Host

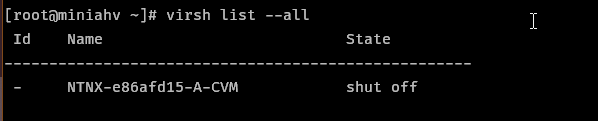
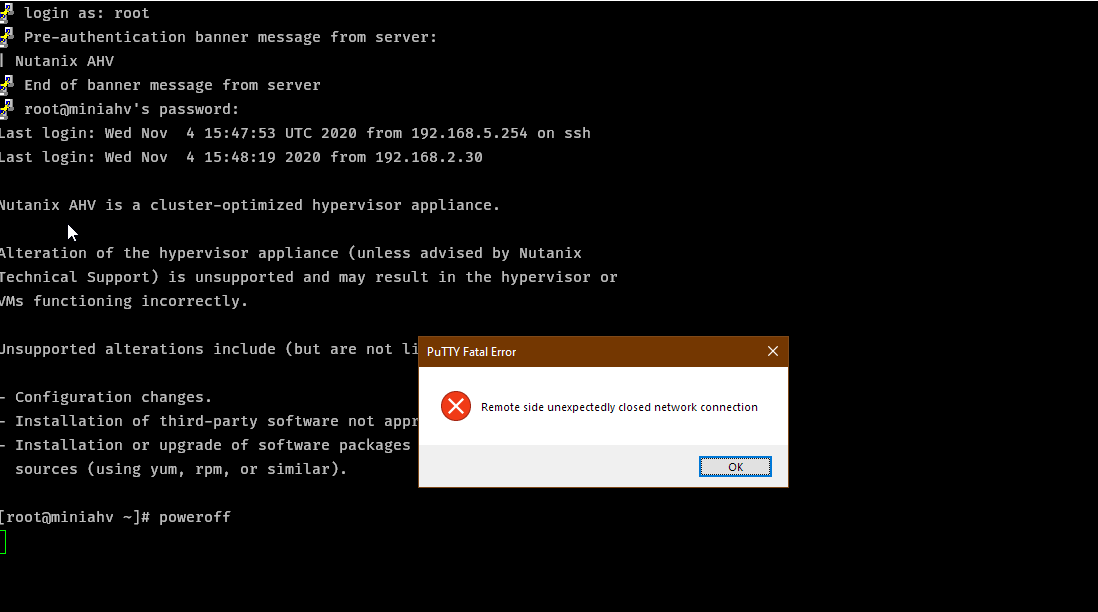
SSH to the AHV Host and Shut down. Check that the CVM is not running first.

virsh list --all

poweroff

virsh list

CVM Shutdown

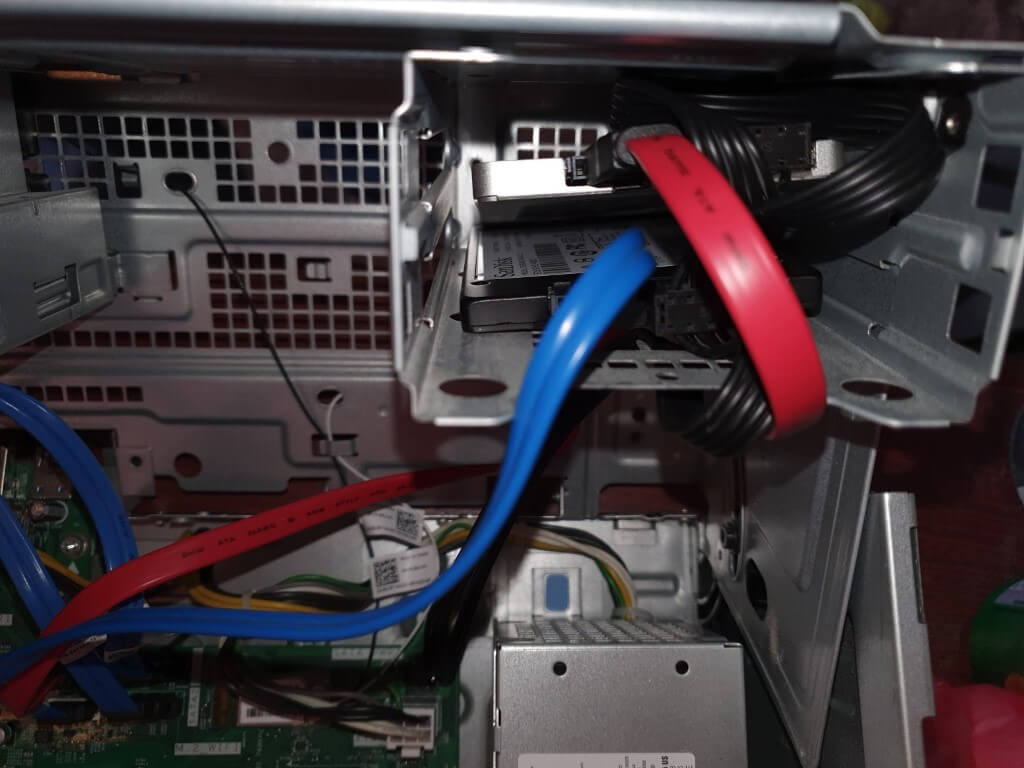
Open up your “server” and add your disk. Bonus points for professional cable management and mounting 😉

Add Disk

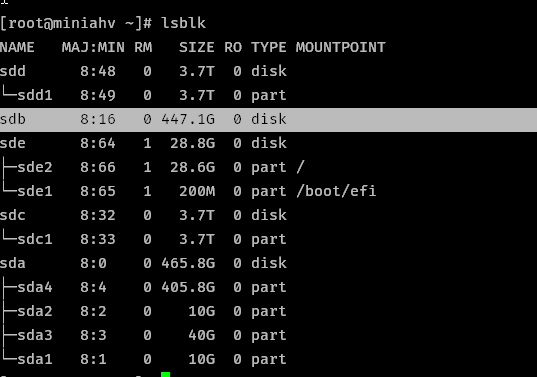
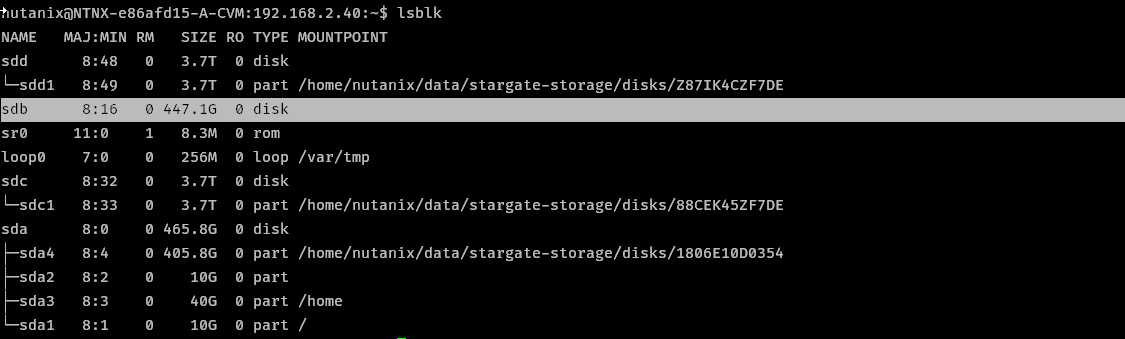
Power up your host and wait for it to come back up. Once you can SSH back in, run lsblk to identify the new disk. My disk has been cleaned using DISKPART and therefore it’s the one listed with no partitions. Note the sdX identifer for the new drive. In this case my drive is sdb.

lsblk

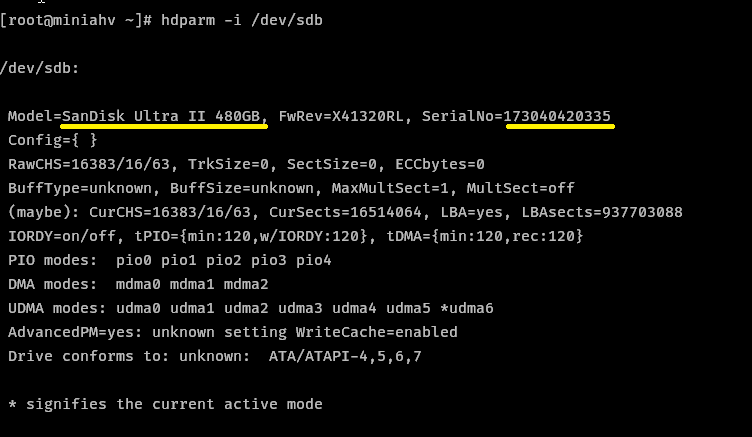
Run hdparm /dev/sdX and note the Model and SerialNo of the device

hdparm

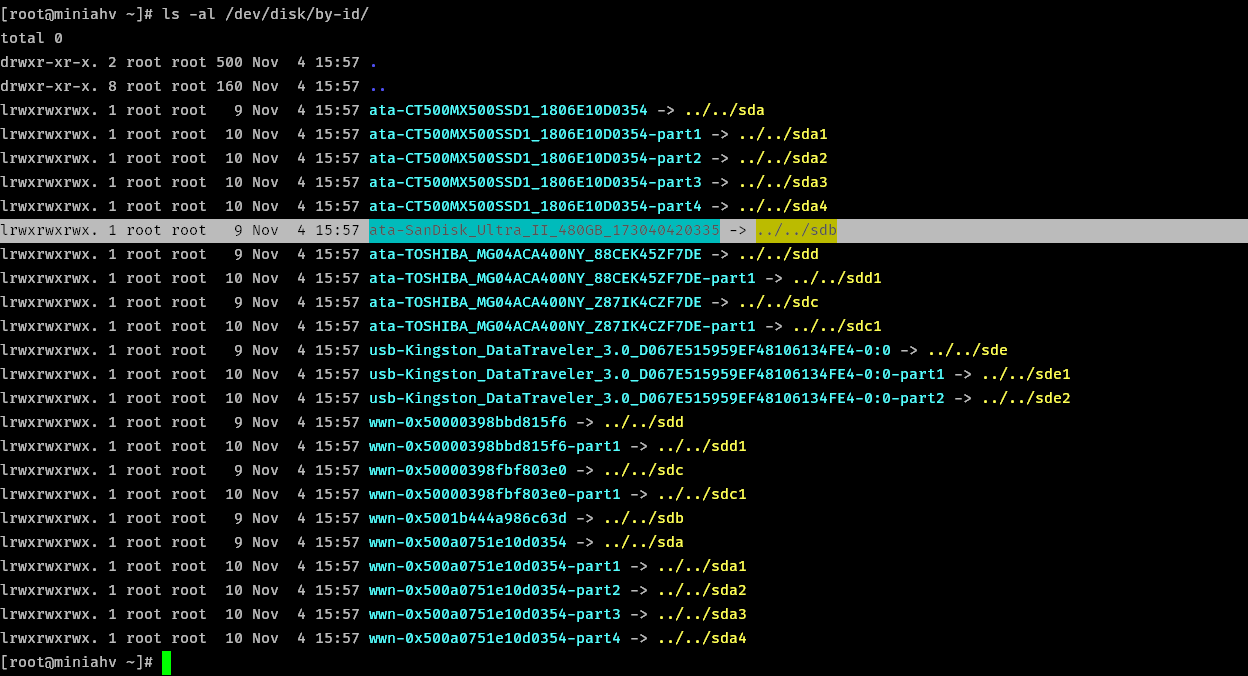
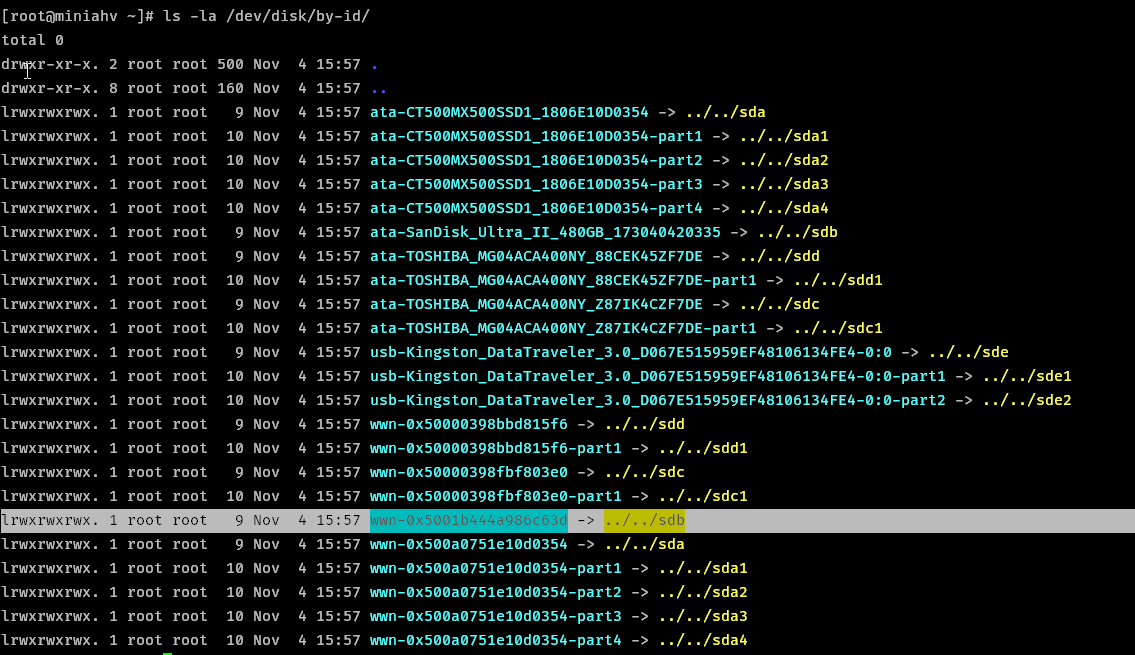
Run ls -la /dev/disk/by-id and note the filename that points to your /dev/sdX

ls -la path

Also note the wwn-0x5XXXXXXXX number that points to your /dev/sdX

ls -la wwn

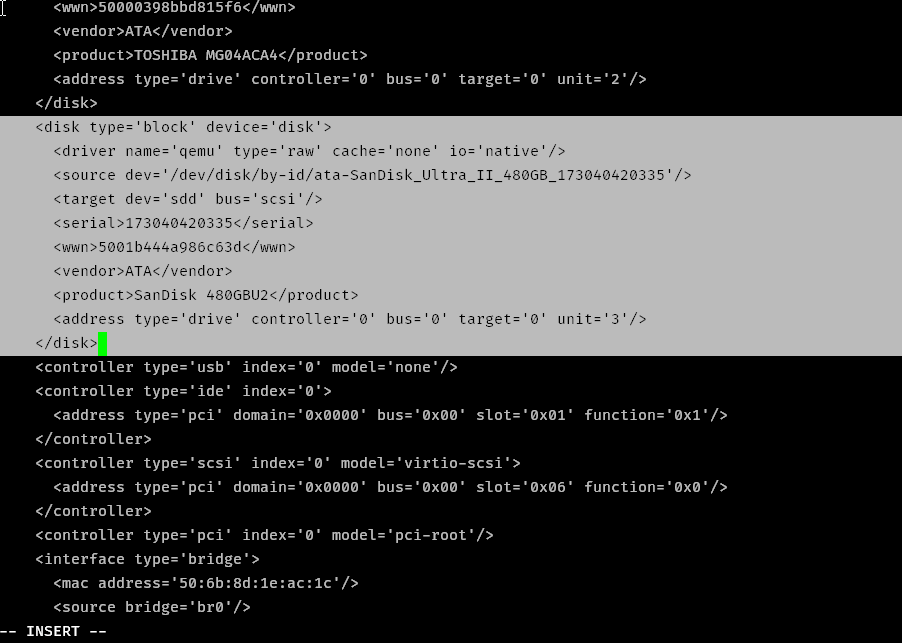
Now you have all the information required to add the disk to the CVM config. Edit the CVM config by running virsh list --all to get the CVM name, then run virsh edit CVMNAME. You may need to shut down the CVM with virsh shutdown CVMNAME first if it’s not already off.

virsh edit

Add a new disk block to the XML config. I coped and pasted an existing block. Make sure to update the entries in the following list. The editor is vi so press i to enter INSERT mode.

  • source dev is the ata-DeviceName path from the ls -la command
  • target dev is a unique device ID for the CVM, I went with sdd as it was the next one available from all device blocks currently in this file
  • serial is the SerialNo of the device from hdparm command
  • wwn is the id after wwn-0x in the ls -la command
  • product is the Model from the hdparm command, however this disk model name caused the update of the CVM config to fail. It appears you need exactly 2 words, alphanumeric characters only so I modifed the model number appropriately.
  • address is a unique SCSI LUN for the CVM, I just incremented the unit by 1 from the previous disk block

add block

Once you’ve made your edits, hit esc then wq, enter to save.

virsh editied


Back on the CVM

Start your CVM (virsh start CVMNAME) and SSH to it. If you had previously stopped the cluster then it should still be stopped. You can check with cluster status. Since this is a single node guide, I won’t restart the cluster just yet.

Run lsblk to see what sdX designation the new drive has been given inside the CVM. In my case the drive has no partitions and is not mounted.

lsblk cvm

To create a new partition on the drive run sudo cluster/bin/repartition_disks -d /dev/sdX

repartition disks

The disk now shows with a single partition

Partitioned disk

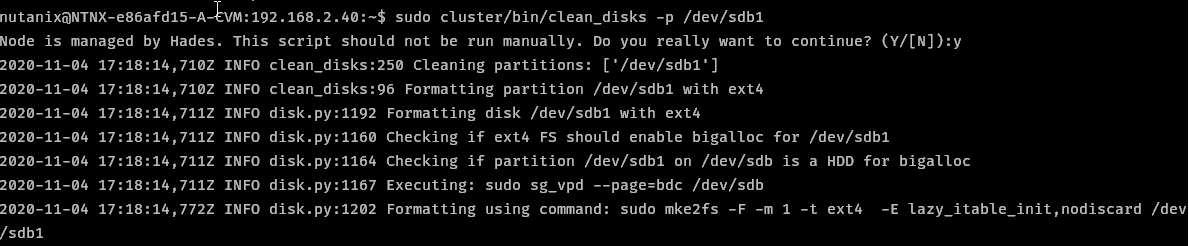
Format the disk with sudo cluster/bin/clean_disks -p /dev/sdX1 (get partition id from above command, mine is sdb1)

clean disk

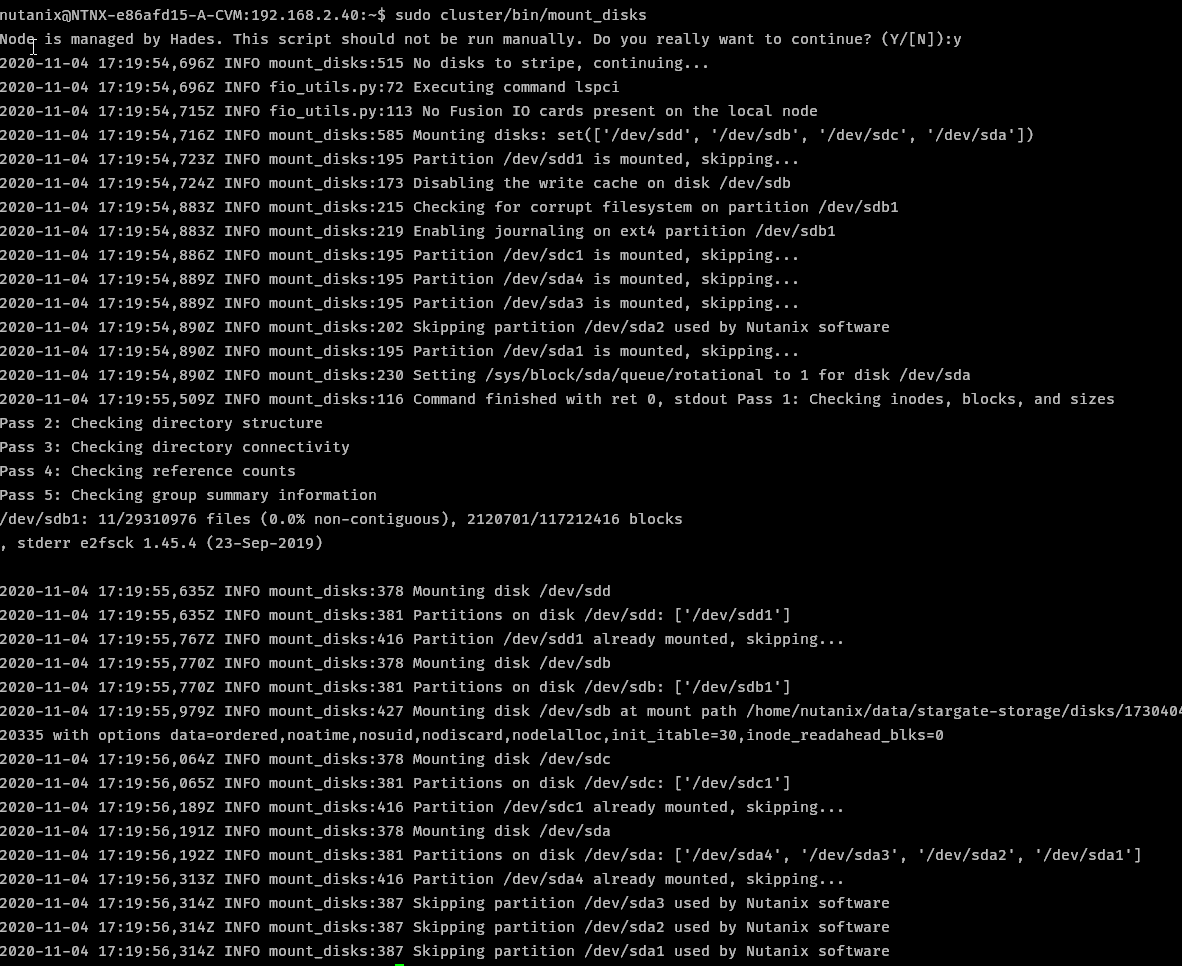
Mount the new partition with sudo cluster/bin/mount_disks

Mount disk

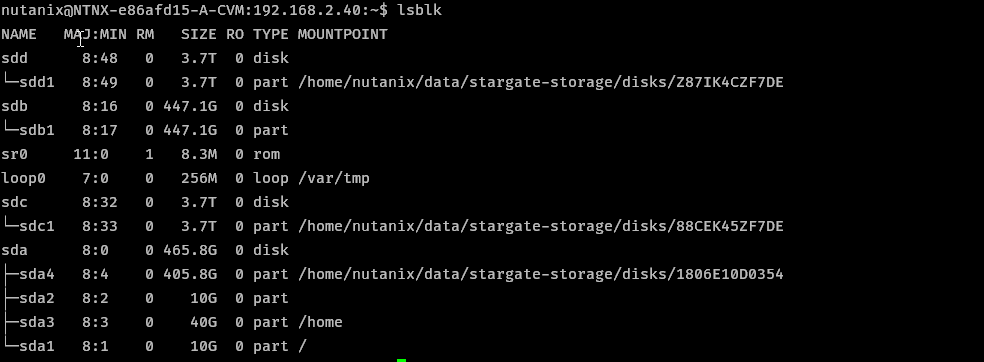
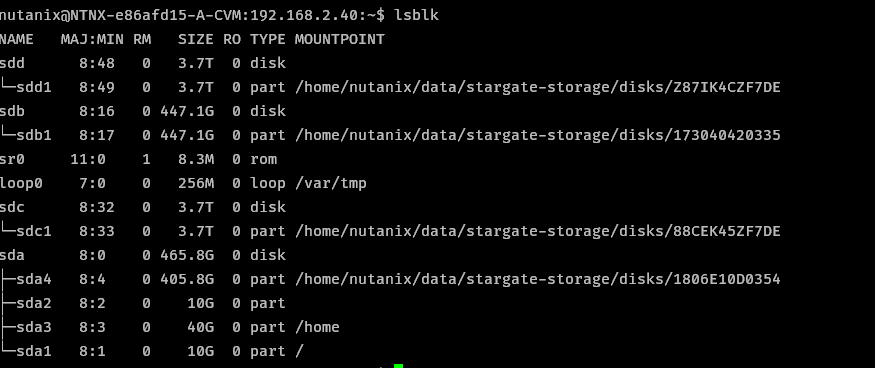
Verify the partition is mounted with lsblk

Partitioned mounted

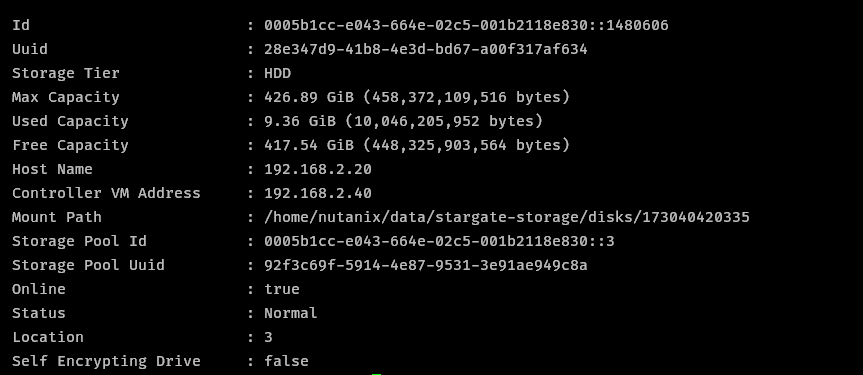
Restart the cluster with cluster start. Once the cluster is up, verify the disk is visible using ncli disk ls. If the disk is an SSD, then note the disk id number. In my example it is 0005b1cc-e043-664e-02c5-001b2118e830::1480606.

If the disk is not showing in ncli disk ls then you many need to stop and restart the cluster again. In my case, I waited around 10 minutes with no disk showing up. But after a cluster stop / start the disk was immediately visible.*

* It’s possible I ran the mount command while the cluster was running which is what actually brought the disk online in ncli and PE. If I get chance I’ll test this more thoroughly.

ncli ls

If this is a hard disk then skip this step. If you added an SSD you need to update the disk type with the following ncli command

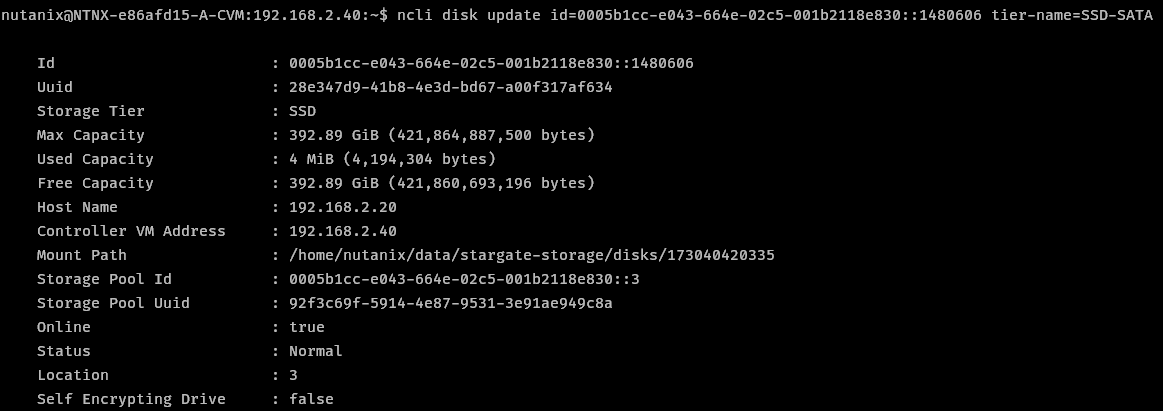
ncli disk update id=0005b1cc-e043-664e-02c5-001b2118e830::1480606 tier-name=SSD-SATA

ncli update

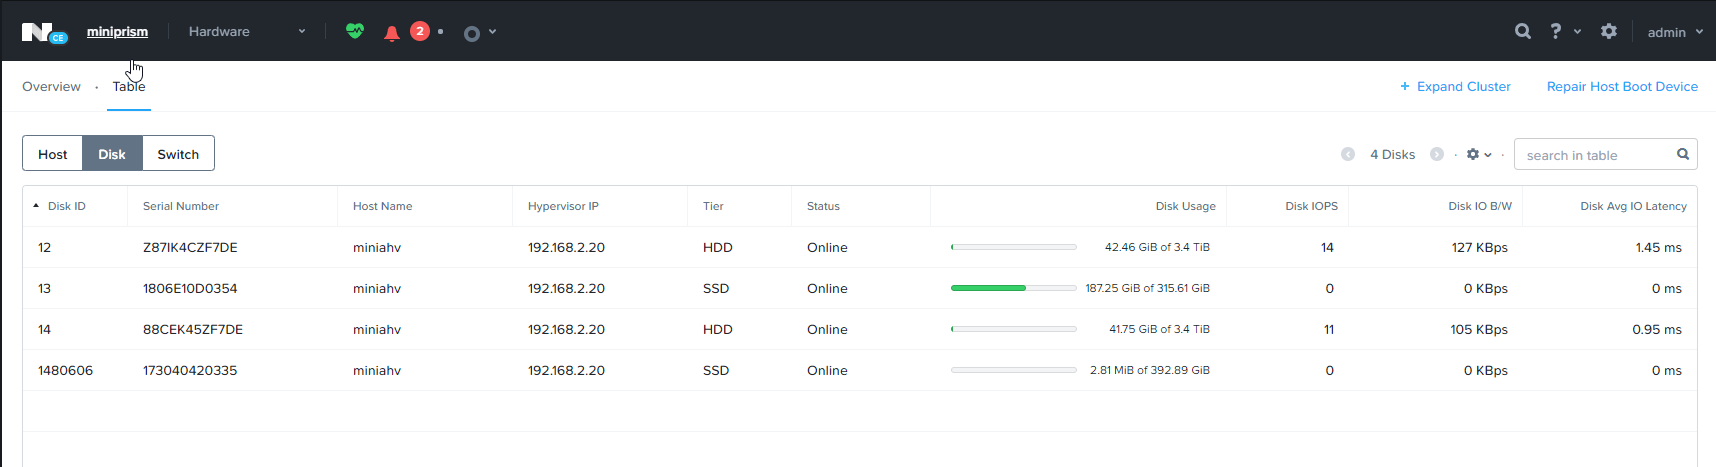
Once the disk is showing and in the correct tier, you should shortly be able to see the disk in Prism Elements. Check in Hardware > Table > Disk section

ncli update

Sources

/u/gdo on this Reddit thread

A now deleted blog post

Written with StackEdit.
Nutanix CE 2.0 on ESXi AOS Upgrade Hangs

AOS Upgrade on ESXi from 6.5.2 to 6.5.3.6 hangs. Issue I have tried to upgrade my Nutanix CE 2.0 based on ESXi to a newer AOS version for ...