Showing posts with label Virtualisation. Show all posts

Tuesday, 7 March 2023

Ubuntu with packer on vSphere

Building Ubuntu Server 22.04 on vSphere with Packer

While using my home lab, I regularly need a fresh Ubuntu Server to install test software. Rather than use the built in templating in vSphere, I wanted to use Packer to build an image so that I can include the regular software I use and have it always be up to date when I start using the server.

I initially built the template using JSON, but since HCL is now the preferred language, I converted the template to HCL and used some new features like dynamic blocks. I’ve parameterised all of the vSphere values and included some values to be injected into the VM such as username, initial user password and some ssh keys in authorized_keys for the user.

If you want to follow along, clone the git repo…

git clone https://github.com/bobalob/packer-vsphere
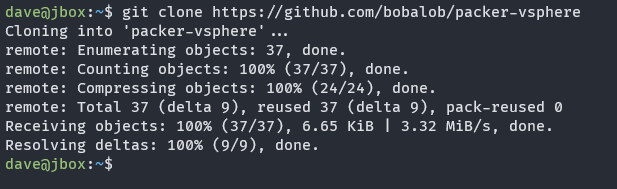
cloning the repo

…and install packer. if this isn’t available on your distribution, download from hashicorp

sudo apt install packer
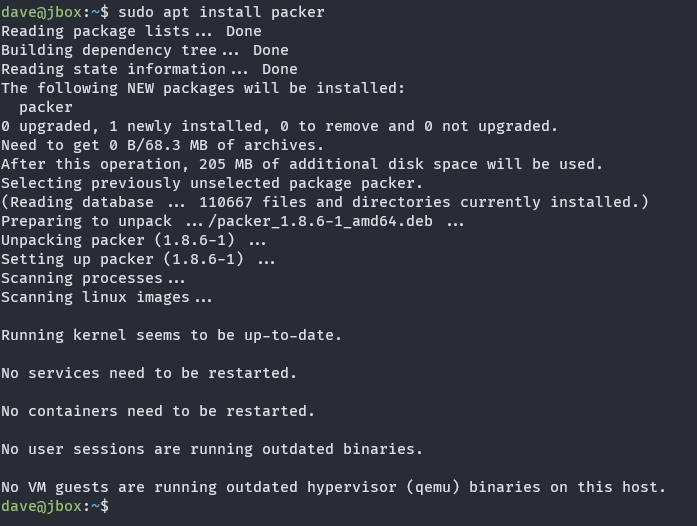
install packer

Here’s the main template. The source section defines the virtual machine ready to boot in vSphere and the build section defines what will happen after the OS has been installed.

The boot_command sends keys to the VM via the remote console and essentially types a boot command into the grub boot menu. This instructs the machine to load the user-data file from packer’s in built dynamic HTTP server. The user-data file has some basic information for subiquity (Ubuntu Server’s setup program) to install the OS.

The dynamic provisioner block is interesting since it iterates over the ssh_authorized_keys list variable and runs the echo | tee command multiple times inside the new VM.

Some of the variables in the user-data file are modified by build.sh prior to packer being executed, which I’ll show a bit later.

The template uses variables for most user input so it can be used in other environments

To provide user variables, a file named variables.auto.pkrvars.hcl can be placed in the files/ directory. SSH public keys can be placed in the ssh_authorized_keys variable which will be injected into the VM in the build step. An example variables.auto.pkrvars.hcl file:

temp_dns = "192.168.2.254"
temp_gw = "192.168.2.254"
temp_ip = "192.168.2.90"
temp_mask = "255.255.255.0"
vcenter_cluster = "mycluster.domain.local"
vcenter_datacenter = "Home"
vcenter_datastore = "Datastore1"
vcenter_iso_path = "[Datastore1] ISO/ubuntu-22.04.1-live-server-amd64.iso"
vcenter_network = "VM network"
vcenter_server = "vcenter.domain.local"
vcenter_user = "administrator@vsphere.local"
ssh_authorized_keys = [
    "ssh-rsa AAAAB3NzaC1... user@box1",
    "ssh-rsa AAAAB3NzaC1... user@box2"
]

The temporary IP is because in my environment, the machine would get a different DHCP assigned address after the first reboot and packer would not reconnect to the new IP.

Running build.sh modifies some files in the user-data file that Ubuntu reads during setup. openssl generates a password hash for the user supplied password and there is a read command for the vCenter password so it’s not entered on the command line or echoed to the screen.

And finally, here’s the provision.sh script that runs inside the VM once it’s built. The provision script just does an apt update/upgrade, cleans up the cloud-init configuration from the installer, expires the user’s password and resets it’s sudo configuration.

Building the machine

Running build.sh
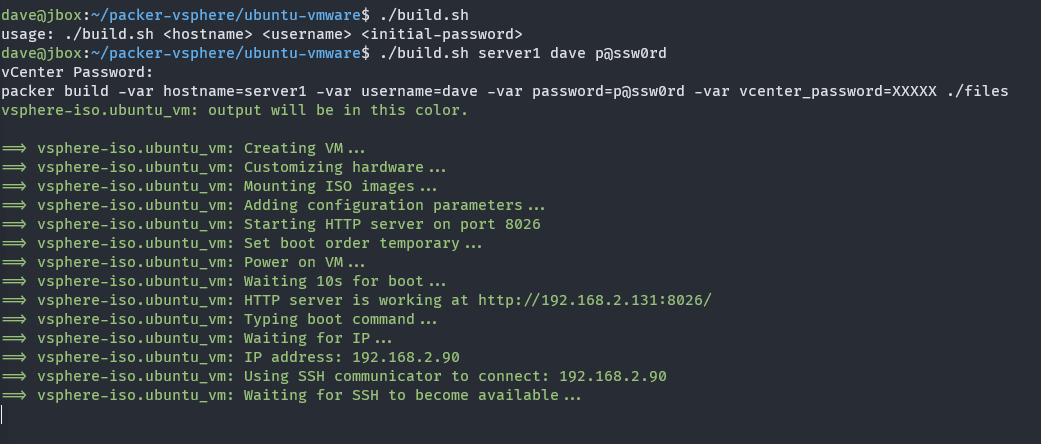
running build.sh

packer typing the boot command
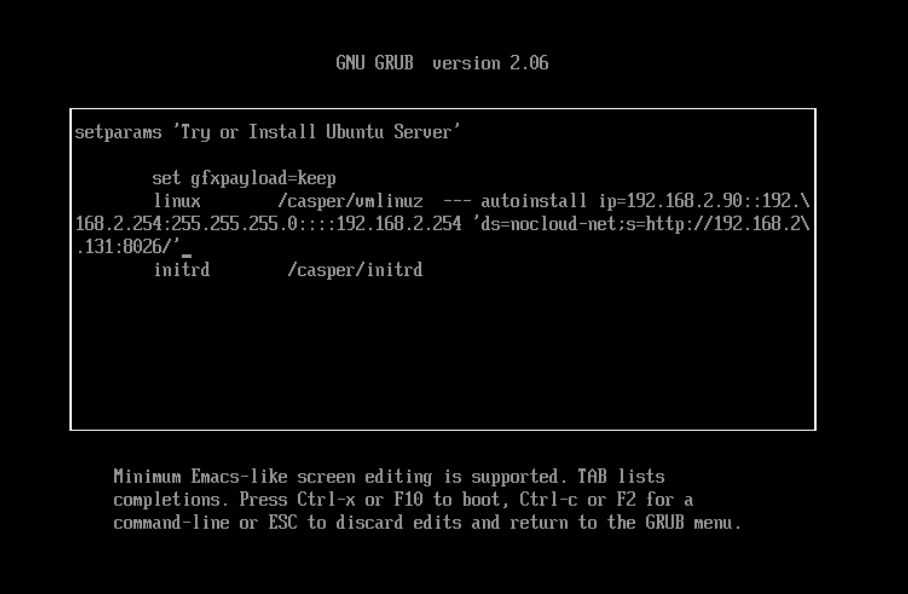
packer typing boot command

build section of the template running. Notice that the ssh-rsa public keys are echoed twice, this is because of the dynamic block in the build section of the template iterating over the list of keys provided in the variable.
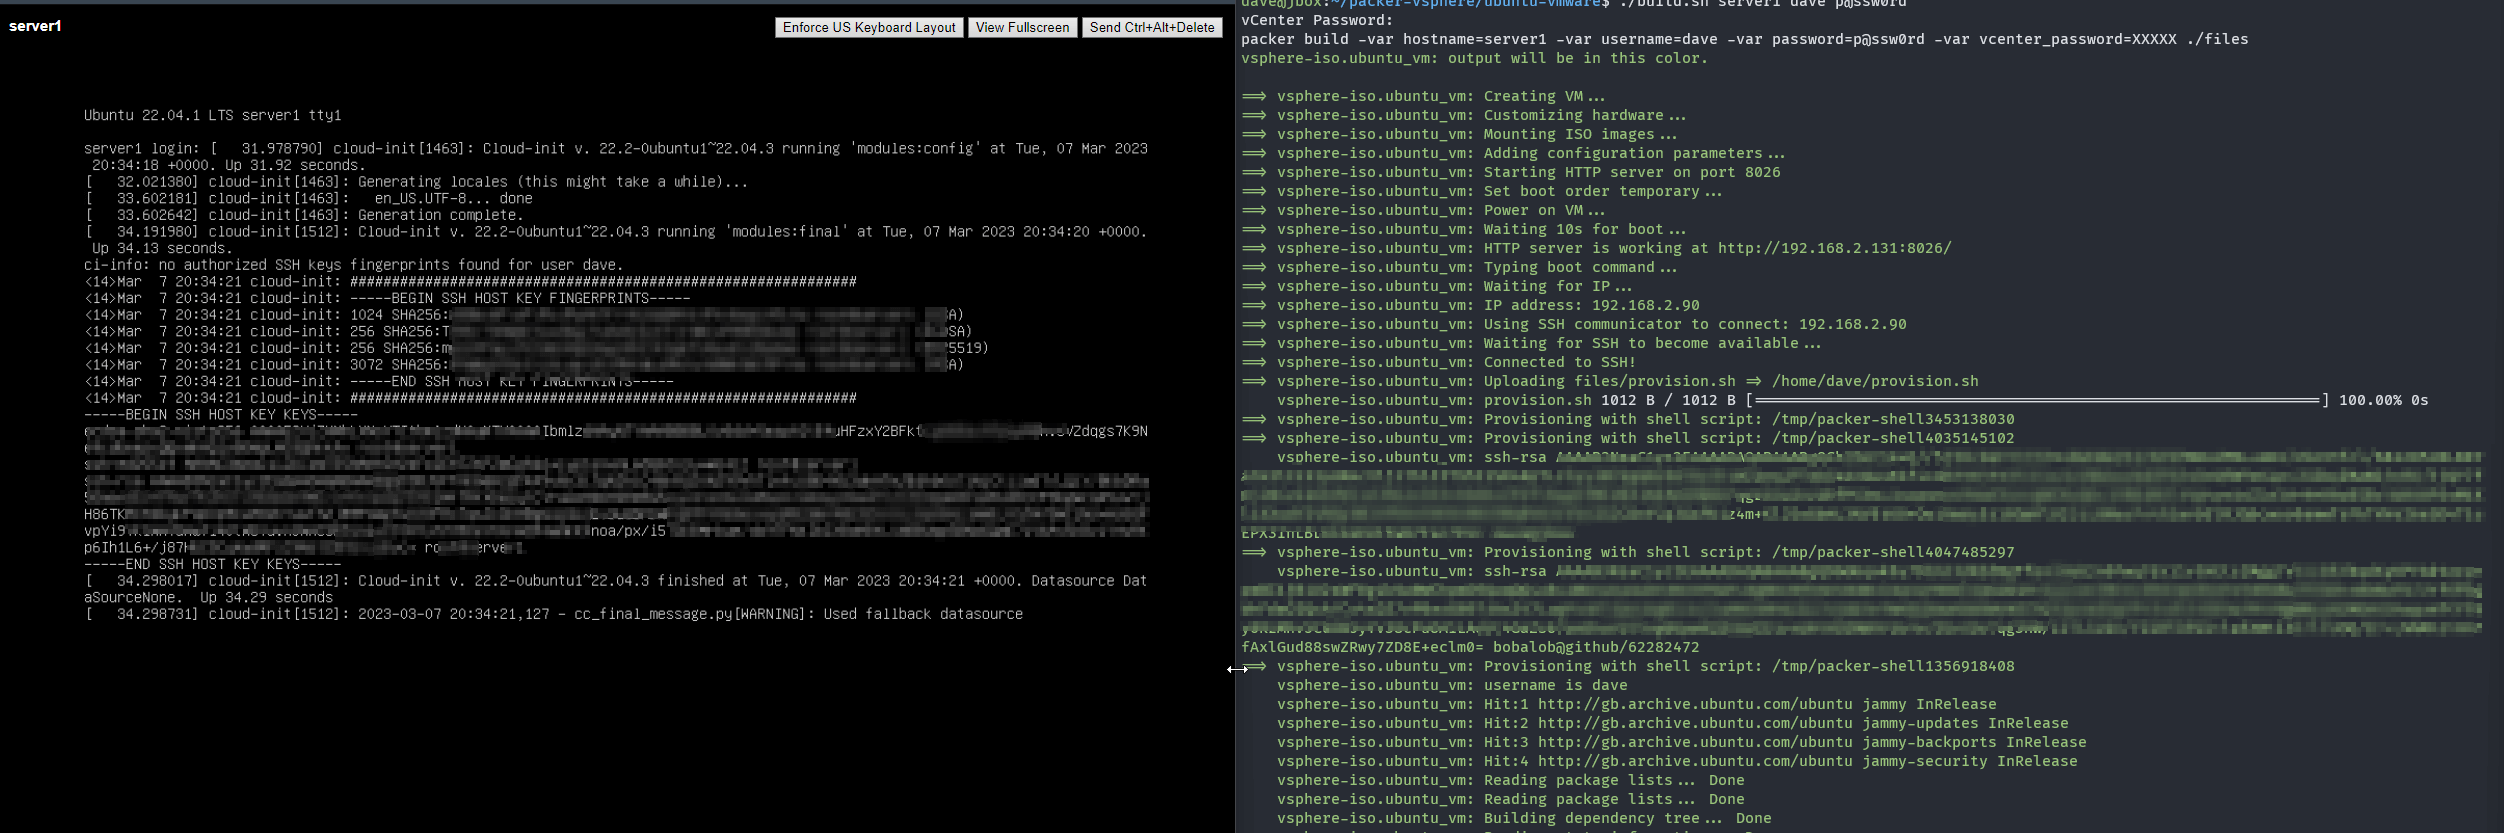
packer running the build

Once the machine is built, login with my ssh key is possible. Since provision.sh expired the user password, we’re prompted to change from the initial password at first login.
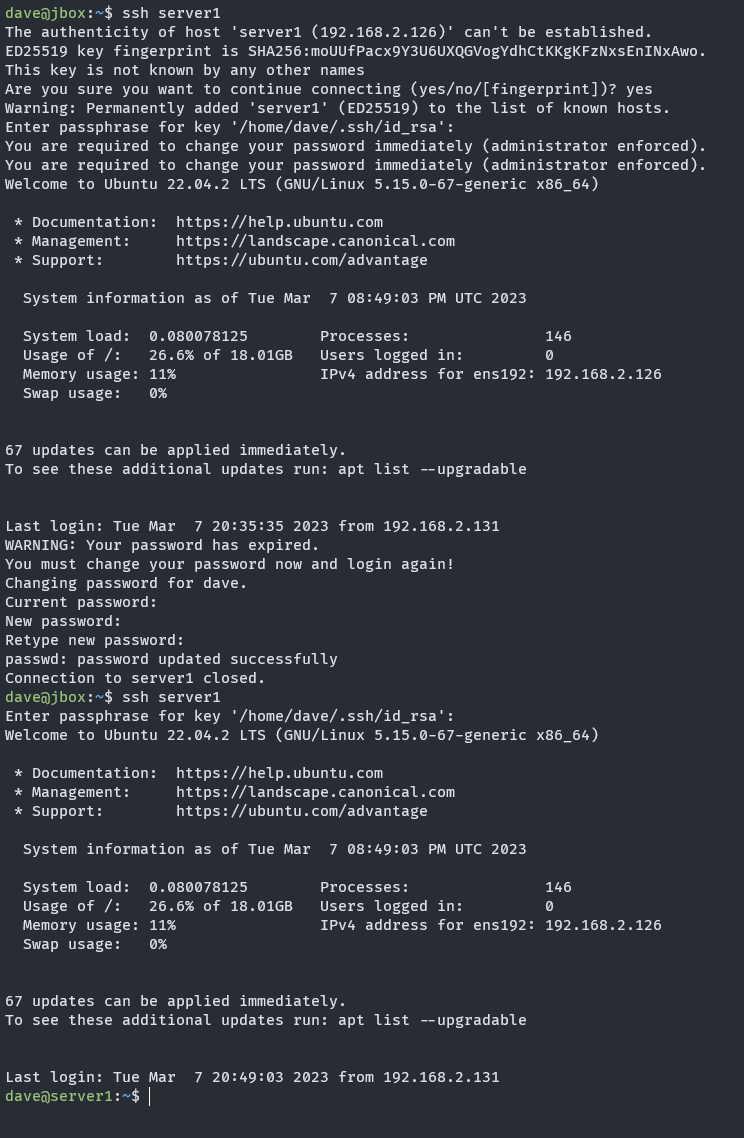
logging into the finished machine

I already have Ansible set up in my home lab, so I’ll try to integrate that into this build in the future.

Written with StackEdit.

Friday, 29 October 2021

AHV nested inside Hyper-V

AHV in Hyper-V

AHV Running as a Hyper-V Guest VM

Want to test out Nutanix Community Edition but don’t have the hardware handy? If you have a decent Hyper-V host then it’s possible to install CE inside a guest VM in Hyper-V.

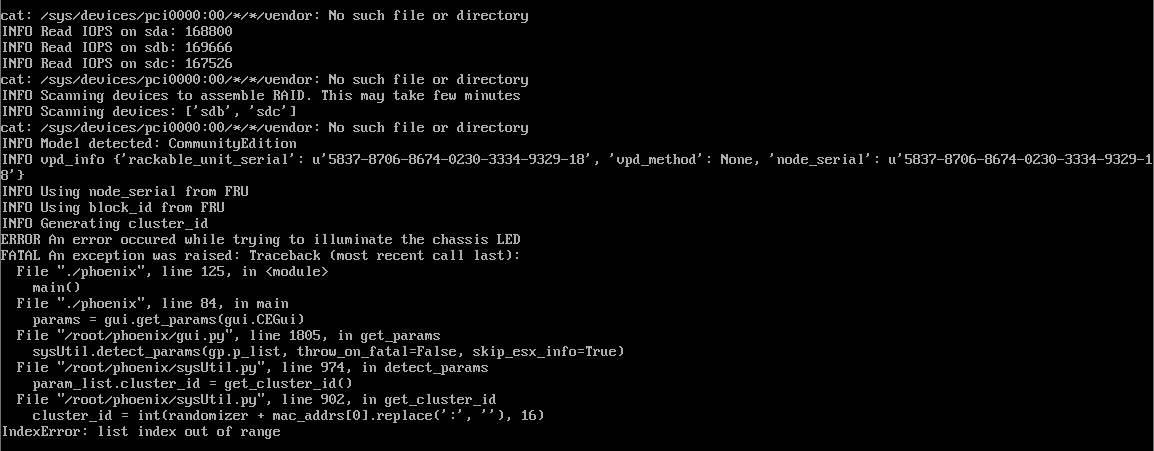
Unfortunately the ISO you can download direct from Nutanix fails when checking for network interfaces during the install. Attempting to install straight from the ISO with regular or legacy NICs results in the following error:

FATAL An exception was raised: Traceback (most recent call last):
  File "./phoenix", line 125, in <module>
   main()
  File "./phoenix", line 84, in main
    params = gui.get_params(gui.CEGui)
  File "/root/phoenix/gui.py", line 1805, in get_params
    sysUtil.detect_params(gp.p_list, throw_on_fatal=False, skip_esx_info=True)
  File "/root/phoenix/sysUtil.py", line 974, in detect_params
    param_list.cluster_id = get_cluster_id()
  File "/root/phoenix/sysUtil.py", line 974, in get_cluster_id
    cluster_id = int(randomizer + mac_addrs[0].replace(':',''), 16)
IndexError: list index out of range

CE NIC Error

It is however possible to modify the installer so it can detect Hyper-V guest network interfaces and successfully install and start a new single node cluster.

The requirements for the guest VM are not insignificant, so you’ll need the following.

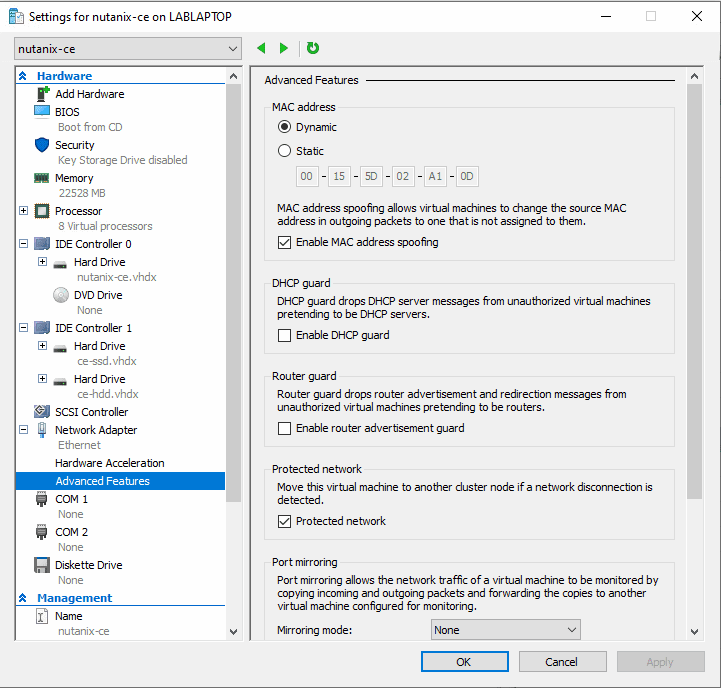
VM Specification

  • Generation 1 VM (BIOS Boot)
  • 4+ vCPU Cores (I have tested with 8)
  • 22 GB+ RAM, Statically Assigned
  • 3 Dynamically Expanding VHDs attached to IDE interface
    • 32 GB AHV Boot Disk
    • 256 GB CVM & Data (Must be SSD backed)
    • 512 GB Data Disk
  • Nested Virtualisation enabled on the VM
  • At least one NIC, enable MAC address spoofing so that the CVM and guest VMs can get out to the network.

VM Settings Dialog


Start by downloading the ce-2020.09.16.iso from the Nutanix Community Edition forum (Requires Registration.)

Patch the iso using the script. I used a fresh, temporary Ubuntu 20.04 server VM to patch the iso. It’s possible this script would work in WSL but I haven’t tested that. The script just modifies a few lines in some of the setup python scripts. You may be able to do this manually but it requires unpacking and repacking the initrd file on the ISO in a very specific way.

This is an alpha grade script, so use at your own risk. I created an Ubuntu Server 20.04 temporary VM and copied the iso into the VM.

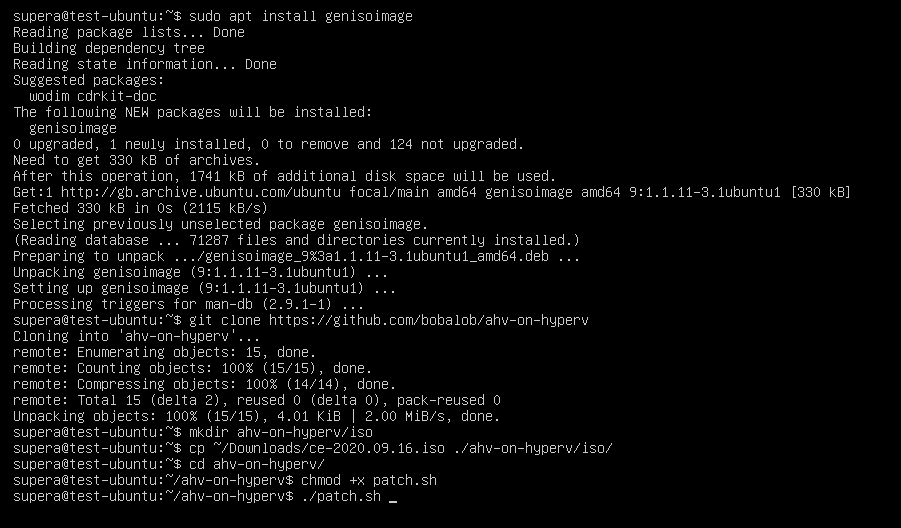
The script has some pre-requesites to install.

sudo apt install genisoimage

Then copy your downloaded ce-2020.09.16.iso file to the iso directory and run the script.

git clone https://github.com/bobalob/ahv-on-hyperv
mkdir ./ahv-on-hyperv/iso
cp ~/Downloads/ce-2020.09.16.iso ./ahv-on-hyperv/iso/
cd ahv-on-hyperv/
chhmod +x patch.sh
./patch.sh

Pre Patching

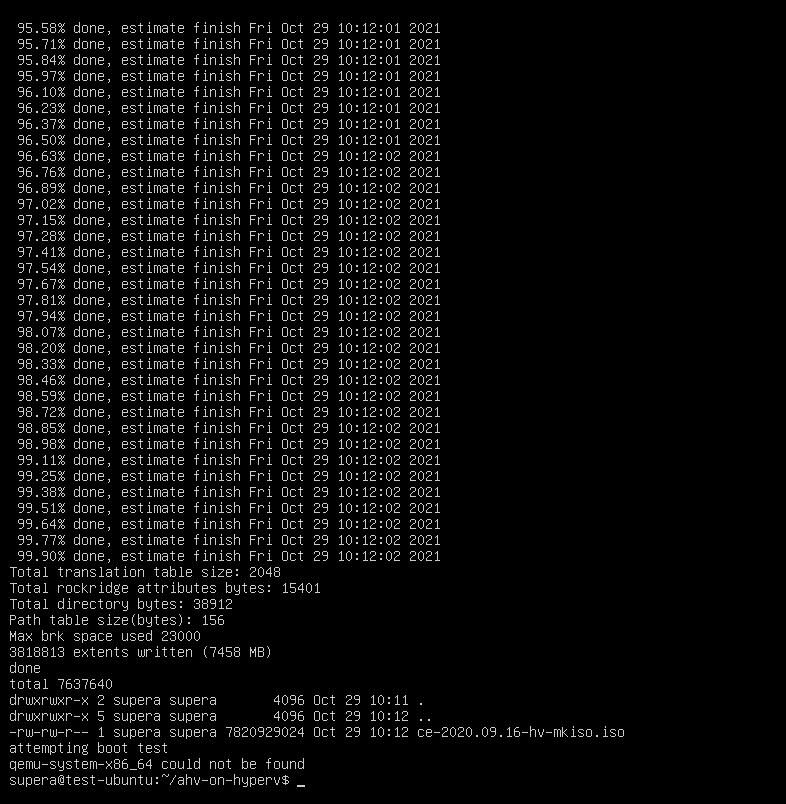
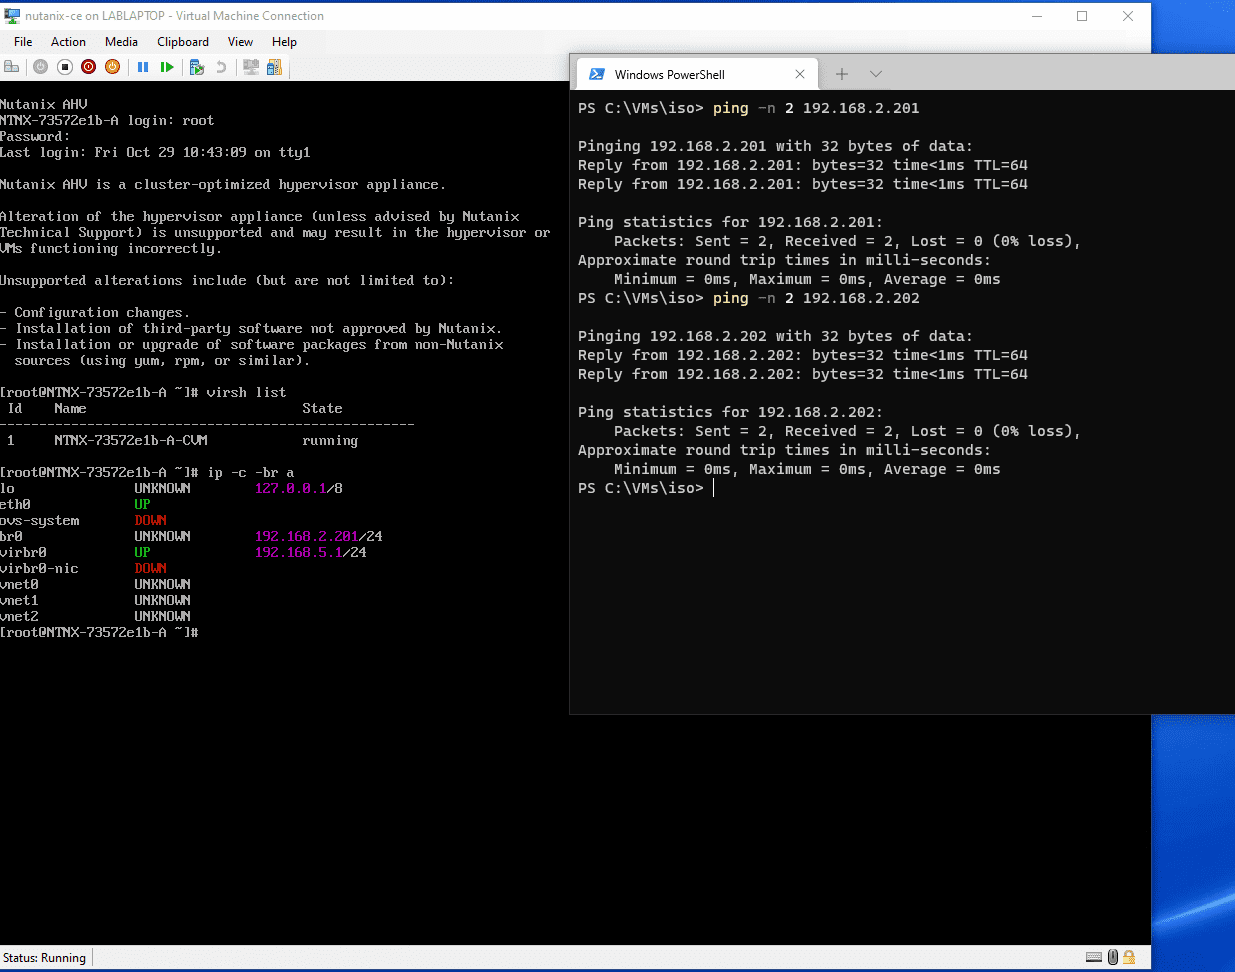
Once finished it should look a bit like this.

Patched

If your Ubuntu machine has KVM/QEMU installed it will boot the ISO, this is expected to fail as there are no disks attached. You can safely stop the VM. Once patched copy the new ce-2020.09.16-hv-mkiso.iso from your Ubuntu machine to your Hyper-V host.

Create a new virtual machine with the above specification, then enable nested virtualisation with the following command

Set-VMProcessor -VMName <VMName> -ExposeVirtualizationExtensions $true

Attach the patched ISO ce-2020.09.16-hv-mkiso.iso and boot the VM.

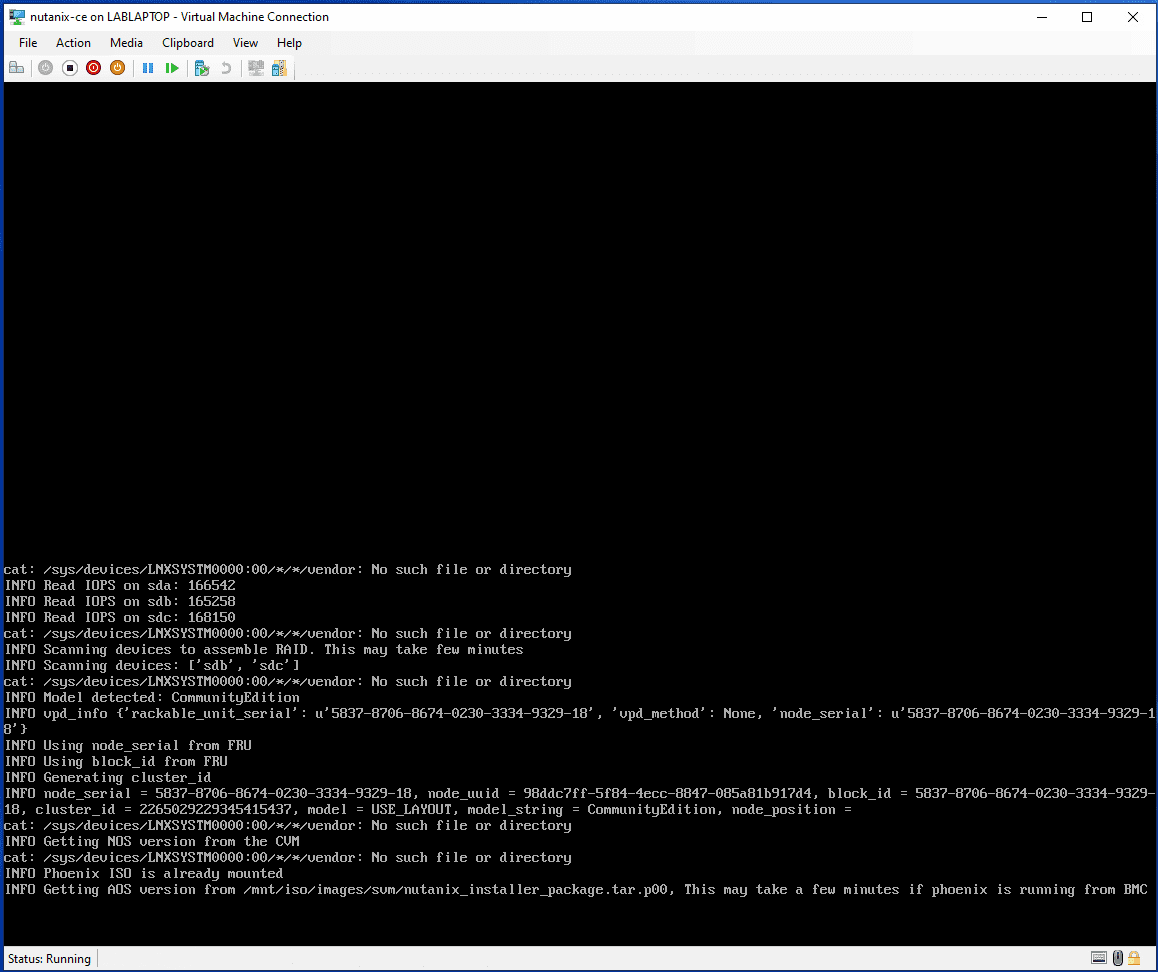
Booting the VM

Installation

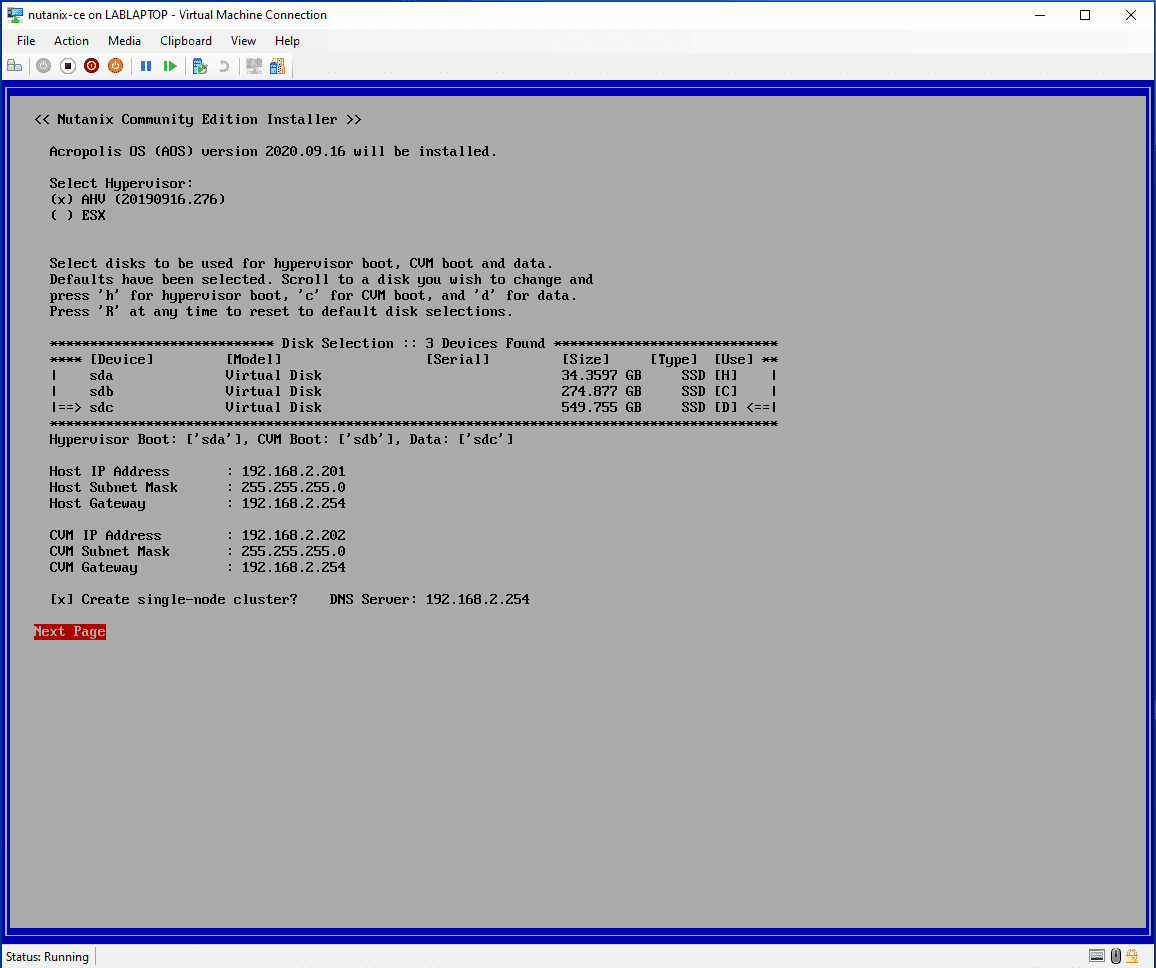
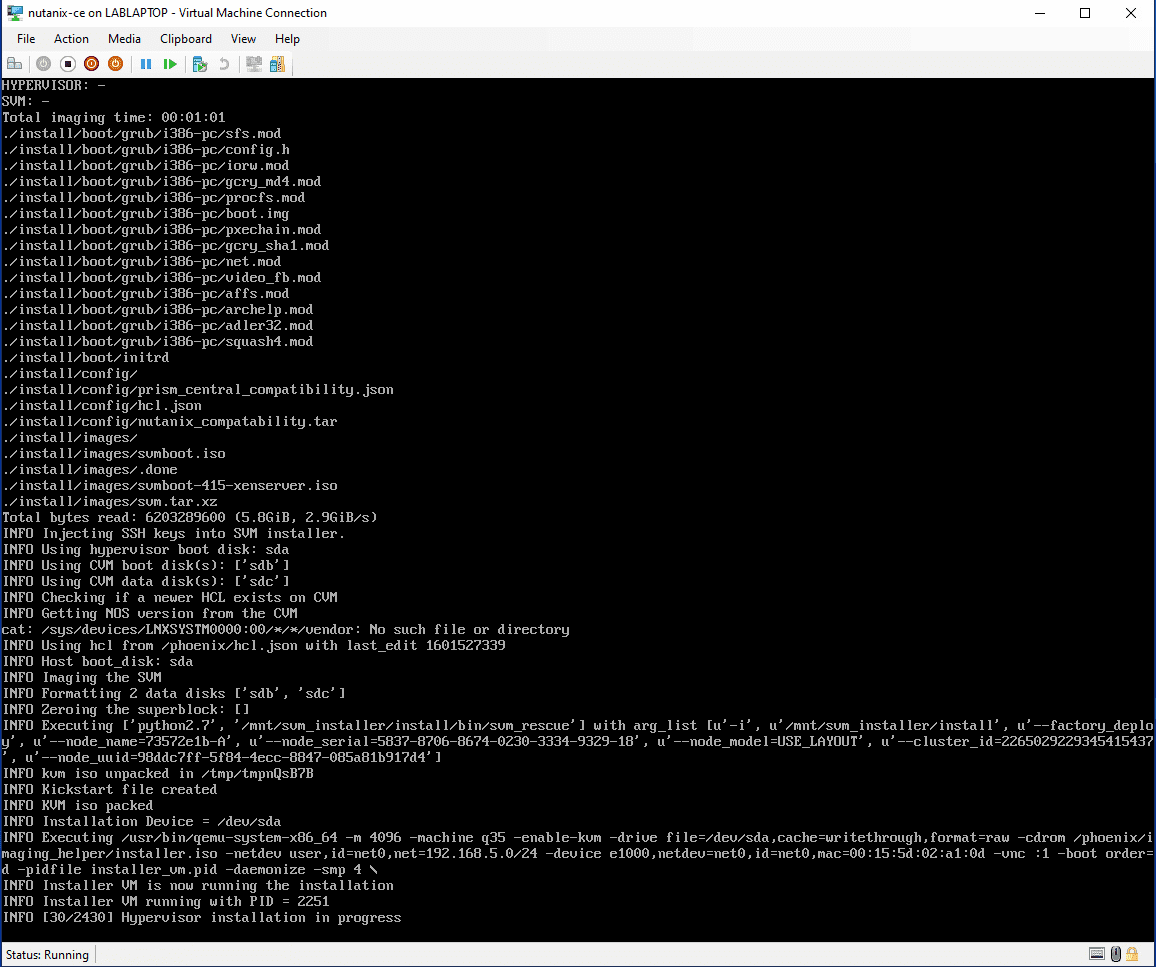
Follow the normal path to install

Installation 1

Installation 2

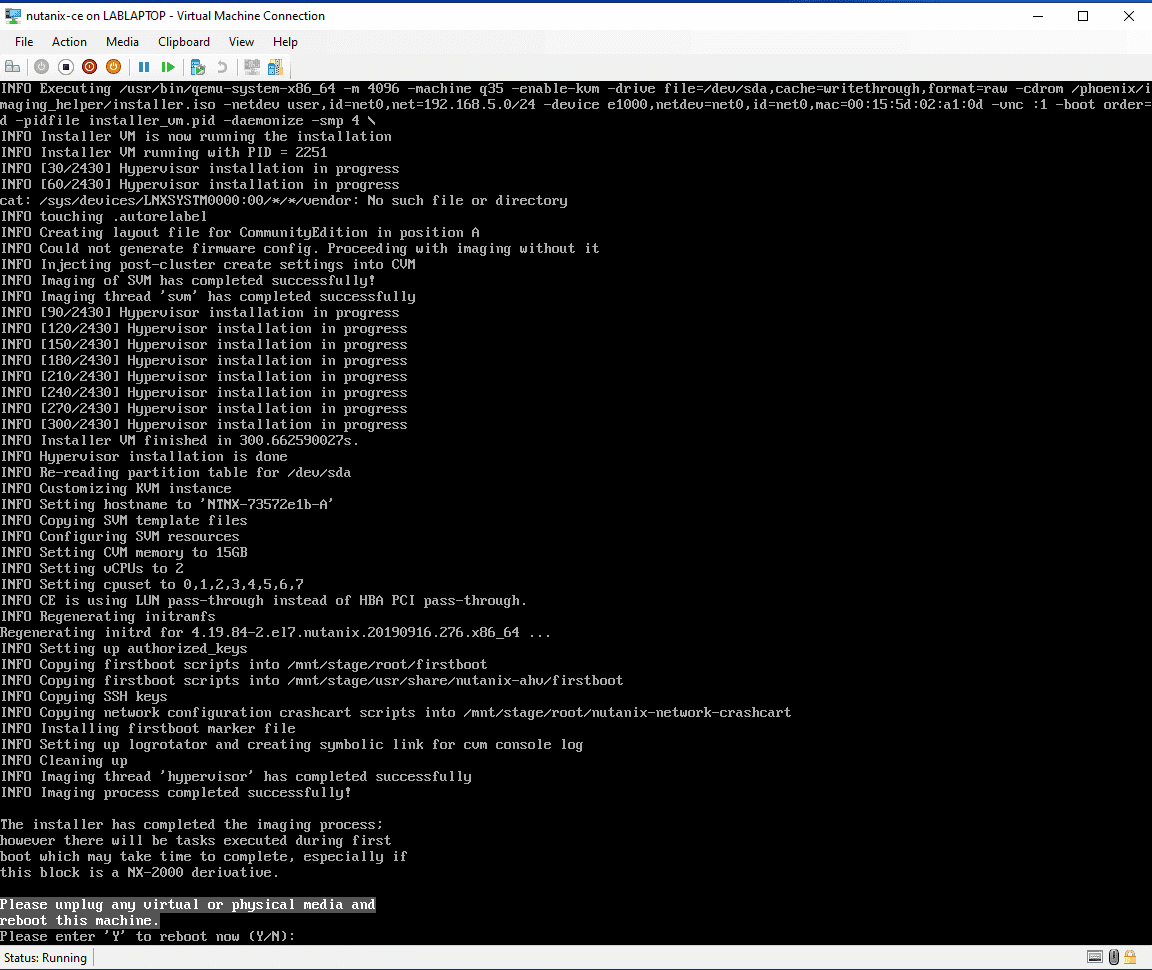
Install Complete

Installation Complete

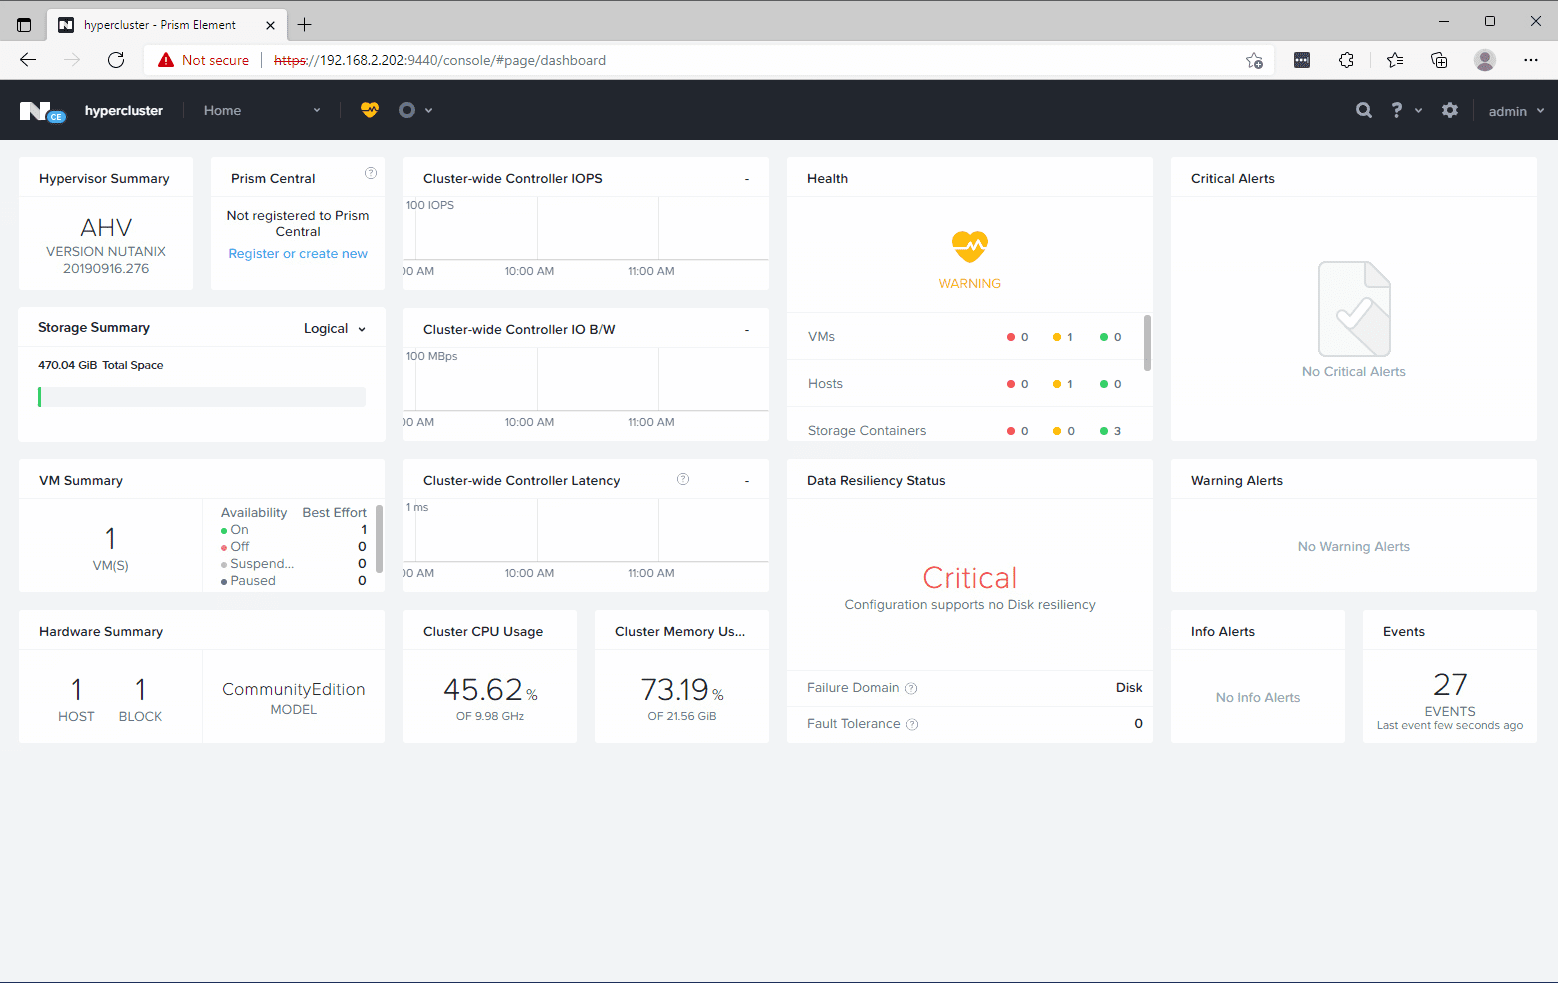
Prism Running!

Remove the ISO from the VM and reboot when told; give it 15-20 minutes to start up. Enjoy your new dev AHV/AOS installation.

CVM is UP!

Prism is UP!

Written with StackEdit.

Nutanix CE 2.0 on ESXi AOS Upgrade Hangs

AOS Upgrade on ESXi from 6.5.2 to 6.5.3.6 hangs. Issue I have tried to upgrade my Nutanix CE 2.0 based on ESXi to a newer AOS version for ...