Showing posts with label Live CD. Show all posts

Sunday, 22 November 2020

VLAN on Ubuntu Live Disc

VLAN on Ubuntu Live Disc

Configure VLAN tagging on Ubuntu Live DVD

Most of the guides I found online show you how to configure a VLAN interface on ubuntu by running apt install vlan. That’s all good, however what happens if you’re booted to a Live DVD OS and you don’t already have network access to install a package. Well, it turns out you can use the ip command to add a VLAN tagged interface to your physical interface and get connectivity.


I’ve tested these commands on both a Ubuntu 16.04 and 20.04 Live DVD and both work fine.

Here’s what you need to do

Show your existing interfaces

ip -c -br a

Once you can see which interfaces are up, note the interface name of the one which has the VLAN you’re interested in. In my case enp4s0f1 has vlan id 777 tagged on it.
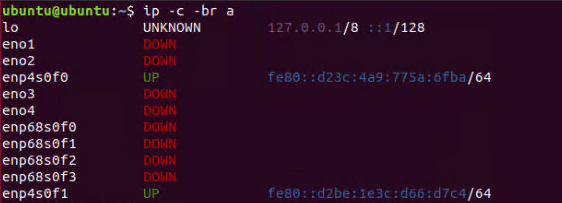
ip brief

Add a VLAN interface to your physical interface

sudo ip link add link enp4s0f1 name enp4s0f1.777 type vlan id 777

Bring the new interface up

sudo ip link set enp4s0f1.777 up

Add an IP address to the interface. You can use CIDR notation (eg. 192.168.0.1/24) or IP/Subnet (eg. 192.168.0.1/255.255.255.0)

sudo ip a add 172.23.98.176/24 dev enp4s0f1.777

Add a default gateway

sudo ip route add default via 172.23.98.254

Ping something

ping -c 3 172.23.98.254
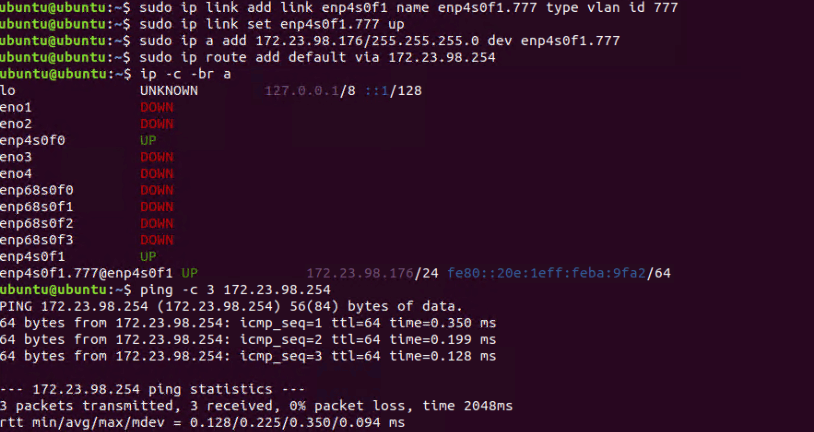
commands

Hopefully you should now have connectivity.

Written with StackEdit.

VLAN on Hiren's Boot CD

VLAN on Hiren's Boot CD

Configure VLAN tagging on Hiren’s Boot CD

I had to configure a network card to use a VLAN on some Live CD operating systems to image a disk on a server. Luckily with HBCD it’s pretty much the same process as in normal Windows:


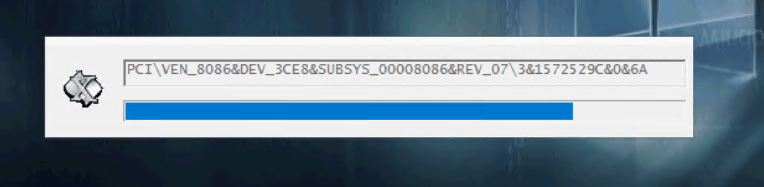
Wait for all your devices to be detected and configured

hbcd-waitfordevices.png

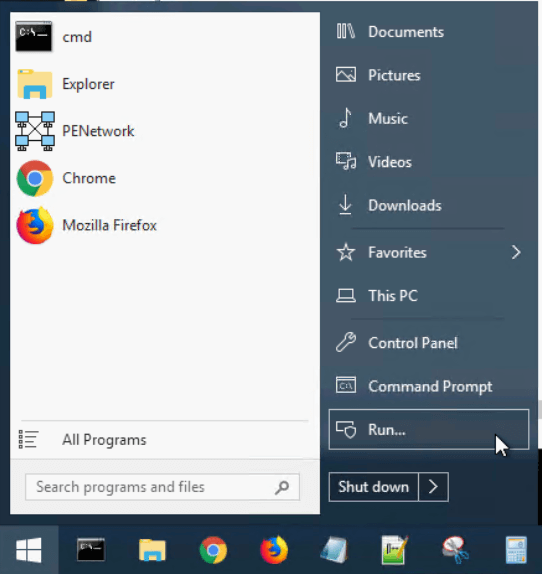
Click Start > Run

hvcd-run.png

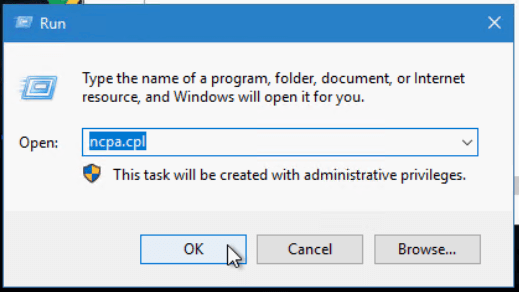
Type ncpa.cpl and click OK

hbcd-ncpa.png

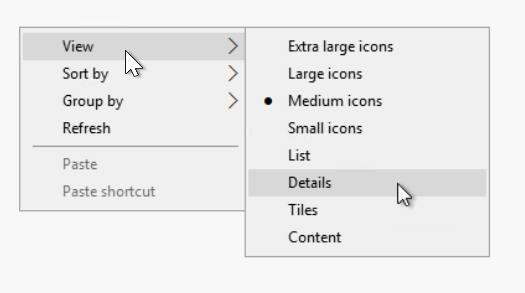
Right click in some white space in the Network Connections window, click View > Details

hbcd-viewdetails.png

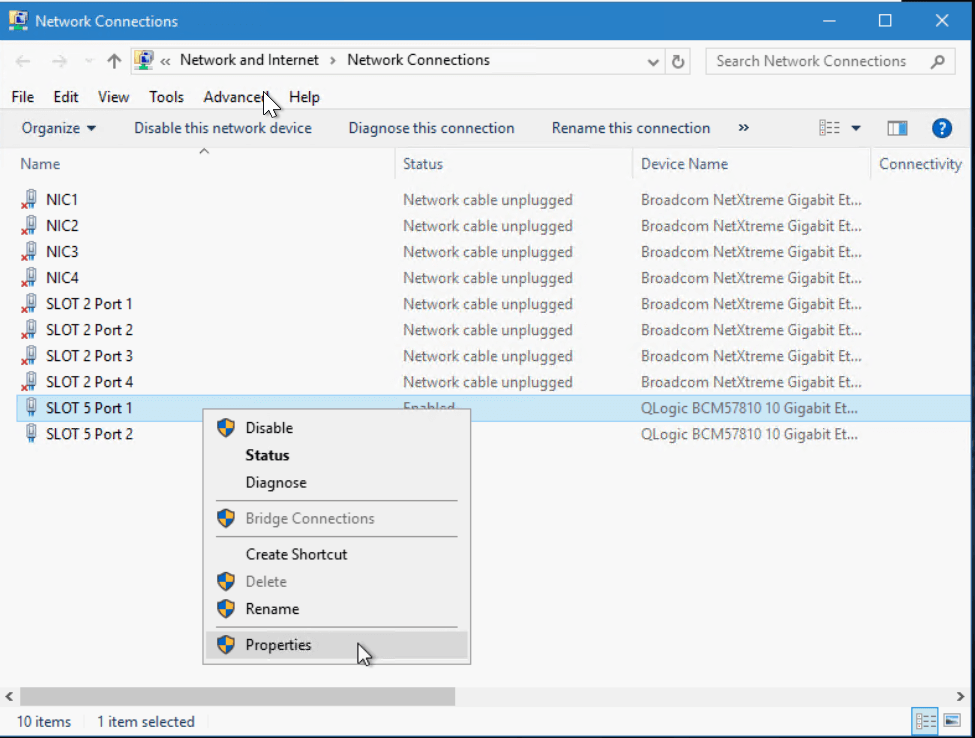
Right click on the enabled NIC that has your VLAN configured and click properties

hbcd-nicproperties.png

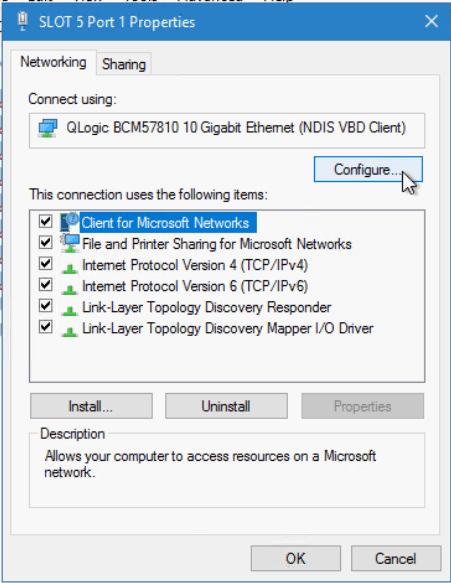
Click the Configure button for the NIC

hbcd-confignic.png

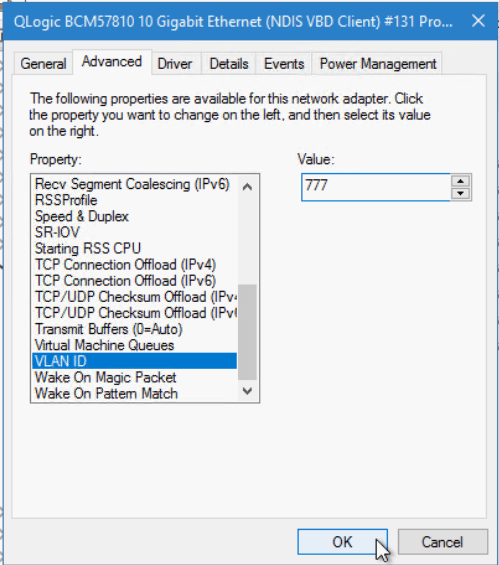
Click the Advanced tab and look for something like “VLAN ID”. This may be referred to differently depending on the network adaper and / or driver. Set the relevant VLAN ID and click OK

hbcd-advancedvlan.png

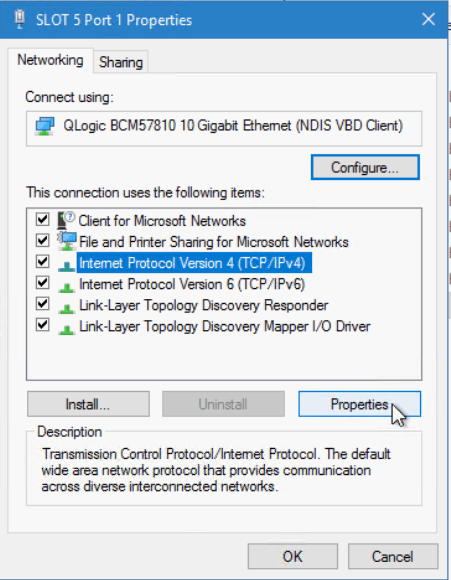
Go back into the NIC properties, select IPv4 and click configure

hbcd-ipv4.png

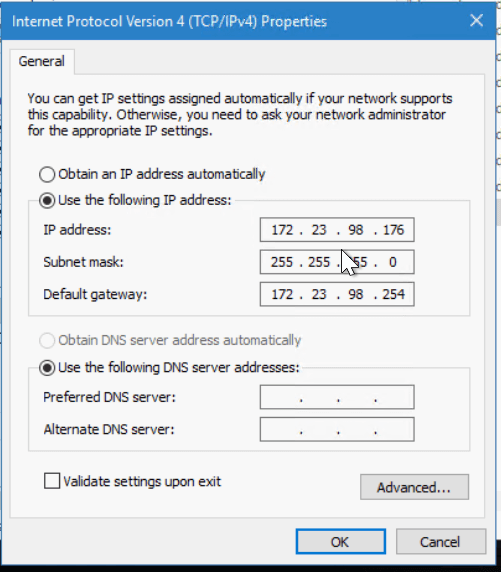
Set an IP address, subnet and gateway address.

hbcd-ipv4props.png

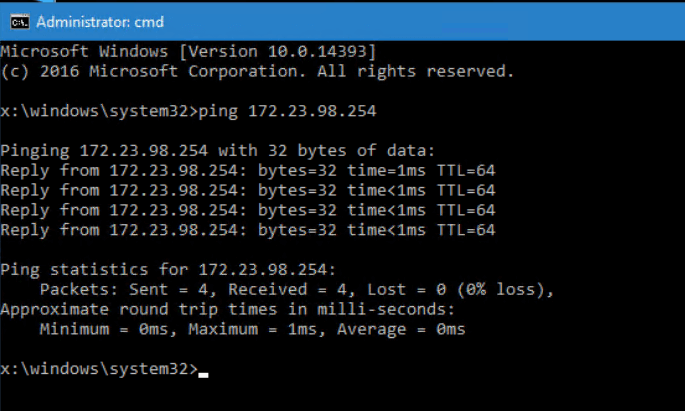
Test it!

hbcd-ping.png

Hopefully it’s all working now.

Written with StackEdit.

Nutanix CE 2.0 on ESXi AOS Upgrade Hangs

AOS Upgrade on ESXi from 6.5.2 to 6.5.3.6 hangs. Issue I have tried to upgrade my Nutanix CE 2.0 based on ESXi to a newer AOS version for ...