Packer for Nutanix AHV
Packer automates the creation of virtual machine images. It’s quite a bit simpler than SCCM to set up if you just want basic, up to date images that you can deploy virtual machines from. Packer uses ‘builders’ to create virtual machine images for various hypervisors and cloud services. Unfortunately, there isn’t yet a builder for Nutanix AHV. AHV is based on KVM for virtualisation though, so it’s possible to generate images using a basic KVM hypervisor and then upload them to the image service ready to deploy.
Since it’s not possible to create the templates natively in the platform, a helper virtual machine is needed to run KVM and build the images. In this post, I’ll go through the set up for an Ubuntu virtual machine and give a Windows Server 2019 example ready to deploy.
I used Nutanix CE 5.18 in most of my testing, but it’s also possible to run the KVM builder on a physical machine or any VM that supports CPU passthrough such as VMware workstation, Hyper-V or ESXi. If you’re running an older version of Nutanix AOS/AHV then it may still be possible with caveats. Check the troubleshooting section for more information.
Create the builder virtual machine
Create the VM in AHV
- Create VM, 2 vCPU, 4 GB, I’m using the name
packer - Add disk, ~100 GB
- Enable CPU passtrhough in the Nutanix CLI
SSH to a CVM as nutanix and run the following command
acli vm.update <VMNAME> cpu_passthrough=true

- Install Ubuntu 20.04, I chose a minimal installation
- Install XRDP if required. This script appears to configure Ubuntu for XRDP quite well. If you run this script, you should check it’s contents. I have only done this on a non-production test VM, but it appears to work well.
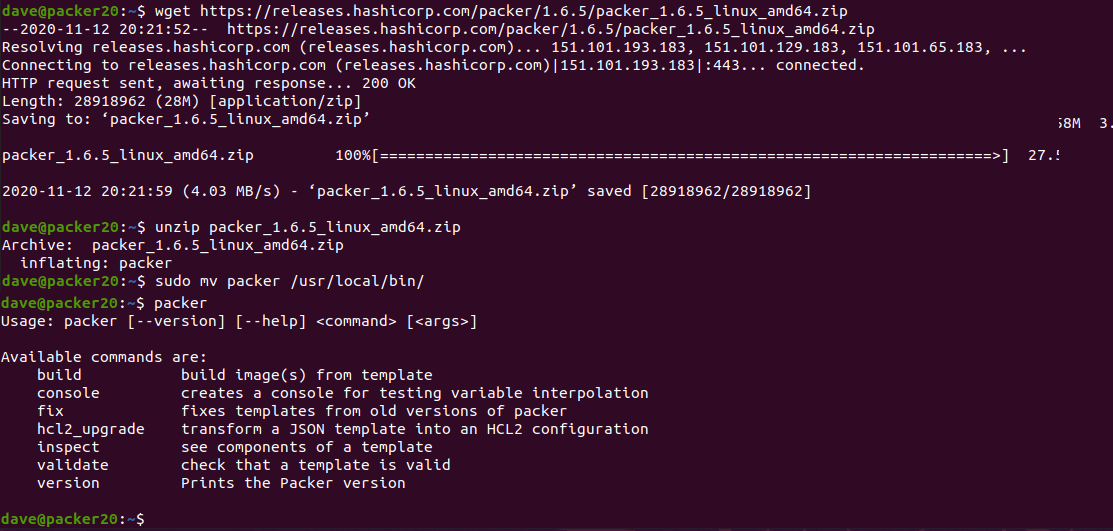
Install packer with the following commands. First party guide here. Make sure you update with the latest version, the URL here is just an example, but it is the version I used.
sudo apt update
sudo apt -y upgrade
wget https://releases.hashicorp.com/packer/1.6.5/packer_1.6.5_linux_amd64.zip
unzip packer_1.6.5_linux_amd64.zip
sudo mv packer /usr/local/bin/
Run the packer binary to make sure it’s in the path and executable
packer
Download the packer windows update provisioner and install per the instructions.
wget https://github.com/rgl/packer-provisioner-windows-update/releases/download/v0.10.1/packer-provisioner-windows-update_0.10.1_linux_amd64.tar.gz
tar -xvf packer-provisioner-windows-update_0.10.1_linux_amd64.tar.gz
chmod +x packer-provisioner-windows-update
sudo mv packer-provisioner-windows-update /usr/local/bin/
Install qemu, vnc viewer & git
sudo apt -y install qemu qemu-kvm tigervnc-viewer git
Check you have virtualisation enabled
kvm-ok
Add your local user to the kvm group and reboot
sudo usermod -aG kvm dave
sudo reboot
I have built an example windows build on github here
Clone the example files to your local system with the following command
git clone https://github.com/bobalob/packer-examples
you will need to download the Windows 2019 Server ISO from here, the Nutanix VirtIO Drivers from here and LAPS from here.
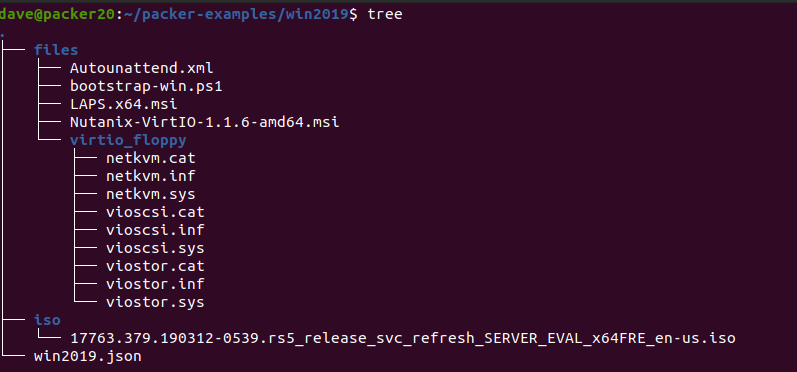
Place the Windows installation media in the iso folder and the 2 MSI files in the files folder. They must be named exactly as in the win2019.json file for this to work. Update the json file if you have differing MSI or ISO file names. Use this as a base to build from. You can upload additonal MSIs or add scripts. Experiment with the packer provisioners.
If you run with a different ISO you will either need to obtain the sha256 hash for the ISO or just run the packer build command and it will tell you what hash it wants. Be careful here, I trusted my ISO file so I just copied the hash that packer wanted into my json and ran the build again.
If you wish to change the password for the build, change the variable in the win2019.json file and the plain text password in the Autounattend.xml file.
My folder structure looks like this:
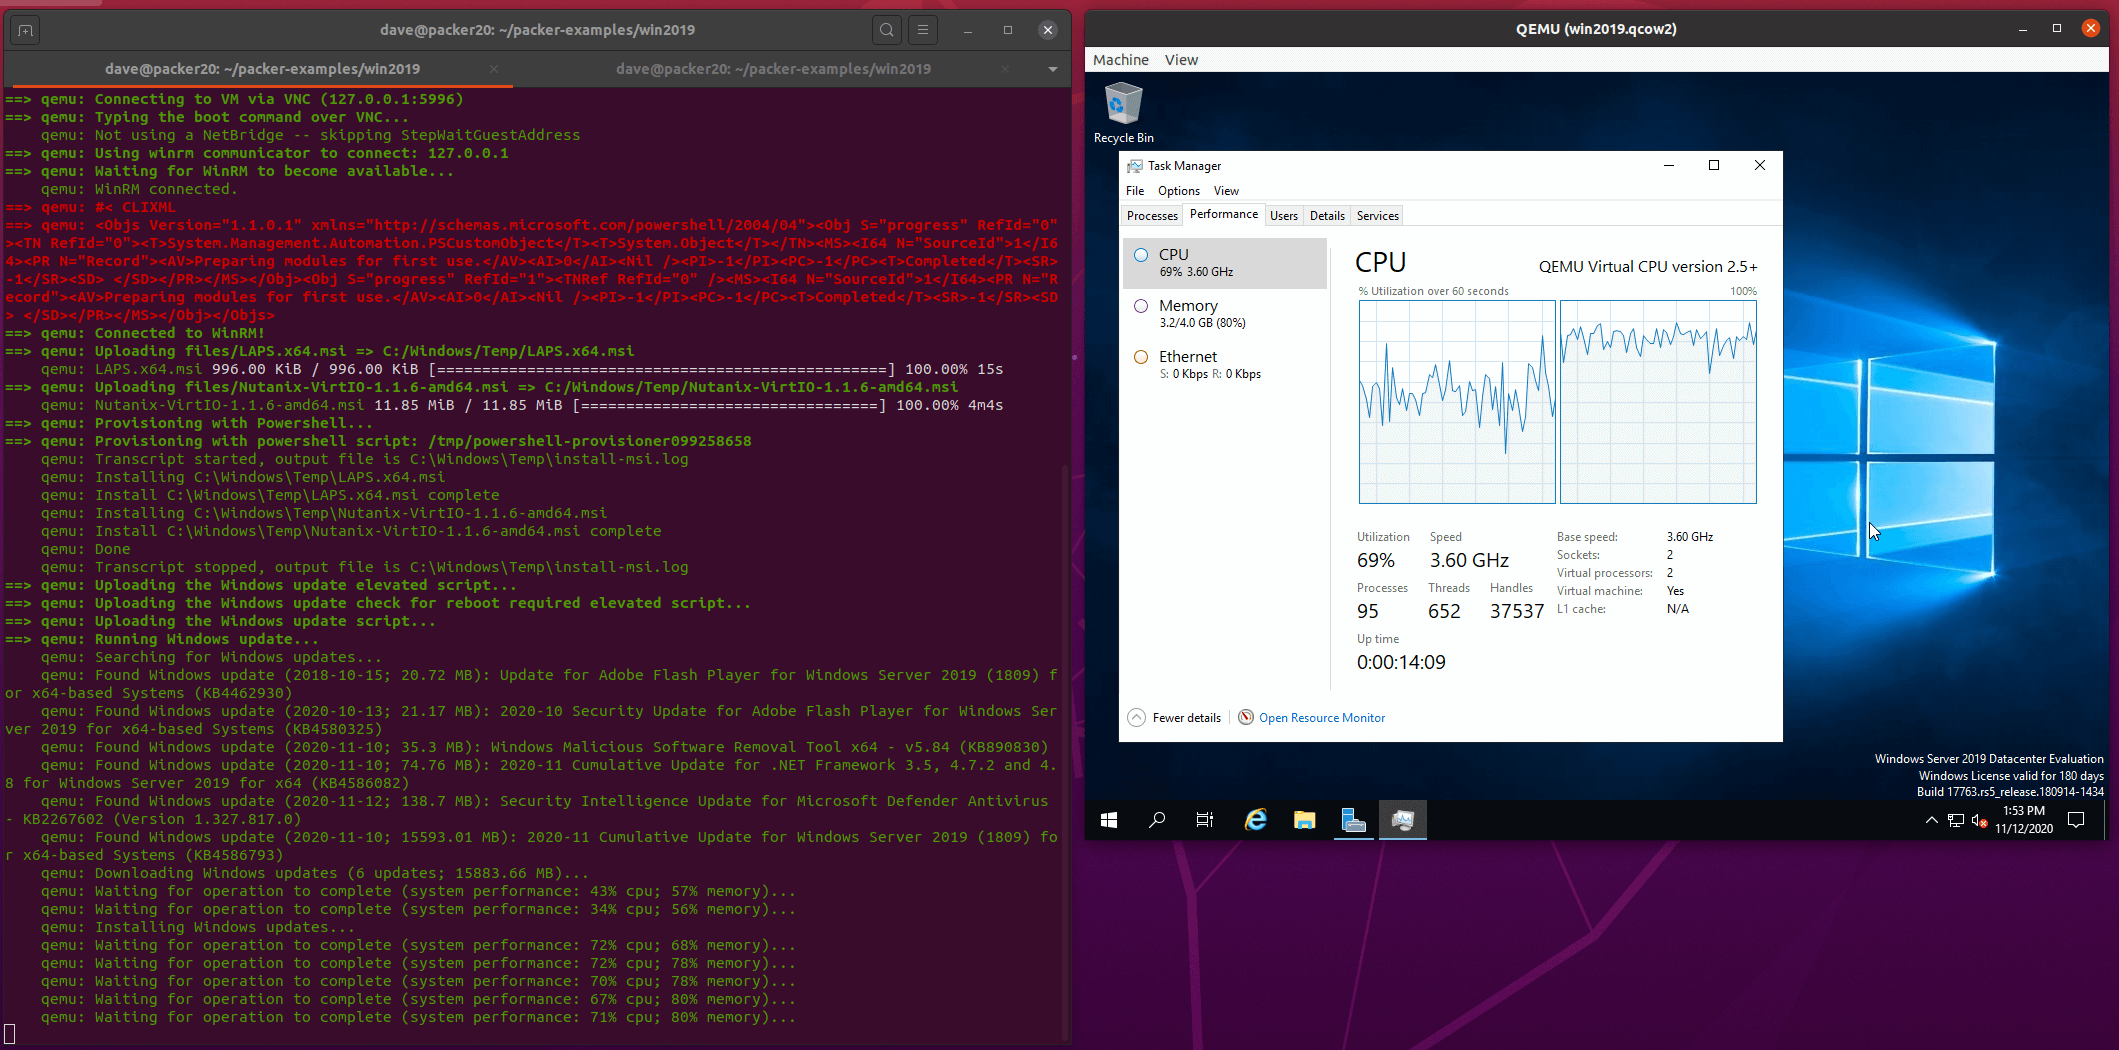
Run packer build
cd packer-examples/win2019/
packer build win2019.json
Once the machine is built, upload the artifact from vm/win2019-qemu/win2019 to the image service in Prism
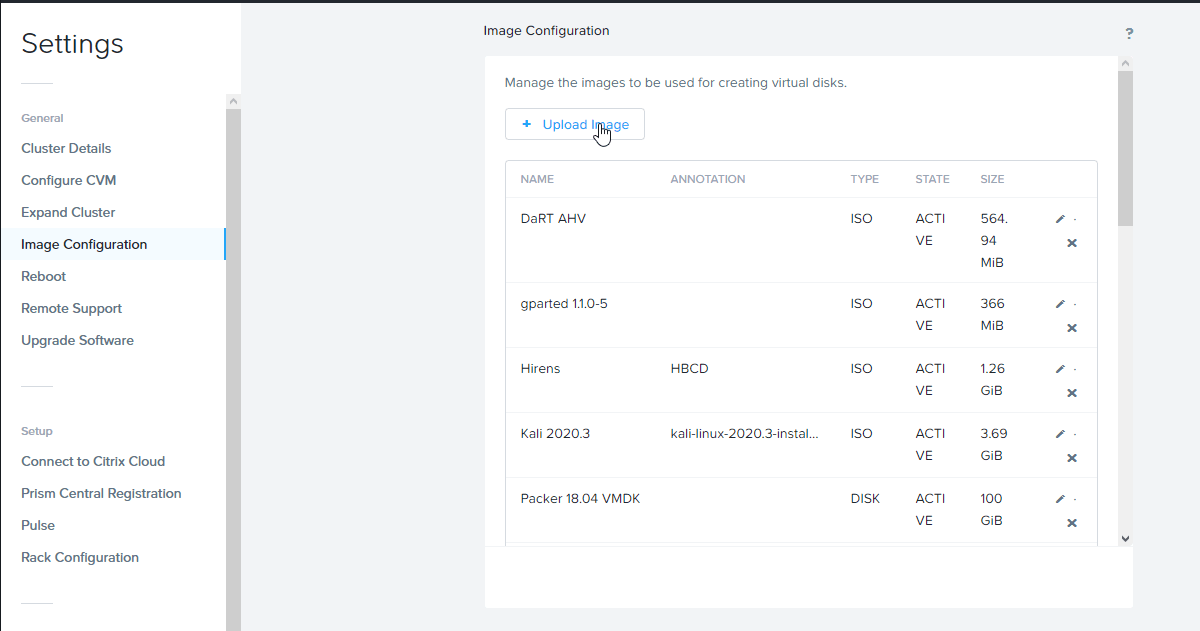
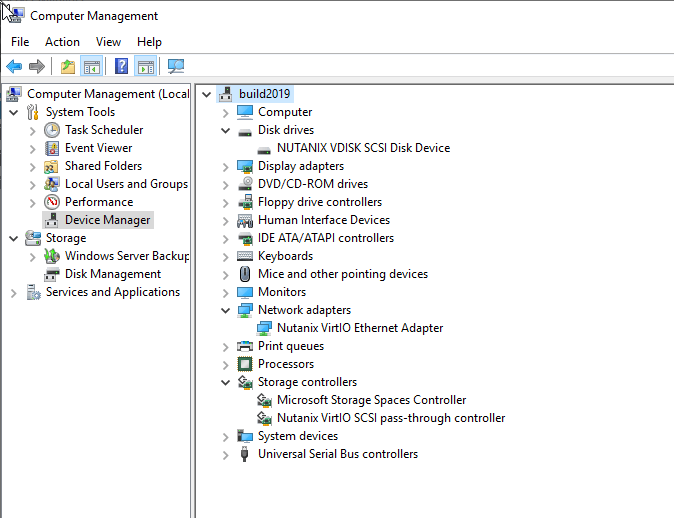
Once uploaded you can create a VM from the image. Hopefully it will have all the correct VirtIO drivers installed.
Troubleshooting
In all cases where a build fails it’s useful to set the PACKER_LOG environment variable as follows
PACKER_LOG=1 packer build win2019.json
==> qemu: Failed to send shutdown command: unknown error Post “http://127.0.0.1:3931/wsman”: dial tcp 127.0.0.1:3931: connect: connection refused
In my case this was because I had configured my sysprep command in a regular script. Since the sysprep runs and shuts the machine down, there is no longer a winrm endpoint for packer to connect to.
The issue with this is that packer attempts to cleanup once it has run the script and then run the shutdown_command. I removed my sysprep from the script and included it as my shutdown_command.
Build hangs when installing VirtIO MSI
I realised this is because the network driver installs and disconnects the network for a second causing packer to hang and not receive output from the script. Changing the build VM nic to e1000 in the json file means the NIC doesn’t get disconnected when installing VirtIO.
openjdk / java issue with ncli
System default is
but java 8 is required to run ncli
edit the ncli file in a text editor, replace
JAVA_VERSION=`java -version 2>&1 | grep -i "java version"
with
JAVA_VERSION=`java -version 2>&1 | grep -i "openjdk version"
MSR 0xe1 to 0x0 error on Ryzen system
Essentially run the following and try again, if this fixes it, try the linked blog for the permenant fix.
echo 1 | sudo tee /sys/module/kvm/parameters/ignore_msrs
Windows build hangs the host VM or the guest
I think this is a problem in AHV 5.10, Tested working on AHV 5.18 CE. A workaround is changing the machine type to pc or pc-i440fx-4.2. Unfortunately this appears to be REALLY slow! Might be worth experimenting with different machine types. q35 is just as slow.
Update the Qemu args to include the machine type:
"qemuargs": [
    [
      "-m",
      "2048"
    ],
    [
      "-smp",
      "2"
    ],
    [
      "-machine",
      "pc"
    ]
  ]
Written with StackEdit.

Hi, I’ve followed this guide and got it working. I’m a bit stuck on connecting it to the internal network as it’s only got one network of 10.x . Have you managed to connect yours to the outside world to get thinks like chocolatey ?
ReplyDeleteThis was quite a while ago. I've since moved my packer build host to a physical machine running Ubuntu & KVM which works well. I'm pretty sure I was able to get networking as one of the images shows the Windows update plugin successfully grabbing updates.
DeleteIt's probably important that your build host is on a network that has DHCP so your VM can get an IP on the real network.
Where's your 10.x IP coming from?